
avg —
Garlic Paste for Winter (2 Storage Options)
Instructions
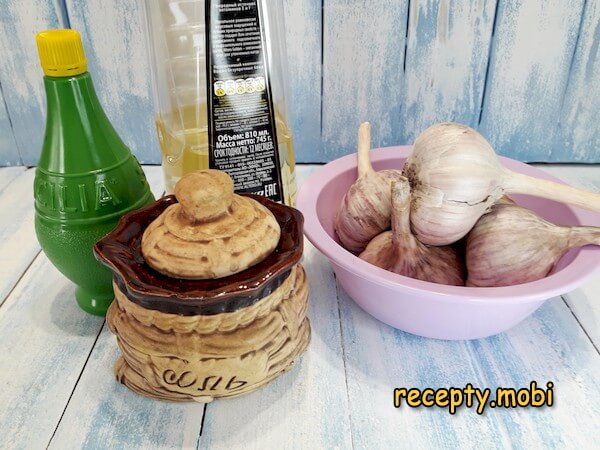
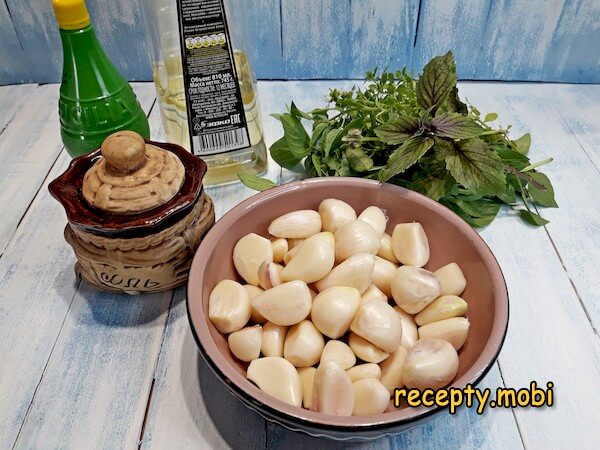
I prepare the ingredients for the first method. I peel the garlic, after which it weighs 250 g. I use small jars, up to 250 g – this makes the preserve easier to use, and each opened jar gets used up before any mould can appear. I sterilise the glass jars and lids in advance by any convenient method – without this, even an oil seal will not protect against microflora.
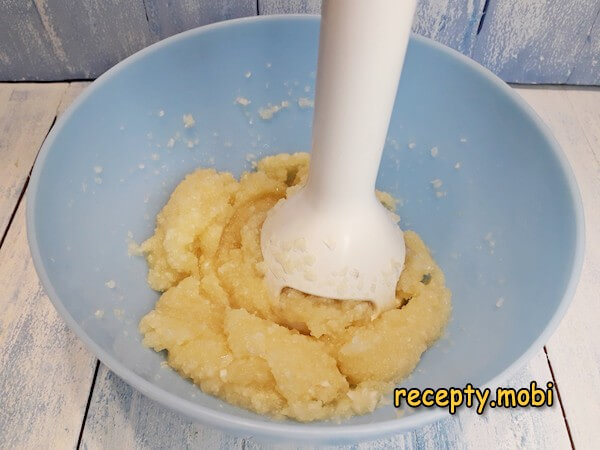
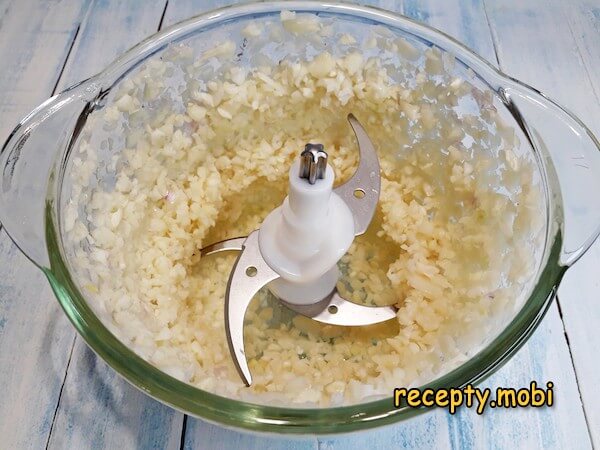
I blitz the cloves in a blender until I get a smooth purée. You can grind the garlic a couple of times in a meat grinder, but the consistency will be different, more grainy. If you have no blender, another option is to press the cloves through a garlic press, but that is very hard work for 280 g of garlic.
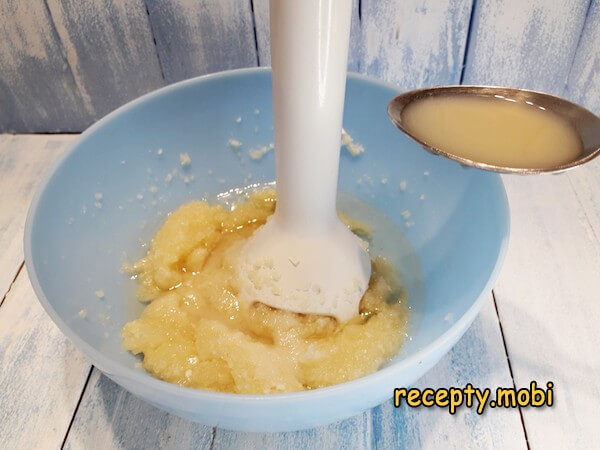
I add salt, lemon juice and vegetable oil to the garlic and blend it all together once more. The salt and lemon juice work as double agents here: they add flavour and at the same time act as preservatives – the salt draws moisture out of the garlic, while the lemon's acidity slows the growth of microflora.
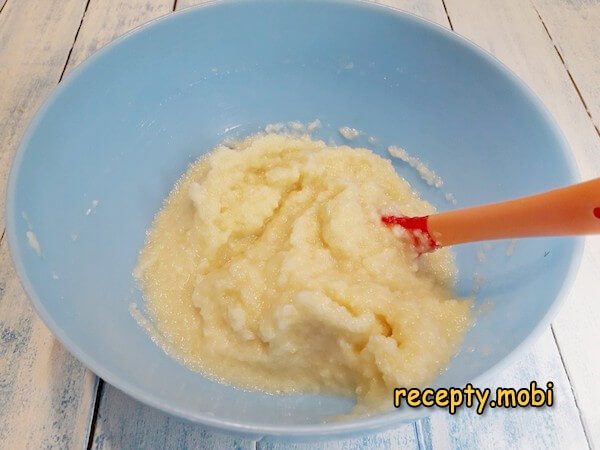
You should end up with a uniform, moist mass with a light purée-like texture.
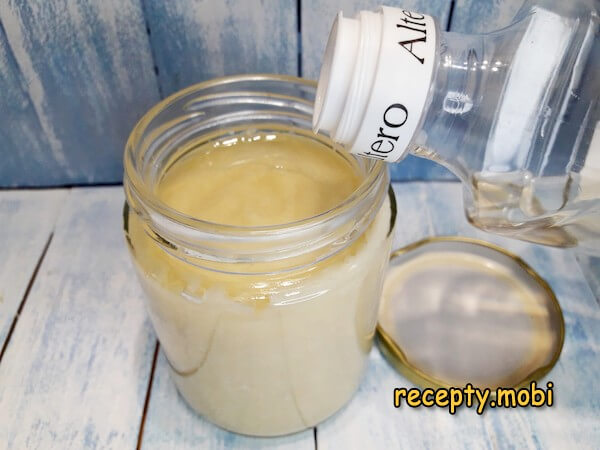
I transfer the paste into the jar, leaving a little space at the top – about 5–10 millimetres for the oil seal.
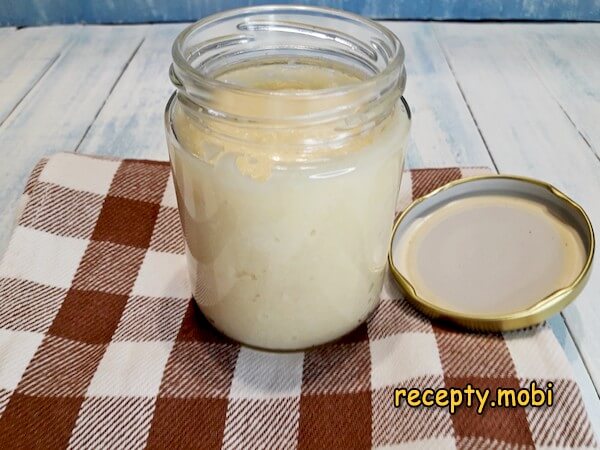
I pour vegetable oil over the top – this forms an oil seal that blocks air from reaching the preserve. Without this film, the paste develops surface mould within a couple of weeks even in the fridge. I screw the lid on tightly and put the jar in the fridge to store.
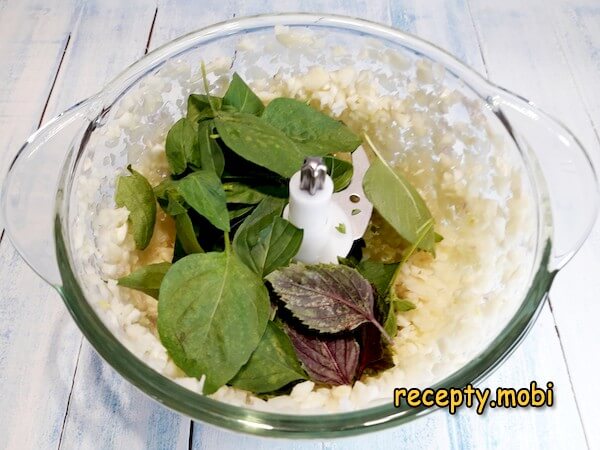
I prepare the ingredients for the second method. Instead of basil you can use other greens – dill, cilantro, parsley. This time the paste will be stored in a plastic bag, ideally one with a zip seal – without it, the greens and garlic quickly lose their aroma in the freezer from contact with the cold air.
I chop the garlic in a chopper or meat grinder – for a frozen paste a perfectly smooth texture is not needed, the main thing is that the pieces are no larger than 2–3 mm.
I add the basil leaves – the leaves only, without the tough stems, which stay unpleasantly firm in a frozen mass.
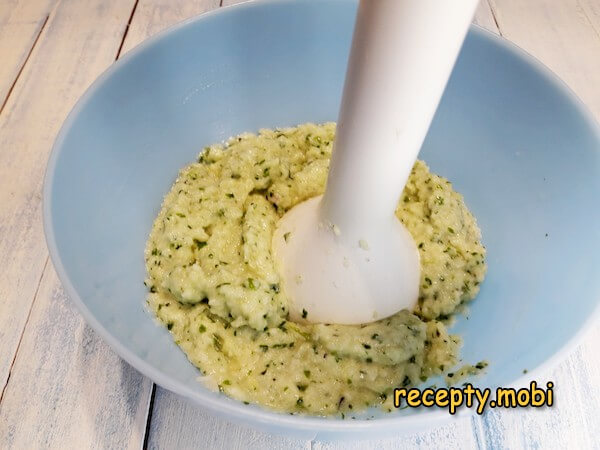
I add the salt and vegetable oil here too and blend everything once more. The oil plays a different role in the second option – it does not seal out air (the freezer is itself an environment without active microflora), but keeps the paste soft and protects the greens from freezer burn.

If you want a more paste-like mass, I blitz the mixture with an immersion blender – this way the garlic releases more juice and the mass becomes uniform.
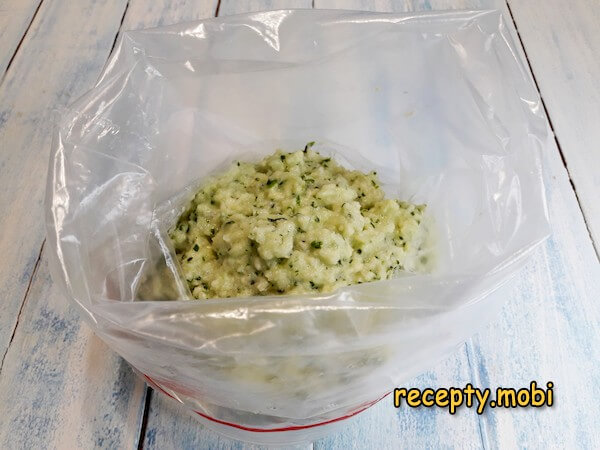
I transfer the paste into a bag – the easiest way is to stand the bag in a tall glass and fill it, like a piping bag for marshmallow.
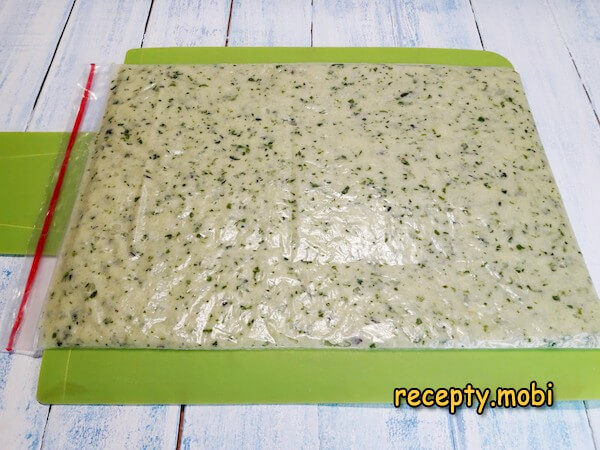
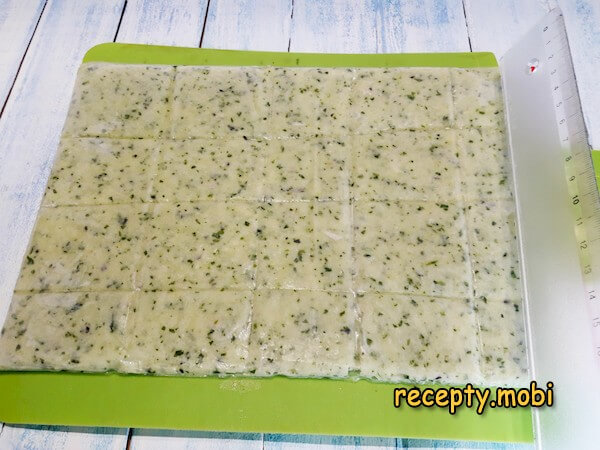
I spread the garlic mass into a thin layer (about 2 millimetres), push the air out of the bag and close the zip. I do this straight on the board I will then use to carry the preserve to the freezer – a thin layer freezes evenly in 1 hour, while a thick one risks staying soft in the centre.
After about an hour the paste will be partly frozen, but not yet fully hardened. At this moment I use a ruler or the blunt side of a knife to score grooves on the bag that divide the mass into little squares – these neat pieces are easy to snap off as needed, without thawing the whole portion. I return the bag to the freezer for storage.Garlic paste for winter made these ways will come to the rescue in any situation – you can quickly throw together a salad by adding a piece or a spoonful of paste, or instantly brush meat or poultry before baking. Best of all, there is no need to spend time peeling and chopping garlic, and it keeps perfectly until next year's harvest.


Tips
- 1
THE OIL SEAL – the "secret" to fridge storage. Without oil on the surface, the paste develops mould within 2 weeks even in a sterile jar. With 5–10 mm of oil on top there is no contact with air, and the paste keeps for up to 6 months in the fridge without losing quality.
- 2
AUTUMN GARLIC – the "secret" to pungency. Winter and spring garlic (the kind that has been stored) has already lost some of its essential oils, so the paste comes out dull and weakly aromatic. Fresh autumn garlic straight from the ground gives a punchy, full-flavoured paste.
- 3
A THIN LAYER IN THE FREEZER – the "secret" to convenience. A thick lump of frozen paste has to be thawed whole even when you need just half a spoonful. With a 2 mm layer scored into squares, I snap off exactly as much as I need and the rest stays frozen.
- 4
A ZIP-SEAL BAG – the "secret" against freezer burn. An ordinary bag in the freezer lets air in through the knot, and the greens in the paste lose their colour and aroma within a month. With a zip-lock bag and the air pressed out, the paste keeps for a year as if fresh.
FAQ
Which garlic is best for winter paste? +
The "classic" choice is fresh autumn garlic, spring-planted or winter-planted, with dense large heads, dry rustling skins and firm cloves. Alternatives: young summer garlic (gives a milder flavour), purple Provence garlic (premium, more aromatic than white), or a mix of varieties (a universal flavour). Do not use: sprouted garlic with green shoots inside (the paste turns bitter), or limp soft heads showing signs of rot or drying out – they will shorten the storage life of the finished preserve.
Can I replace the lemon juice with vinegar? +
Yes, but in different proportions and with an adjustment for taste. Apple cider vinegar 6% – 1 tbsp instead of the lemon juice, with a mild fruity note. White wine vinegar 6% – 1 tbsp, a neutral taste. Table vinegar 9% – 1 tsp, the classic, but it gives a sharp edge. Balsamic and rice vinegar are not suitable: they change the colour and flavour of the paste beyond recognition. Freshly squeezed lime juice (1 tbsp) is a premium alternative to lemon, with a finer acidity. The main point is that the vinegar and the juice perform the same role: they slow the growth of microflora in the paste.
How long does the garlic paste keep in each option? +
The first option (a jar with an oil seal in the fridge) – up to 6 months at 2–6°C. After the jar is opened and the oil seal is broken – 2–3 weeks, but the seal can be restored by topping up the oil. The second option (a thin layer in the freezer) – up to 12 months without losing its punch; after a year the essential oils gradually weaken. Signs of spoilage: a bitter or rancid taste, a grey or greenish film, an unpleasant smell. Thawed paste is not refrozen.
Where do I add the finished garlic paste? +
To hot dishes I add it at the final stage: sauces, gravies, dressings, marinades for kebabs and chicken. To cold dishes – in vinaigrette, Olivier salad, any meat salads, vegetable spreads on bread, in tartlets. For marinating meat, a spoonful per 1 kg of meat replaces 5–6 fresh cloves. On a sandwich I spread the paste thinly straight with its oil and add a slice of cheese or ham. The main advantage is an instant garlic flavour with no peeling or chopping, especially when you specifically need a paste.
- Comment
or post as a guest
Be the first to comment.


