
avg —
Pumpkin porridge in a multicooker
Instructions
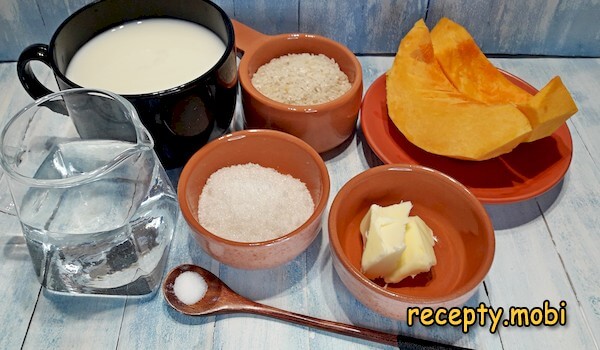
I prepare the ingredients for making pumpkin porridge in a multicooker. It is best to use round-grain rice – it makes the porridge more uniform and tender thanks to its higher starch content. The pumpkin weight is given already without the skin and seeds – it is easier to cut it into wedges first and then peel them, because the hard skin is difficult to remove from a large piece. If the pumpkin is very sweet, you can leave the sugar out altogether or replace it with honey, adding it to the finished porridge when serving.
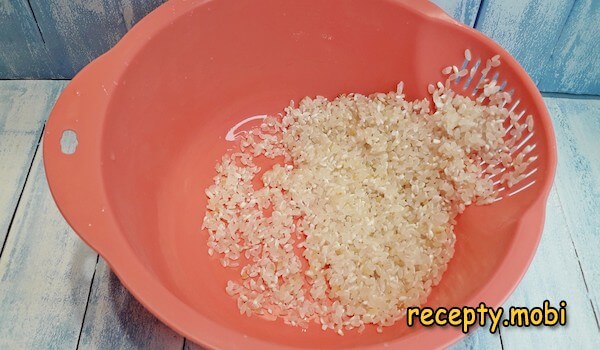
I rinse the rice thoroughly in several changes of water until the last one runs clear. Rinsing removes the surface starch and dust – without it the porridge turns out slimy and heavy in texture.
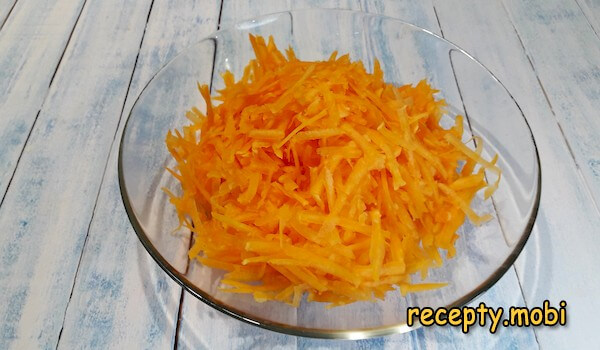
I grate the pumpkin coarsely. You can also cut it into small cubes, but then the porridge will not be as silky-uniform and you may have to mash it with a masher. On top of that, the cooking time can increase considerably depending on the size of the pumpkin cubes – grated pumpkin cooks down completely.
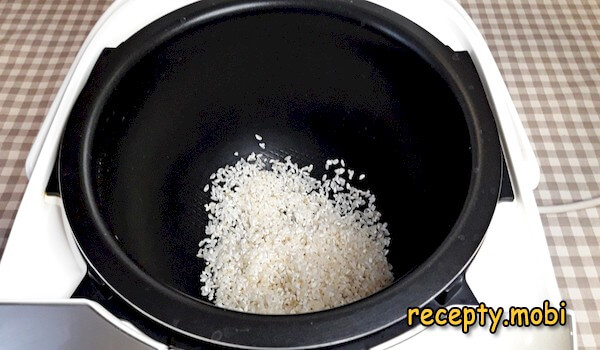
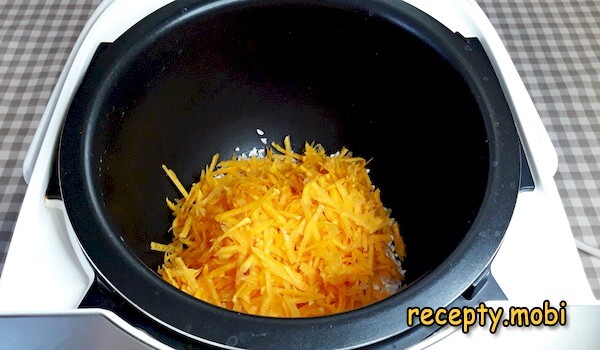
I tip the prepared rice into the multicooker bowl – in an even layer across the bottom, so it cooks through evenly together with the pumpkin and the milk mixture.
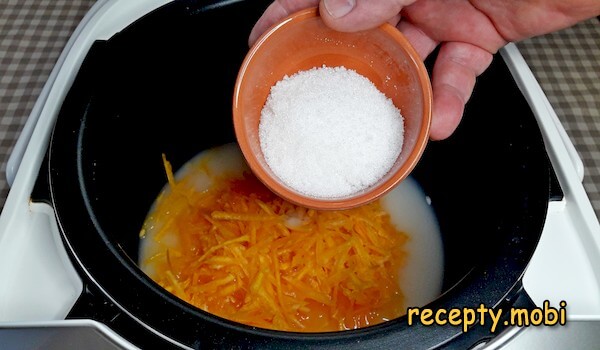
I add the grated pumpkin on top – spreading it over the rice in an even layer so the pumpkin shreds don't clump in one spot.
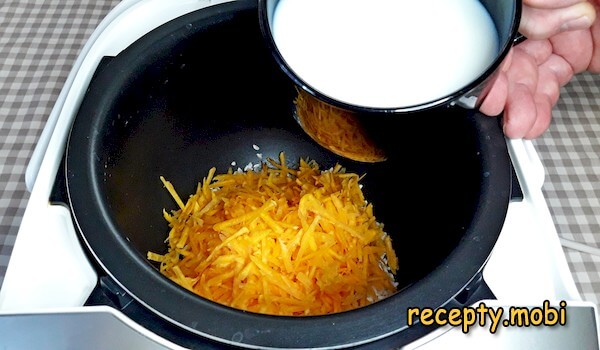
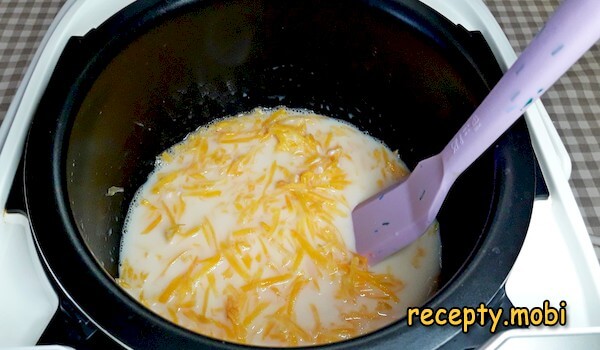
I pour in the milk – it is whole milk with 2.5–3.2% fat that gives the porridge its characteristic creamy tenderness. With skimmed milk the flavour will be poorer; with baked milk it takes on a light caramel note.
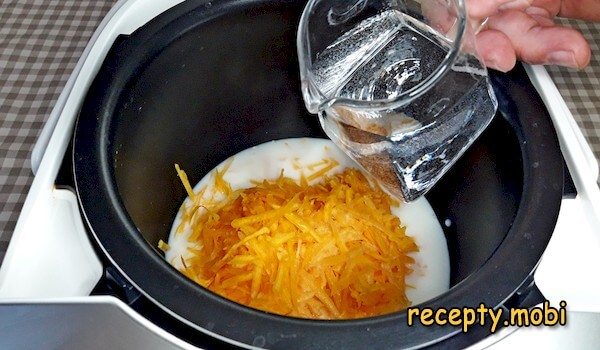
I dilute the milk with water – this is the "secret" against burning. Pure milk in a multicooker reaches boiling point faster and can scorch onto the walls of the bowl; diluting it with water evens out the process.
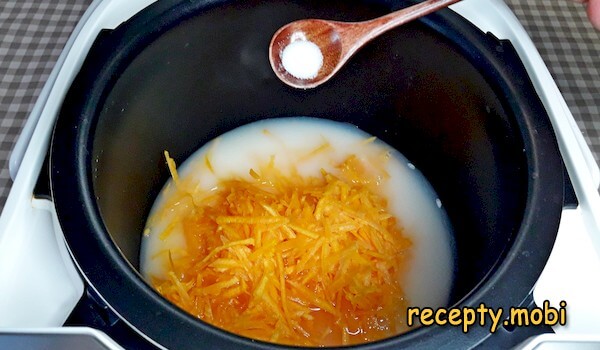
I always salt the ingredients – even a sweet porridge tastes "flat" without a pinch of salt. A small amount of salt enhances the sweetness of the pumpkin and the creamy taste of the milk.
I add sugar if needed – judging by the sweetness of the pumpkin itself. Varieties such as butternut or nutmeg pumpkin already contain plenty of natural sugars, so there is no need to add much.
I stir everything with a silicone spatula – a metal spoon can leave scratches on the bowl coating, while silicone is gentler. I make sure the rice doesn't settle in a dense layer on the bottom.
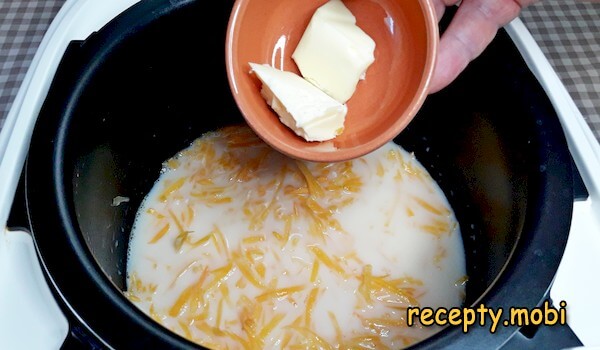
I add the butter and do not stir it in – it will spread evenly by itself as the porridge heats up, and the film of butter on the surface gives extra protection against the milk escaping through the valve.
I close the multicooker lid and set the "porridge" mode. The cooking time sets automatically – 25 minutes. I press start and get on with my own things – the multicooker does the rest by itself.

After the set time a signal sounds to mark the end of cooking, and if you don't open the lid, the machine switches to keep-warm mode by itself. I leave the porridge in this mode for another 15 minutes without peeking under the lid, so the steam doesn't escape – this is the "secret" stewing stage, after which the rice opens up fully and the texture turns silky.
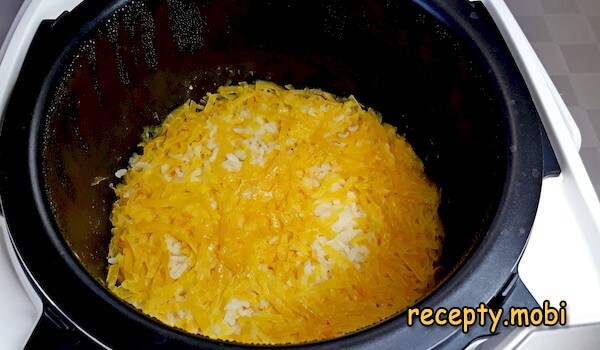
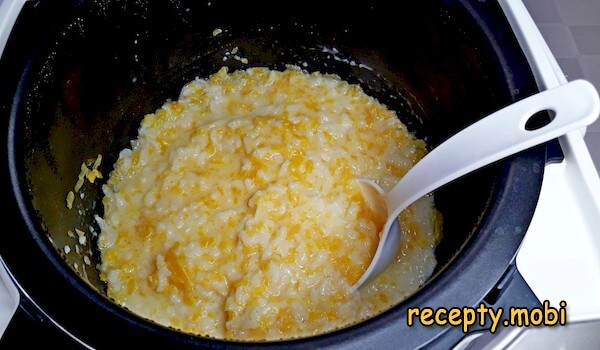
I stir everything so the lighter pumpkin shreds spread evenly through the whole batch – grated pumpkin floats to the top as it cooks, and without stirring the bottom layer would be poorer in colour.The finished pumpkin porridge from the multicooker is served hot. Its pleasant, distinctive flavour can be rounded out with your favourite dried fruits or with fresh or frozen berries. A dish like this is simply ideal for breakfast – it is filling, wholesome and incredibly tasty.


Tips
- 1
MILK HALF-AND-HALF WITH WATER – the "secret" against boiling over. Pure milk in a multicooker reaches boiling point faster and escapes through the valve or scorches onto the walls of the bowl. Diluting it 50/50 with water evens out the cooking process – the porridge tastes as if made with milk, but without any risk to the appliance or the cooker.
- 2
15 MINUTES OF STEWING – the "secret" of a silky texture. Once the main programme has finished, I leave the porridge on "keep warm" mode under a closed lid for another 15 minutes. During this time the rice opens up fully, the pumpkin cooks down, and the texture becomes silky. The same trick works with barley porridge with water in a multicooker – the "keep warm" mode acts as an extension of the cooking.
- 3
PUMPKIN GRATED, NOT CUBED – the "secret" of uniformity. Pumpkin cubes stay large in the finished porridge and spoil the silky texture – they have to be mashed with a masher. Grated pumpkin cooks down completely and merges with the milk-and-rice base into a single whole – the colour is rich, the consistency uniform.
- 4
BUTTER ON THE SURFACE – the "secret" against boiling over. A piece of butter placed on top before starting the programme forms a thin film that stops the milk from boiling over through the valve. The same principle works with spelt porridge in a multicooker – butter on top acts as a "lid" against boiling over.
FAQ
What pumpkin variety is best for porridge? +
Sweet varieties with bright orange flesh are ideal – butternut, nutmeg, and hokkaido types. They have a concentrated sweet flavour, dense flesh without fibres, and a rich colour that tints the porridge beautifully. Fodder "yellow" pumpkins give a bland flavour and a watery structure – they are best avoided. If the pumpkin is not very sweet, you can increase the amount of sugar or add a handful of raisins when serving for extra sweetness.
Can the rice be replaced with another grain? +
Yes, pumpkin porridge turns out equally well with millet, rolled oats, semolina, or bulgur. I always scald millet with boiling water before cooking to remove its characteristic bitterness – then the porridge will be tender and sweet. Oats cook faster, so the time on "porridge" mode can be reduced to 15 minutes. With semolina you get a "children's" version – tender and quick, without the long stewing. Bulgur gives a nutty note and a more crumbly texture.
How much milk should you add to pumpkin porridge? +
The grain-to-liquid ratio for rice porridge in a multicooker is standard – 1 part grain to 4 parts liquid. In my recipe there are 130 g of rice to 750 ml of total liquid (500 ml milk + 250 ml water) – exactly a 1 to 4 ratio. If you want a thinner porridge, you can increase the share of milk to 600 ml; for a thicker one, reduce it to 400 ml. The pumpkin has almost no effect on the consistency, because it cooks down with practically no increase in volume.
Can the porridge be made without sugar? +
Yes, especially if the pumpkin is a sweet variety – no extra sugar is needed, the natural sweetness of the vegetable is enough. You can sweeten the finished porridge when serving with honey, maple syrup, agave, or jam to each eater's taste – this is handy for families where everyone has different preferences. Dried fruits (raisins, dried apricots, prunes) or fresh berries also add sweetness and aroma without the need for extra sugar. For diabetics, a version with a sugar substitute is suitable.
- Comment
or post as a guest
Be the first to comment.


