
avg —
Torsh
Instructions
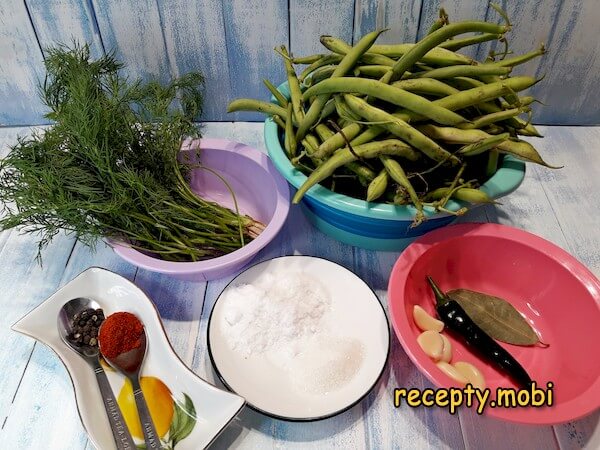
I prepare the ingredients for making tursha. The asparagus beans must be young: if a tough vein pulls away when you trim off the tip, the pod has already aged and should be set aside for other recipes.
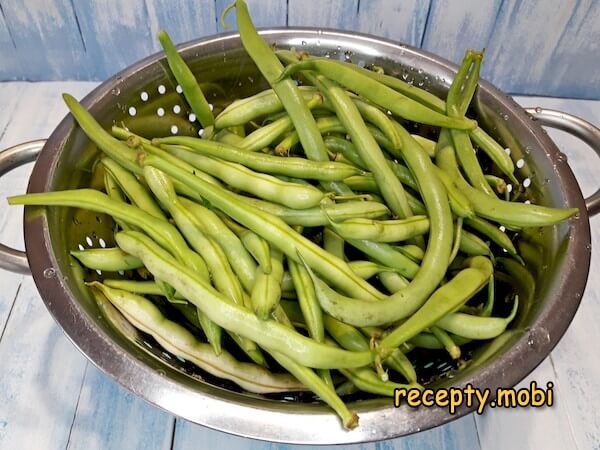
Wash the beans thoroughly under running water.
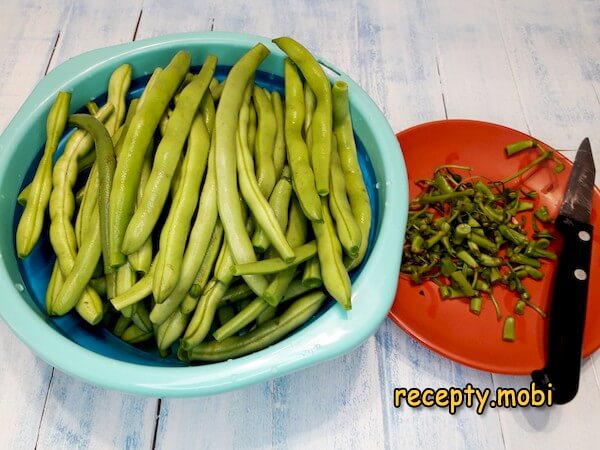
Then I trim the tips on both sides, paying attention to the lengthwise vein: in young specimens it is firmly attached to the pod and doesn't trail behind the tip. Old pods are not suitable for pickling.
In a large pot I bring water to the boil without salting it. I drop the beans in and boil them for 2 minutes, no longer. Lightly cooked beans are no longer raw, yet after pickling they stay crunchy (this crunch gives the dish its special charm).
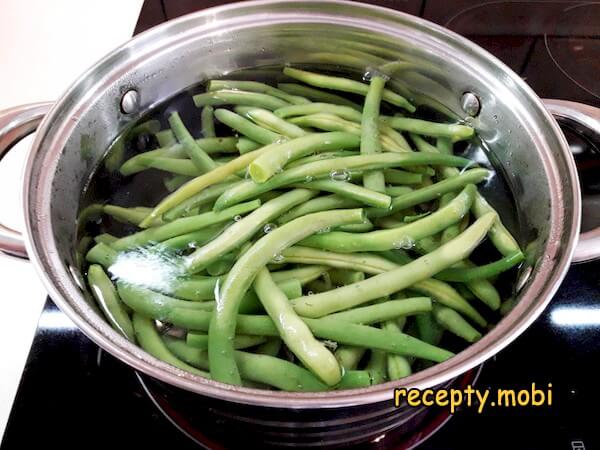
To make sure a pod has reached the right state in the boiling water, I can carefully fish it out of the pot and bend it in half. If it forms a soft arc without kinking or breaking, the beans have cooked enough and should be taken out.
Into the same boiling water I drop the hot pepper for 20 seconds.
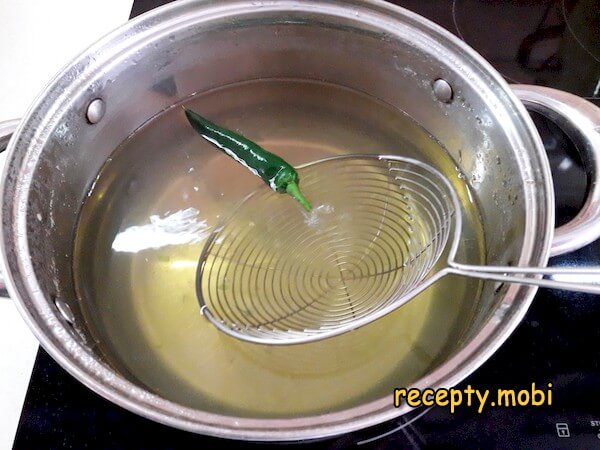
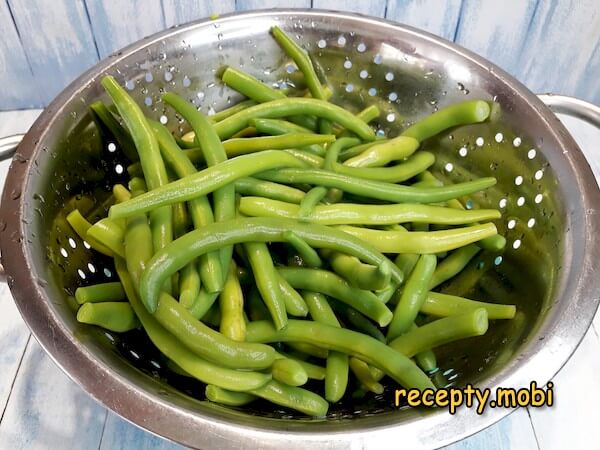
I quickly transfer the asparagus beans together with the pepper into ice water. This not only stops the cooking process but also preserves the colour of the ingredients.
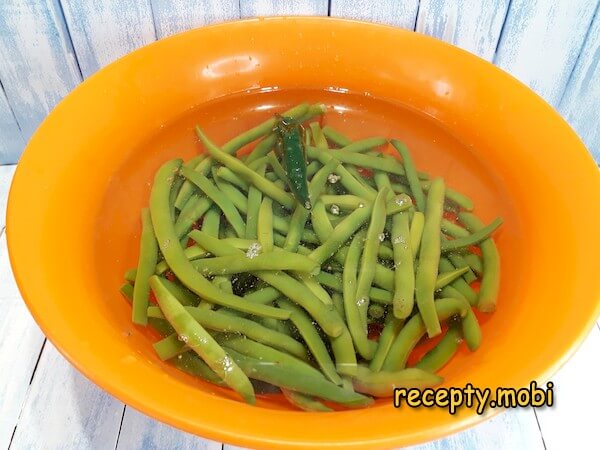
Once cooled, I tip everything into a colander and let the water drain off.
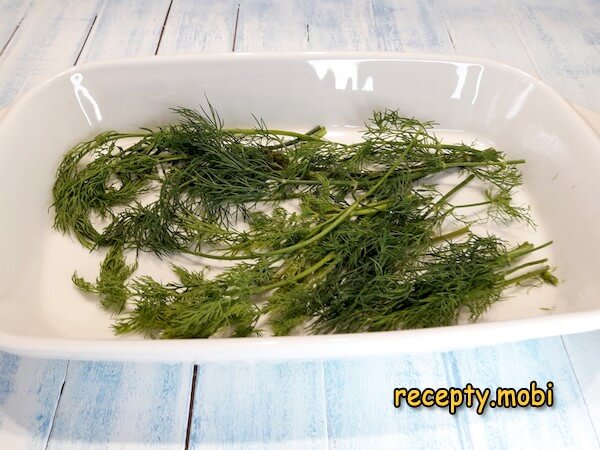
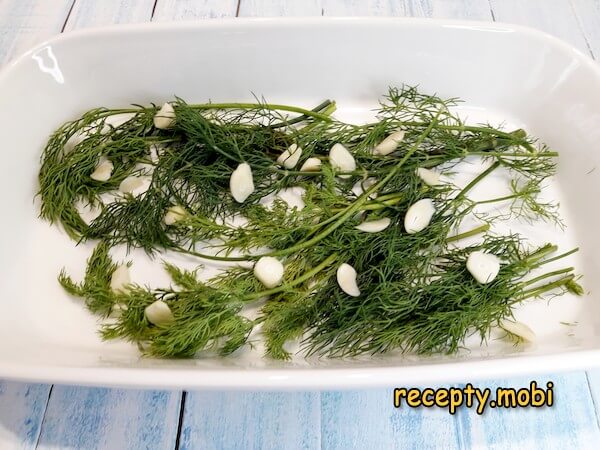
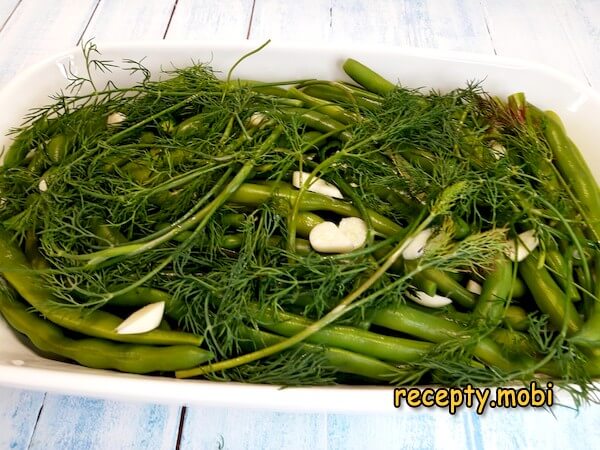
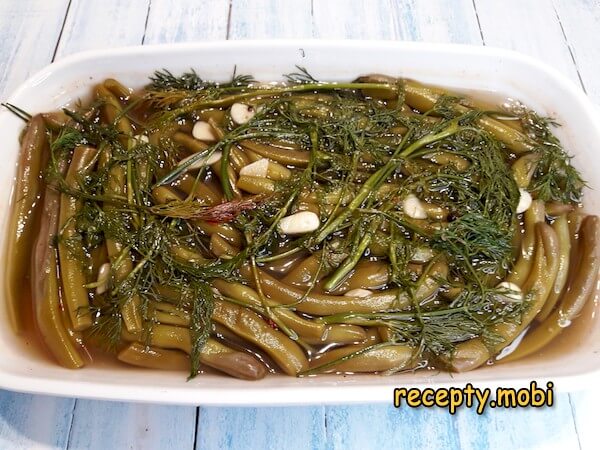
On the bottom of a suitable container I lay half of the stated amount of dill.
I scatter over some of the garlic, sliced into pieces.
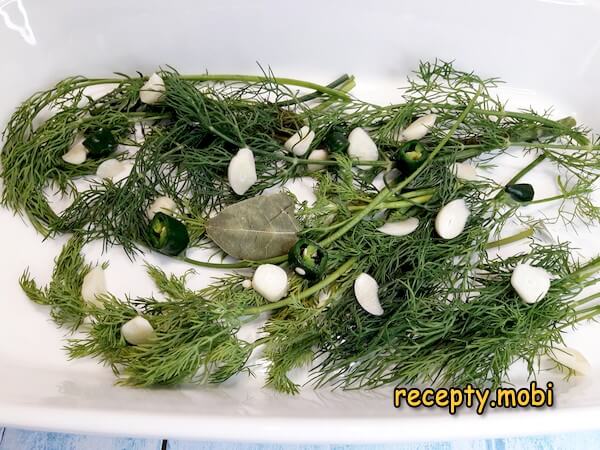
I evenly scatter the rings of hot pepper and pieces of bay leaf, leaving a little for the second layer.
On this fragrant bed I lay the asparagus beans.
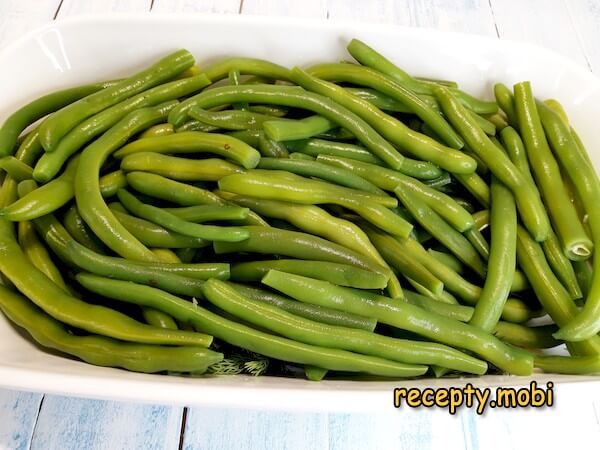
On top I scatter the remaining seasonings.

And I cover everything with dill.
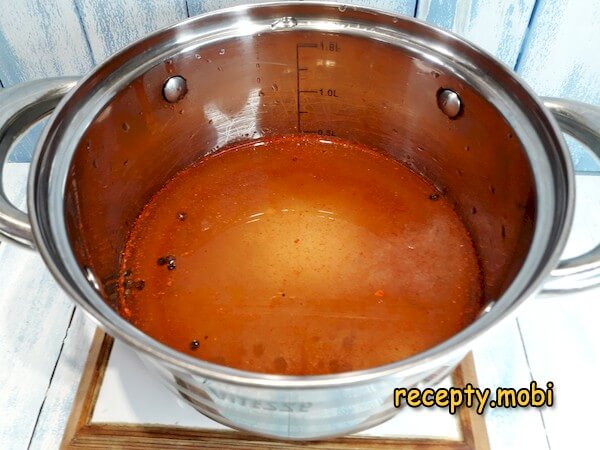
For this amount of beans you need 0.5 litre of brine. In a small pot I combine all its ingredients – water, peppercorns, paprika, salt and sugar – and boil for 1 minute.
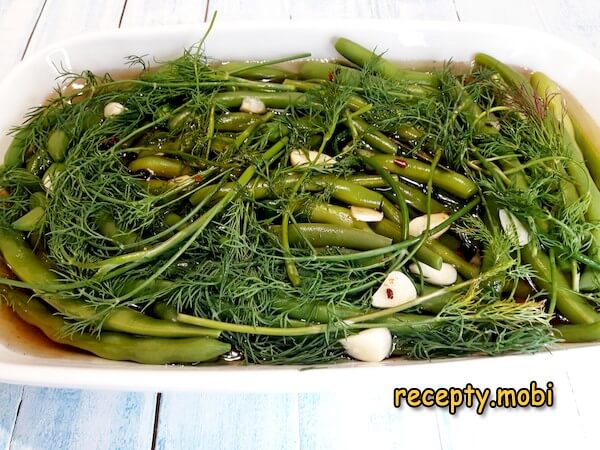
When the liquid has cooled to room temperature, I pour it over the prepared beans.
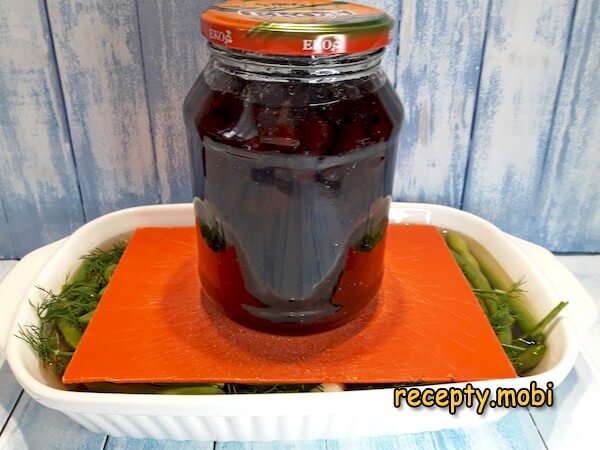
On top I place a weight so that the brine covers the whole batch. I leave this setup standing in the room for 3-4 days (it depends on the weather – if it is very hot, the tursha will be ready after just 2.5 days).
After 3 days the fermentation process is complete. The pods have changed colour and become salted through, having absorbed the aroma of the seasonings and herbs. The tursha is ready.The tursha from string beans has stayed crunchy, just like a lightly salted cucumber, and has taken on a moderate kick from the hot pepper and a sharpness from the garlic. Served with shashlik (kebabs), plain meat or fish, this snack disappears in the blink of an eye. The salted pods can be packed into a litre jar, covered with brine and put in the fridge, where they will keep for up to six months.Give it a try, and bon appétit!


Tips
- 1
YOUNG BEANS are the "secret" to the crunch. Old beans with tough veins will be hard and stringy. Young, tender pods stay crunchy after fermenting.
- 2
2 MINUTES IN BOILING WATER is the "secret" to the balance. Raw beans take a long time to ferment. Overcooked beans go soft and lose their crunch. Just 2 minutes plus an ice bath gives the perfect firmness.
- 3
NO VINEGAR is the "secret" to the fermentation. Vinegar stops the natural fermentation. Only salt and lactic-acid fermentation produce real Caucasian tursha.
- 4
A WEIGHT ON TOP is the "secret" to evenness. Without a weight, the top pods poke out of the brine and go mouldy. The weight keeps everything under the liquid. The same principle works in other kinds of fermented Caucasian vegetables.
Video
FAQ
Which asparagus beans should I choose? +
Ideally, young green string beans (500 g is the classic choice). Alternatives: yellow wax beans (500 g, attractive on the plate), purple string beans (500 g), a mix of green and yellow (250 g of each), long Asian beans (500 g) or young pea pods (500 g, for a different flavour). Beans from your own garden are great too. Don't use: overgrown beans with tough veins, ones with spots, or ones that have dried out. For the classic result you need young, firm, crunchy beans.
What can I use instead of hot pepper? +
Alternatives: dried red chilli (1 piece), ground cayenne pepper (1 tsp), jalapeño (1 piece), habanero (1/4 piece, very hot), a mix of hot and sweet paprika (1 tsp), adjika without extra spices (1 tbsp into the brine, for a Caucasian accent), or extra ground black pepper (0.5 tsp, for warmth without the burn). You can also leave the pepper out altogether for a mild version. Fresh chilli from the market is great. Don't use sauces with added flavour enhancers or peppers pickled in vinegar. For the classic result you need fresh hot chilli pepper.
How long does tursha keep? +
In the fridge, in a tightly sealed glass jar with brine, it keeps for up to 6 months. By the second week the flavour becomes richer, as fermentation slowly continues. Before serving, chill it further or eat it straight from the jar. I don't recommend freezing, as the texture breaks down completely. Once the jar is opened, eat it within 2 weeks. After 3-4 days of fermenting it is at its best, fully fermented; by the second or third month it becomes softer and more sour. Don't leave it in sunlight, or the beans will lose their colour. It is ideal for making ahead to keep for 1-2 months.
What do you serve tursha with? +
The Caucasian classic: with pork or lamb shashlik. With chicken-thigh shashlik. With fish shashlik (trout, salmon). With lyulya-kebab. With beef steak. With grilled sausages. With Balkan ćevapčići. With pilaf in place of achichuk. With manti and khinkali. With shawarma. With fried potatoes. With a slice of dark bread. With kebabs cooked over the coals. With a shot of cold vodka. With a glass of light beer. With suluguni cheese. It is a universal addition to a Caucasian table. Crunchy tursha is great for a barbecue outdoors, a festive spread or the winter table.
- Comment
or post as a guest
Be the first to comment.


