
avg —
How to Dye Eggs with Onion Peels
Instructions
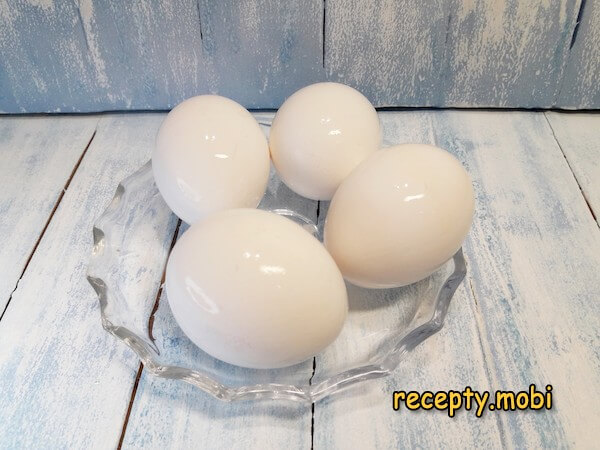
I prepare the ingredients. It is best to use white eggs, as the pattern shows up more clearly on them.
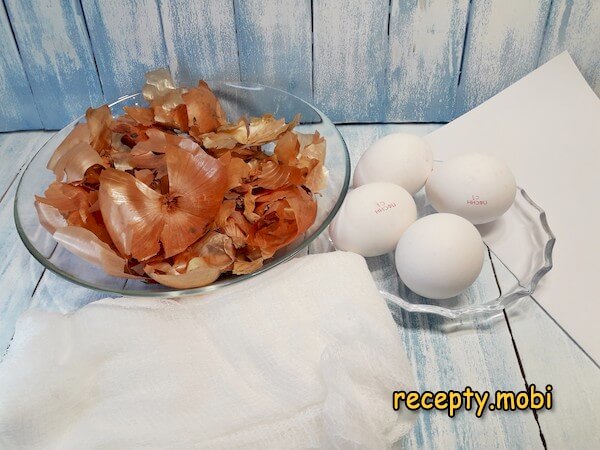
I wash the eggs with baking soda.
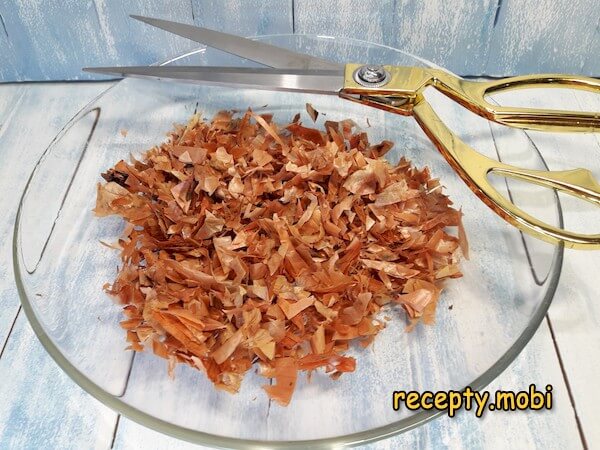
Using scissors, I shred the onion peel as finely as possible.
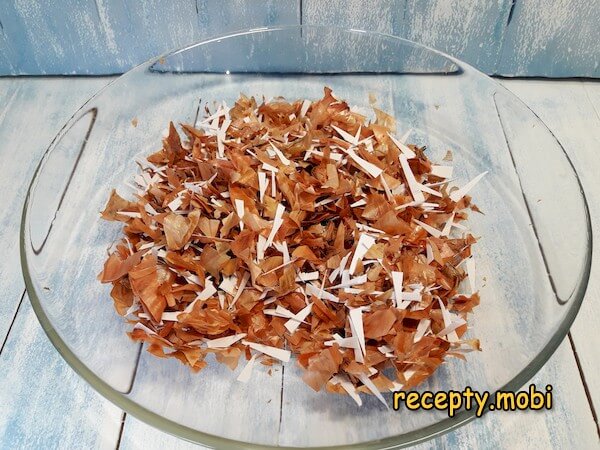
For convenience, I cut the paper into strips and then chop them into small pieces.

I mix all of the cut-up pieces together.
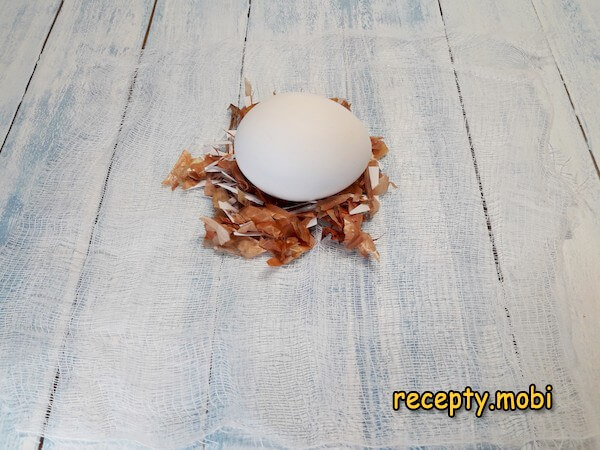
I sprinkle a little of the paper-and-onion-peel mixture onto a piece of gauze. I set an egg on top.
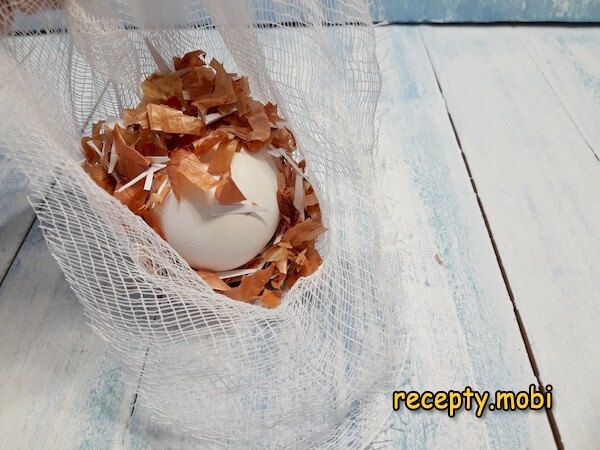
I lift the ends of the gauze up and add some more of the prepared mixture.
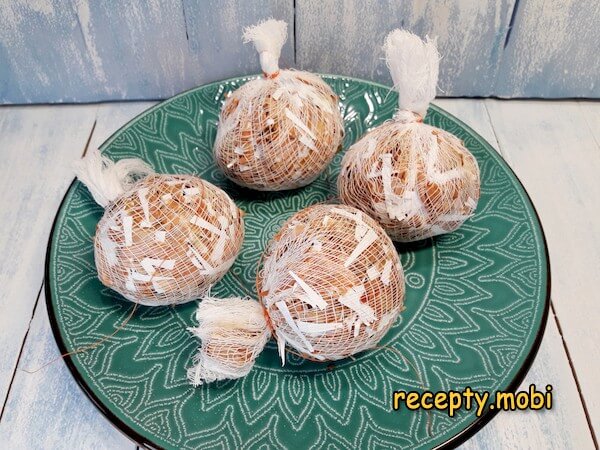
I twist the top of the gauze tightly into a little knot and fix it with thread.

I prepare all the eggs this way. I trim off the long gauze tail, but not too close to the threads.
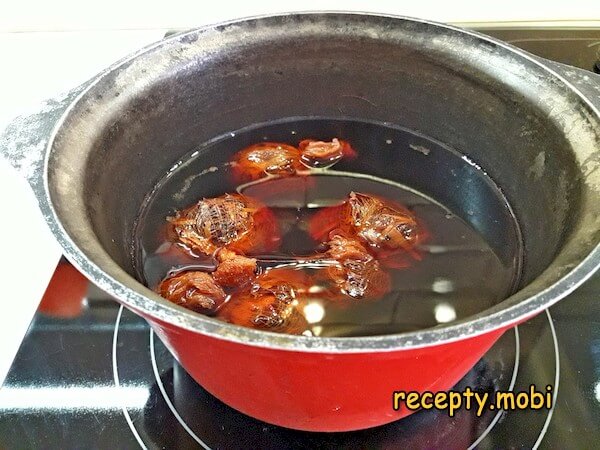
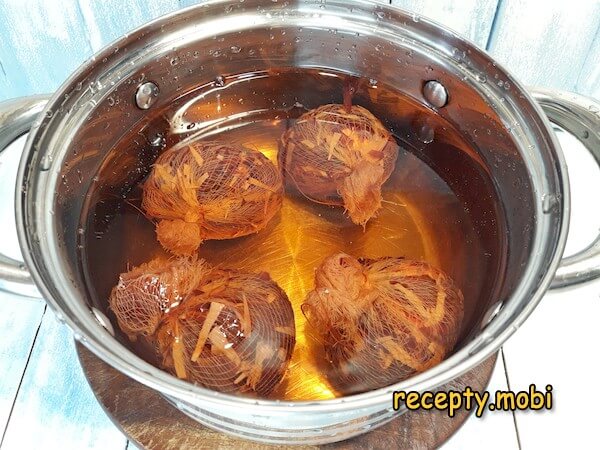
I place the prepared bundles in an old pot and pour in cold water up to the top of the eggs.
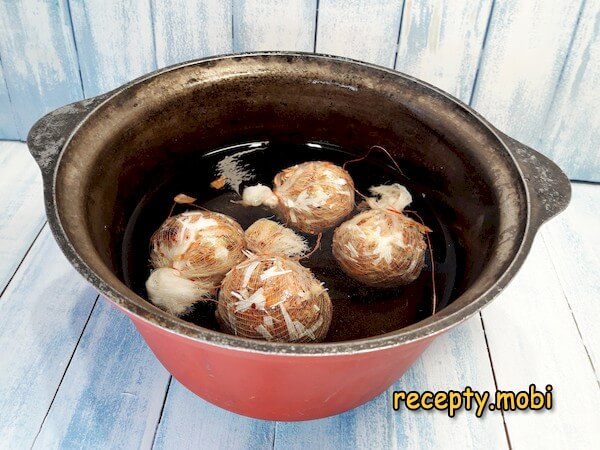
Once the water boils, I cook the eggs in their onion pouches for 10 minutes. The water should not boil too vigorously. Usually a little salt is added to the pot to keep the shells from cracking, but in this case the eggs are held tightly by the onion peel, so there is no risk of leaking.
After boiling, I transfer the bundles to ice-cold or very cold water.
I cut open the gauze cocoon.
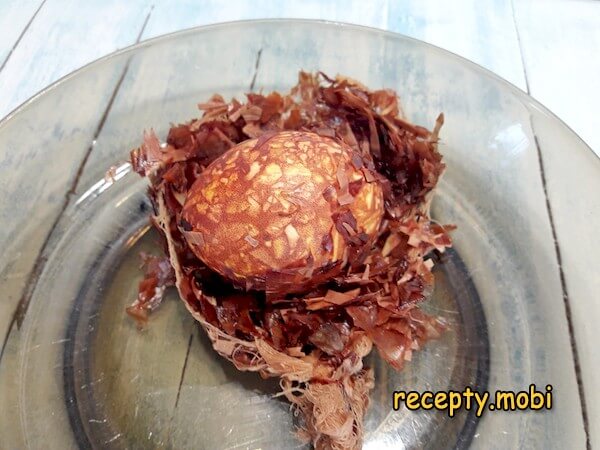
I rinse the eggs in water.
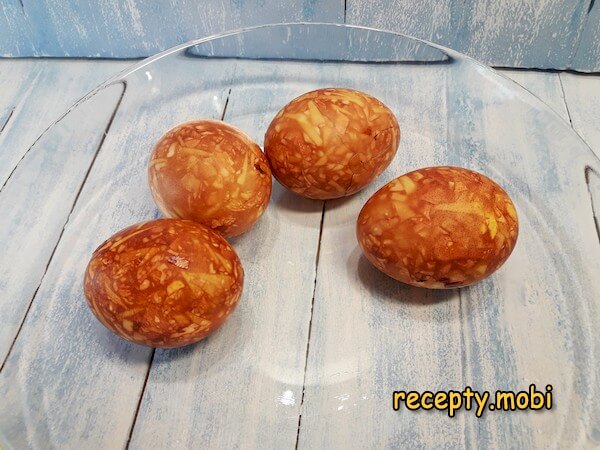
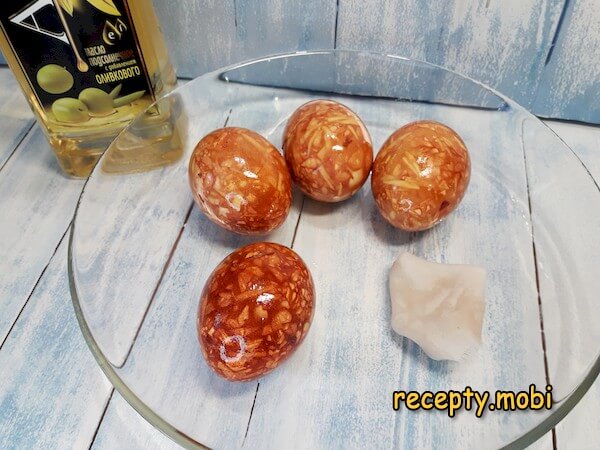
To give them a glossy shine, I wipe them with any vegetable oil.Once you know how to dye eggs in onion peels, you can achieve an unusual marbled colouring that adds variety and decorates the Easter basket. What is more, these eggs do not stain your hands when peeled, so you can safely give them to children.


Tips
- 1
FINE PEEL is the "secret" behind the pattern. Large pieces leave big blotches, while peel shredded finely with scissors gives a delicate marbled design.
- 2
PAPER IN THE POUCH is the "secret" of its originality. Without paper you get an ordinary orange colour. With paper, the white "gaps" between the peel create the marbled effect.
- 3
COLD WATER AT THE START is the "secret" against cracks. If you drop the eggs into boiling water, the shells will split. Cold water with a gradual rise to the boil leaves no cracks.
- 4
AN ICE BATH AT THE END is the "secret" to peeling. Sudden cooling makes it easier to separate the peel from the shell afterwards and sets the colour. The same principle works in other methods of naturally dyeing Easter eggs.
Video
FAQ
How much peel do I need? +
Ideally, 2 handfuls of peel from 5–6 medium onions (about 30 g of dry peel). Alternatives for colour intensity: 1 handful (pale orange), 3 handfuls (dark brown), 4 handfuls (almost black), a mix of peel from different onions – yellow + red (50/50 for a brighter shade), peel from red onions only (3 handfuls for a beetroot tint). Collect the peel in advance – the onions from 2–3 cooking sessions give enough. Fresh peel is bright, the "premium" option. Do not use peel that is rotten or dusty, or peel with an unpleasant smell. For the "classic" result, the peel must be dry and clean.
Can the gauze be replaced? +
Alternatives: a nylon sock (3 pcs, the "budget" option), thin cotton fabric (4 squares of 20×20 cm, an equivalent), nylon tights (4 pouches), a gauze bandage (4 squares, an equivalent), vegetable mesh bags (4 pcs, the "budget" option), thin kitchen towels (cut into squares, the "premium" option). Fresh clean gauze with no finishing is the "premium" option. Do not use coloured fabric (the dyes will transfer to the eggs) or dense fabrics (water will not penetrate). For the "classic" result, you must use a thin natural fabric that lets water and dyes pass through.
How long do marbled eggs keep? +
In the fridge, in open packaging that allows air exchange, up to 1 week. The natural peel dye holds firmly and does not wash off. At room temperature, no more than a day (especially in a warm room). I do not recommend the freezer, as the yolk turns rubbery. Freshly dyed eggs are at their best right after they have cooled and the gauze has been removed (once the marbled pattern appears); by the second day the shade is brighter. Do not leave them at room temperature for longer than 4 hours on Easter day. It is ideal to dye them 1–2 days before the holiday.
What should I serve the eggs with? +
The Easter classic: with Easter kulich and tvorog paskha. With a cup of black tea with lemon. With a glass of Cahors (church wine). With salt on a plate (an Orthodox tradition). With fresh herbs. With mayonnaise or sour cream for an egg salad. With a garlic sauce. With eggs of other colours (yellow from turmeric, blue from hibiscus, pink from beetroot) for a rainbow palette. With wholegrain bread and butter. Alongside an Olivier egg salad. With a glass of homemade fruit liqueur. For an "Easter picnic" – a versatile way to serve them. The main symbol of Bright Easter.
- Comment
or post as a guest
Be the first to comment.


