
avg —
Easter Snack "Easter Chicks"
Instructions
I put the carrot and eggs on to boil – they will be needed for different stages of preparation. I wash a medium carrot (about 100 g), put it in a pot of cold water and boil it for 20–25 minutes after it comes to the boil, until soft. It is important not to overcook it – carrot that is too soft will fall apart when you cut out the decorative pieces. I hard-boil 3 chicken eggs in a separate pot for exactly 10 minutes after the water comes to the boil.
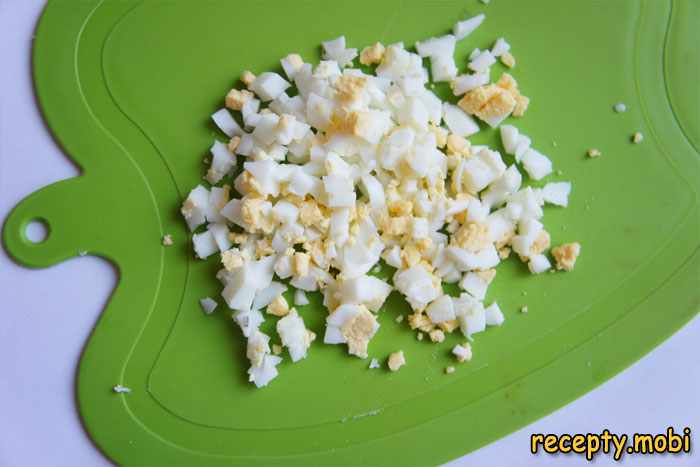
I immediately plunge the cooked eggs into ice water for 5–7 minutes – the sharp change in temperature makes the shell easier to peel and prevents a grey-green ring forming around the yolk. I peel two eggs and chop them finely with a sharp knife into cubes about 3–4 mm. I set the third egg aside for now – it will be used for the yellow "coat" of the chicks.
I take the pickled cucumber (1 medium one) out of the jar and pat it lightly with a paper towel to remove the brine. I cut the cucumber first lengthwise into thin slices 2–3 mm thick, then cut each slice crosswise into small cubes. After chopping, I lightly squeeze the cucumber with my hands to remove the excess moisture – too much liquid will make the salad watery.

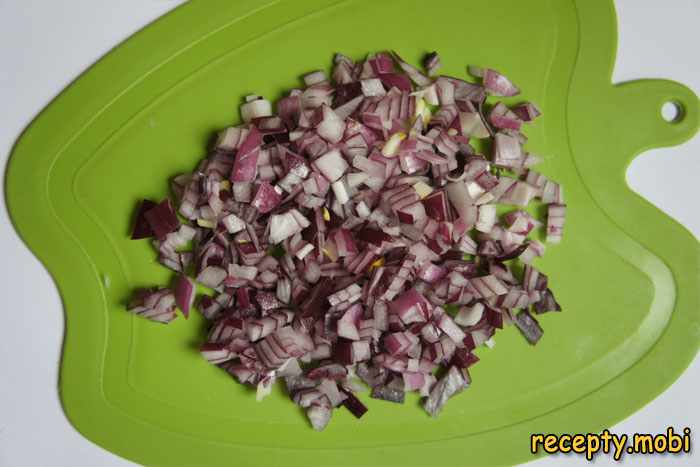
I prepare the red onion – it is less bitter than ordinary onion and gives the salad a pretty pinkish tint. I peel half of a small onion and finely chop it into cubes about 3 mm. If you are using ordinary onion, pour boiling water over it for 1 minute to remove the excess bitterness.
For extra piquancy and freshness I add a stalk of celery and a few feathers of green onion to the salad. I rinse the celery stalk, pat it dry and cut it into thin half-rings 2–3 mm thick – celery gives a pleasant crunch and a refreshing taste. I finely chop the green onion, including the white part.
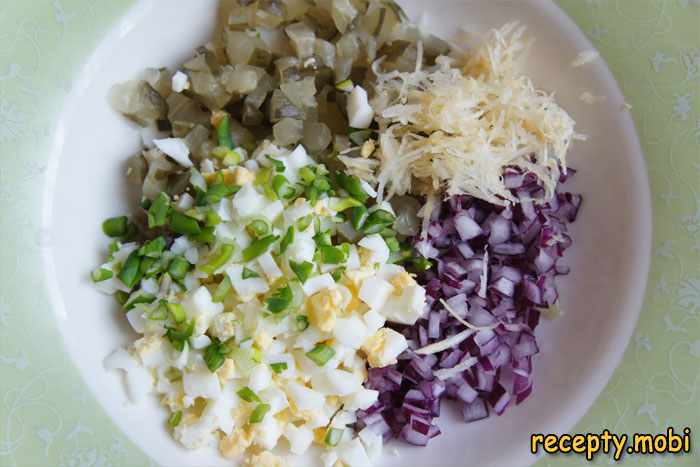
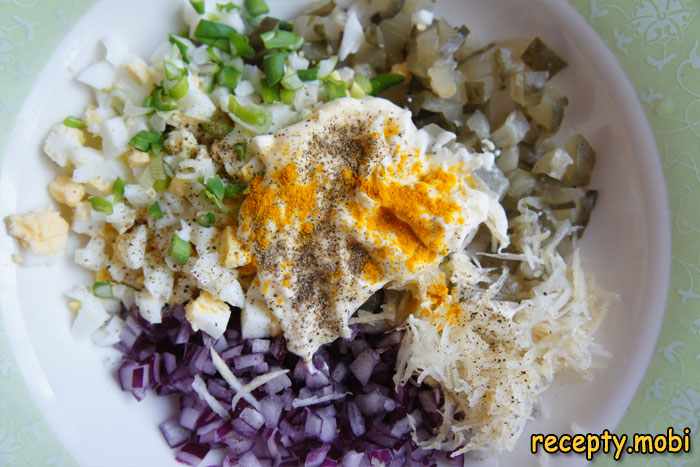
In a deep bowl I combine all the prepared ingredients for the first salad: the chopped eggs, pickled cucumber, red onion, celery and green onion. I stir gently with a spoon, taking care not to crush the pieces of egg – the salad should stay loose rather than turn into a uniform paste.
I add 1 tablespoon of cream-flavoured processed cheese, 1 tablespoon of homemade mayonnaise (or good-quality shop-bought), ⅓ teaspoon of ground paprika for colour and ⅓ teaspoon of ground black pepper for a bit of heat. I mix everything thoroughly until the dressing is evenly distributed. I cover the bowl with cling film and put it in the fridge for 30 minutes to let the flavours develop.
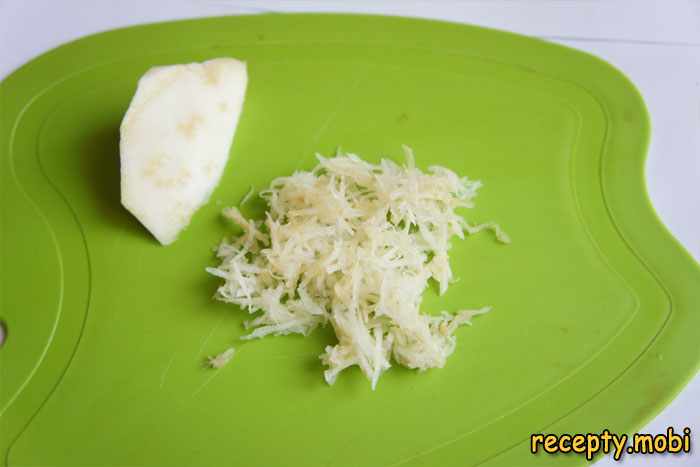
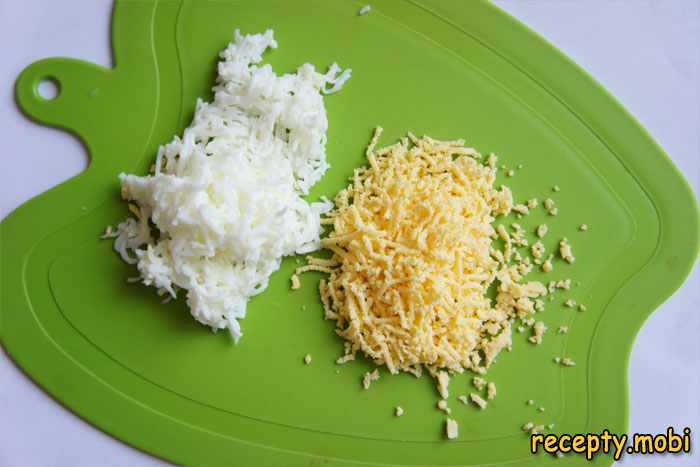
While the first salad rests, I prepare the cheese mixture for the "chicks". I peel the remaining 1–2 boiled eggs and carefully separate the whites from the yolks. I grate the whites and yolks separately on a fine grater – the yolks will be needed for the chicks' "yellow coat", the whites go into the cheese mixture. If the yolks are a bit pale, you can add a pinch of turmeric for a brighter colour.
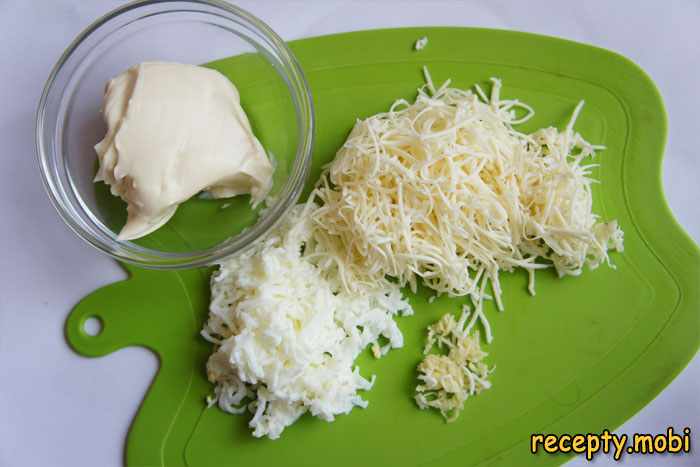
I grate the processed cheese (1 piece, about 70 g) on a fine grater – to make this easier, you can chill it in the freezer for 15–20 minutes first. In a deep bowl I mix the grated processed cheese, the grated egg whites and 50 g of soft cream cheese. I press 1 clove of garlic through a press and add it to the cheese mixture if you like – it adds piquancy.
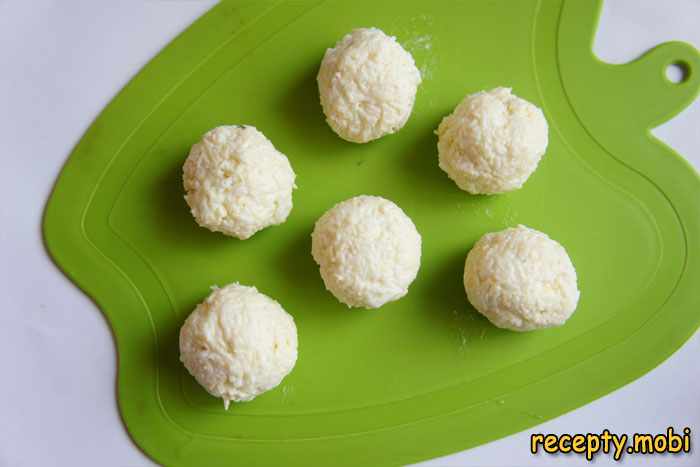
I mix the cheese mixture thoroughly until smooth – it should be pliable enough to shape into balls easily. I divide the mixture into 6 equal parts and shape each one by hand into a neat ball about 3 cm in diameter. I roll each ball straight away in the grated yolk to give it a pretty "yellow coat" – this turns the balls into the bodies of the chicks.
I put the finished yellow balls on a plate and place them in the fridge for 15–20 minutes so they firm up a little and hold their shape better. Meanwhile, from the cooled boiled carrot I cut out decorative pieces with a sharp knife: small triangular beaks (2 per chick), tiny feet and, if you like, small teardrop-shaped wings.
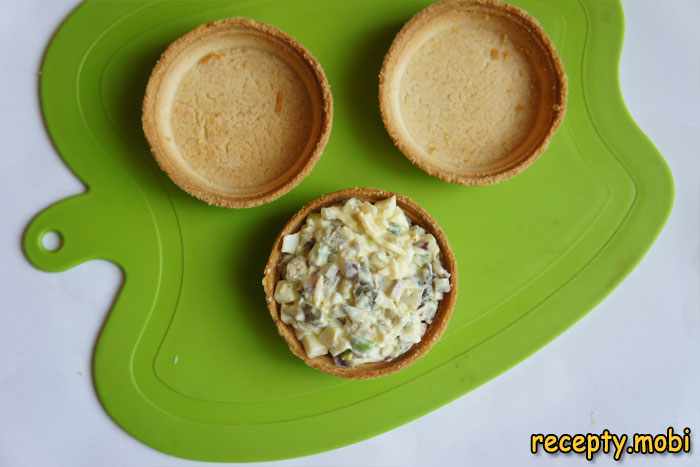
I take the first salad out of the fridge – it has rested and all the flavours have come together. I take 6 ready tartlets (shortcrust or puff) and carefully fill each one with the egg and cucumber salad, forming a small mound. I fill them to about ⅔ of the tartlet's height, leaving room for the "chick" on top.
I carefully set a cheese ball in its yellow "coat" on each filled tartlet – this is the chick's body. I press the ball lightly into the salad so it sits securely. I start decorating: I insert a carrot beak at the front, attach carrot wings on the sides, and let carrot feet stick out from under the tartlet.
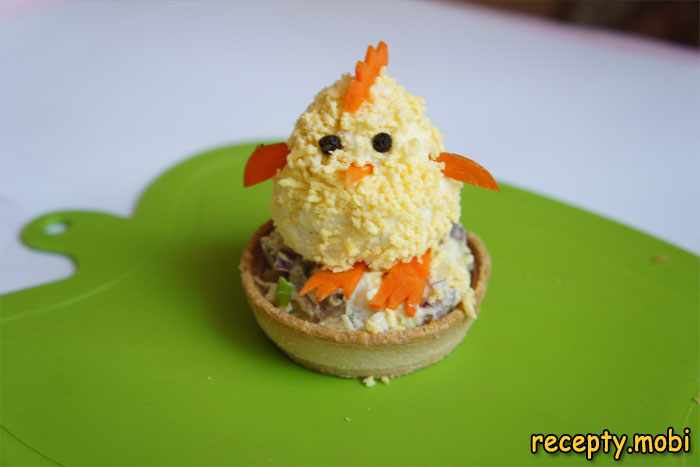
I finish the decoration: I make eyes from black peppercorns – I gently press two peppercorns into each ball just above the beak. If you like, I cut small combs from a piece of boiled carrot and attach them on top of the chick's "head". Now each tartlet has turned into a charming little Easter chick!
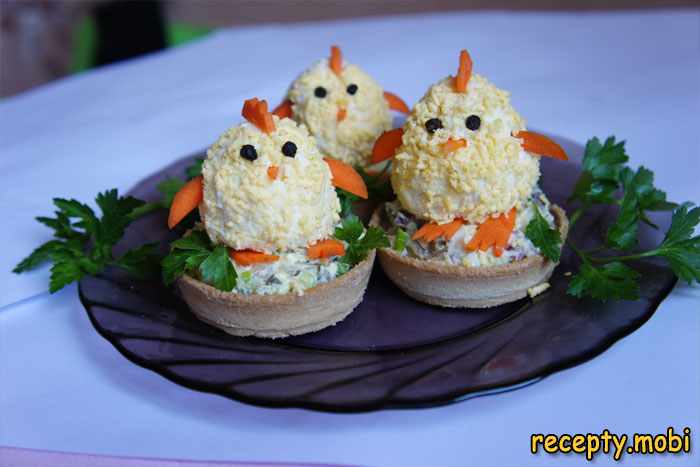
The Easter appetizer "Easter Chicks" is ready! I arrange the tartlets on a serving dish decorated with fresh herbs and serve them straight away – the tartlets should stay crisp. This dish always becomes the centre of attention on the holiday table and delights guests of any age.


Tips
- 1
It is better to make the mayonnaise at home – the appetizer is also meant for children, so it is important to use safe, good-quality ingredients. Homemade mayonnaise is tastier and better for you than shop-bought.
- 2
The tartlets can be replaced with crackers or toasts, or baked yourself from shortcrust pastry. Store ready shortcrust tartlets in a dry place and fill them only just before serving so they do not go soggy.
- 3
For firmer, denser "chicks", add a little more processed cheese to the cheese mixture – the balls will hold their shape better and will not spread on the tartlets.
- 4
The decorative carrot pieces can be cut out in advance and kept in the fridge in a container of water for up to 2 days – they will keep their bright colour and firmness.
FAQ
What can I use instead of processed cheese in the appetizer? +
Use a soft cream cheese such as Philadelphia, Almette or mascarpone – the taste will be more delicate and creamy. You can also use full-fat cottage cheese blended until creamy.
Can I prepare the appetizer in advance? +
The salads and cheese balls can be prepared a day ahead and kept in the fridge in closed containers. However, it is better to assemble the appetizer (fill the tartlets and decorate the chicks) just before serving – otherwise the tartlets will go soft from the moisture of the salad.
Is this appetizer suitable for other holidays? +
Of course! The chick shape can be replaced with simple cheese balls or other figures depending on the theme of the holiday. The filling itself is versatile and works well for any buffet, children's party or family gathering.
How long does the finished appetizer keep? +
Once assembled, the appetizer keeps in the fridge for no more than 2–3 hours – after that the tartlets lose their crisp texture. The salads and cheese balls on their own can be kept in the fridge for up to 2 days.
- Comment
or post as a guest
Be the first to comment.


