
avg —
Chicken Salad with Canned Corn
Instructions
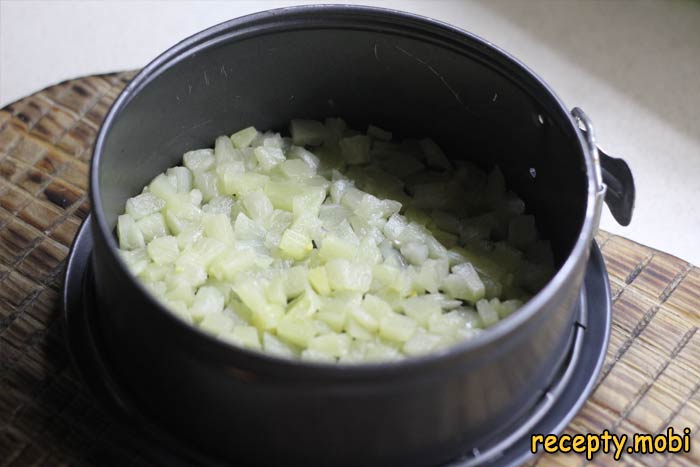
Drain the marinade from the canned corn and pineapple through a colander, pressing out the excess liquid thoroughly. The pineapple syrup would soften the salad during storage and make the texture "floating". Cut the pineapple into small 7–8 mm cubes and lay them as the first layer in the assembly mould.
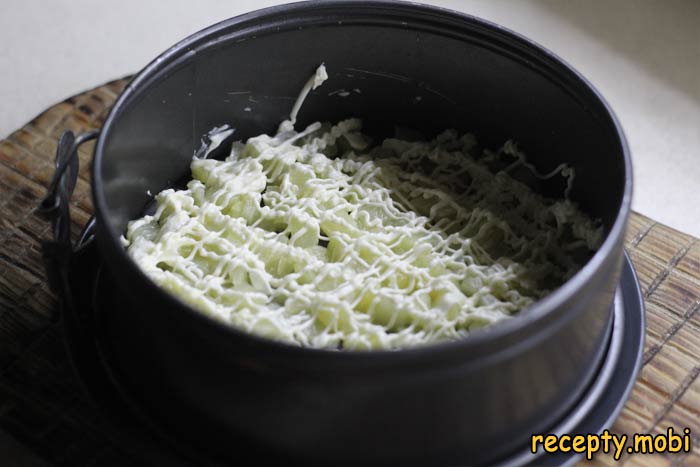
Spread the pineapple layer with a neat mesh of mayonnaise. A piping bag or an ordinary bag with the corner snipped off is handy for this. A mesh gives a more even soak-through without the extra weight of mayonnaise – important for layered salads with a delicate structure.
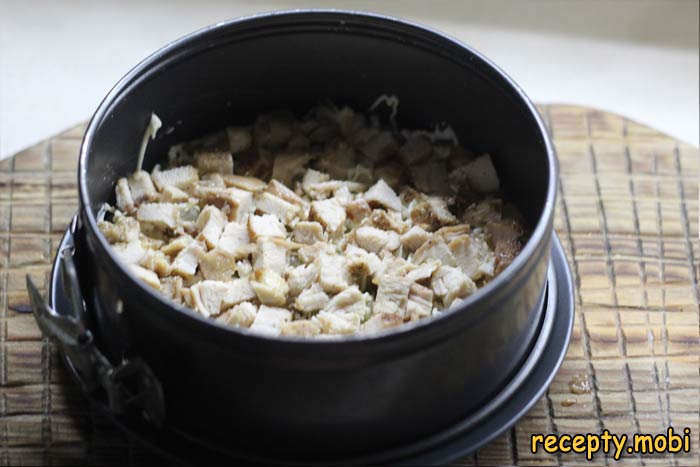
Cut the cooled baked chicken breast into small 1 cm cubes and lay it as the second layer. Baked breast gives the best flavour – boiled breast is a bit dry. Cooled chicken cuts more neatly than hot, it does not crumble or fall apart. There is no need to add salt – there is enough salt in the cheese and the mayonnaise.
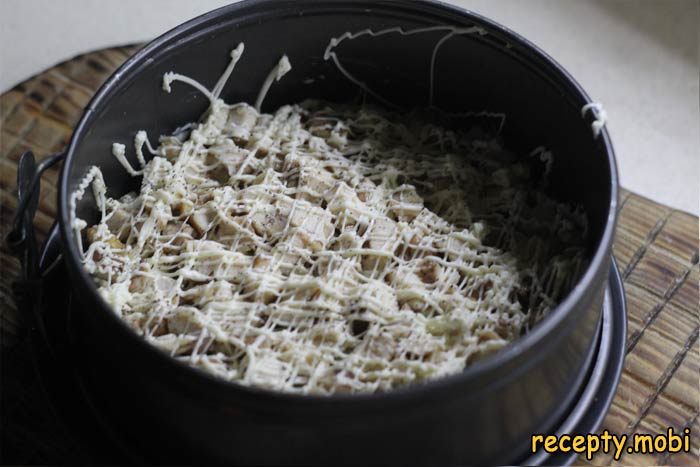
Spread the chicken layer with mayonnaise, again in a mesh for lightness. This trick keeps the layers visible when the salad is sliced – each layer "reads" separately, like the cross-section of a cake. A solid coat of mayonnaise would create a continuous white "filling" that looks unattractive.
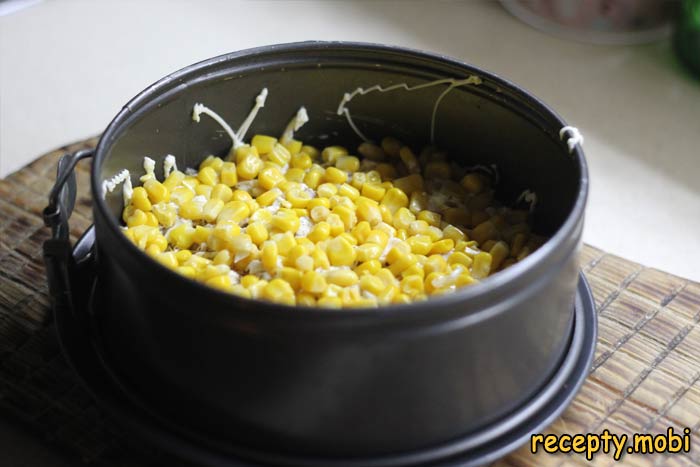
Spread a layer of canned corn evenly over the chicken layer and again cover it with a mesh of mayonnaise. The corn gives a pleasant sweetness and a textural contrast with the soft chicken – an important layer for the balanced taste of the whole salad.
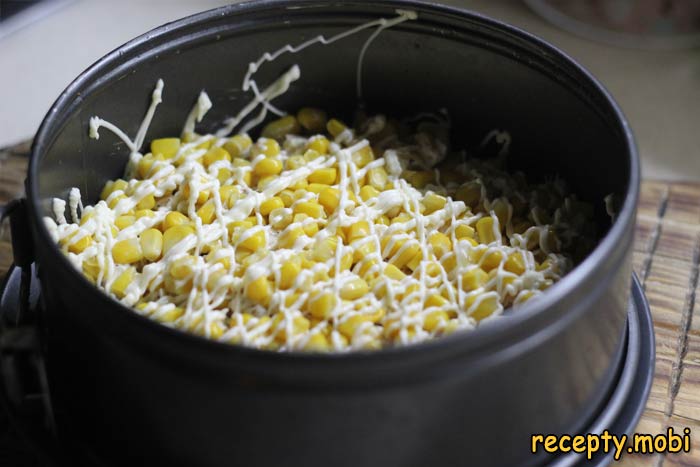
Cover the corn layer with a mesh of mayonnaise, keeping it light so the layer stays distinct.
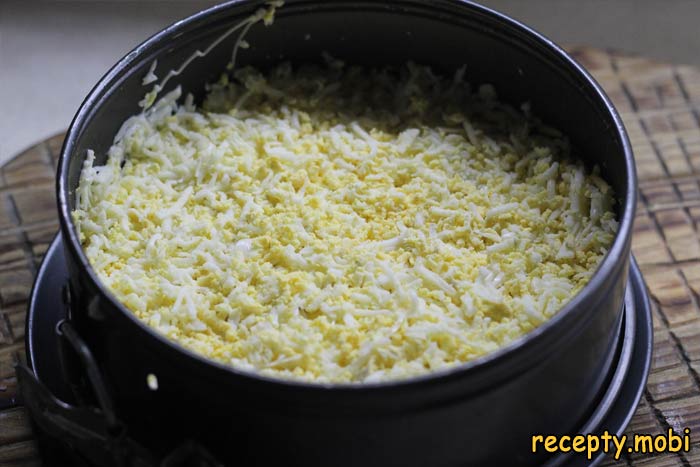
Grate the boiled eggs on a coarse grater straight into the salad as the next layer. Sprinkle with a pinch of salt and freshly ground black pepper. Grating gives an airy, fluffy layer, unlike cubing. Season this egg layer in particular – it is the blandest one in the salad.
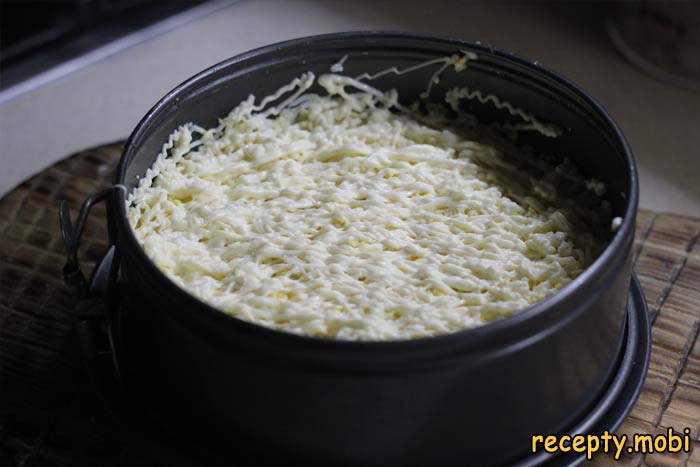
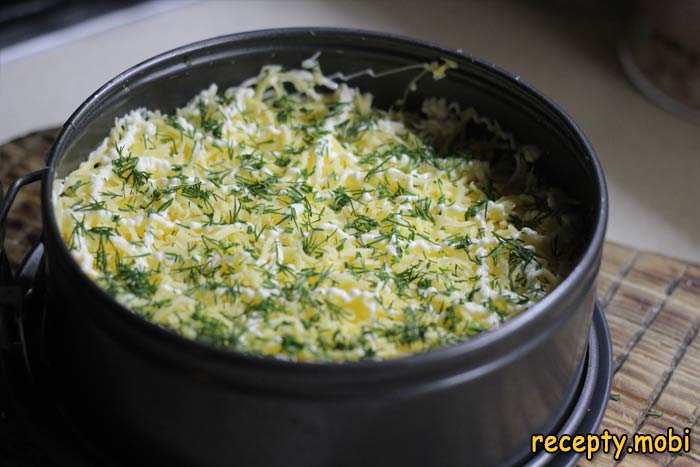
Spread the egg layer with a mesh of mayonnaise and finish with a top layer of grated hard cheese (Parmesan, Gouda, Russian cheese). The cheese on top creates a characteristic "cheese dome" when served – pretty and appetising. Fluffy grated cheese works better than pieces in this salad.
Decorate the top with a final mesh of mayonnaise and finely chopped fresh herbs (dill or parsley). Put it in the refrigerator for at least 2 hours, ideally overnight – during this time the layers soak through and the salad takes on its characteristic delicate taste.

The chicken and corn salad is ready! Carefully lift it out of the ring mould for an impressive presentation, or serve it straight in a clear glass bowl so guests can see all the layers.
Garnish with herbs, and you can add a few corn kernels on top for decoration. Serve and enjoy!This chicken and canned corn salad is a festive classic with a harmonious sweet-and-sour taste and a light tropical note from the pineapple. Served from a ring mould or in a clear glass bowl, it makes an elegant centrepiece for any celebration.


Tips
- 1
Use a ring mould for a beautiful layered presentation – you get a restaurant look with minimal effort. Glass works perfectly too.
- 2
Spread each layer with mayonnaise in a mesh from a bag – this keeps the layers visible and prevents the salad from going soggy.
- 3
Add 1–2 cloves of minced garlic or a pinch of garlic powder to the mayonnaise for a piquant touch. I make meat salad on a similar principle.
- 4
Let the salad soak for at least 2–3 hours in the refrigerator, ideally overnight – during this time the layers come together and the taste becomes harmonious.
FAQ
What can I substitute for the pineapple in the salad? +
Firm fresh apples of the "Gala" or "Granny Smith" varieties work well (they add a fresh tartness), as do pears of the "Conference" or "Duchess" varieties (a more delicate sweet accent), kiwi (an exotic green-coloured substitute), peaches canned in their own juice (a similar sweetness), or mandarins (a citrus note). Each option gives the salad its own character. Without a sweet fruit component the salad will be less interesting. For a Russian-cuisine classic, use a fresh tart apple – it is an old-fashioned trick.
Can the salad be made without mayonnaise? +
Yes, replace the mayonnaise with thick sour cream (25–30%, for a more tangy accent), Greek yogurt (the most diet-friendly option), a 50/50 mix of sour cream and mayonnaise (the golden mean), or cream cheese with a spoonful of sour cream. Each dressing gives its own character: mayonnaise is rich, sour cream is refreshing, yogurt is light. For a vegan version, use an avocado-based sauce with yogurt. Homemade mayonnaise is the best choice if you want to avoid additives.
How should the finished salad be stored? +
In the refrigerator, in a tightly closed container or under cling film – for up to 2 days. On the second day the flavour becomes even richer as the layers soak through completely. Do not keep it next to strong-smelling foods (fish, smoked products) – the salad will absorb their odours. I do not recommend freezing it: after thawing the mayonnaise will separate, the chicken will turn "stringy" and the eggs "rubbery". Make portions you will eat within 1–2 days at most.
How long does the salad need to infuse? +
At least 2 hours in the refrigerator – during this time the layers begin to soak through with mayonnaise and the flavours come together. The optimum is 3–4 hours or overnight (8–10 hours). It is not worth infusing it for too long – beyond 12 hours the salad becomes "wet" and loses its freshness. If you are in a real hurry, serve it after 30–40 minutes, but bear in mind that the layers will be sharply separated and the flavour will not yet have come together. The ideal option is to make the salad in the evening for the next day's festive lunch.
- Comment
or post as a guest
Be the first to comment.


