
avg —
Chicken Liver Salad with Onions and Carrots
Instructions
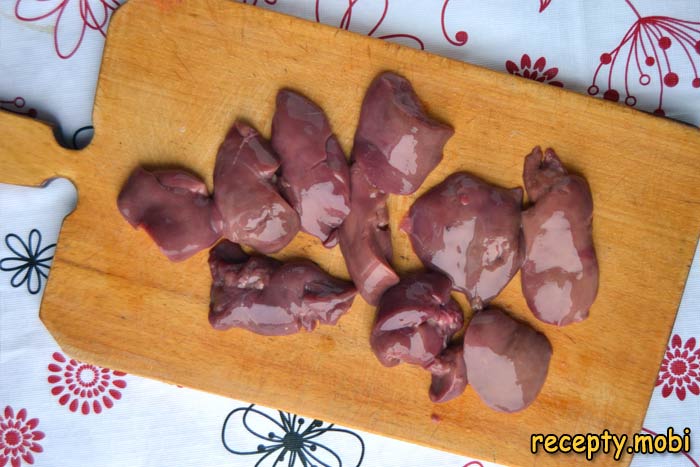
Prepare all the products for the layered salad on a clean work surface. Rinse the chicken liver (200 g) thoroughly under cold running water and pat it dry with a paper towel – wet liver will spit and splatter oil in the pan. Remove any membranes and bile ducts, as they make the finished dish bitter.
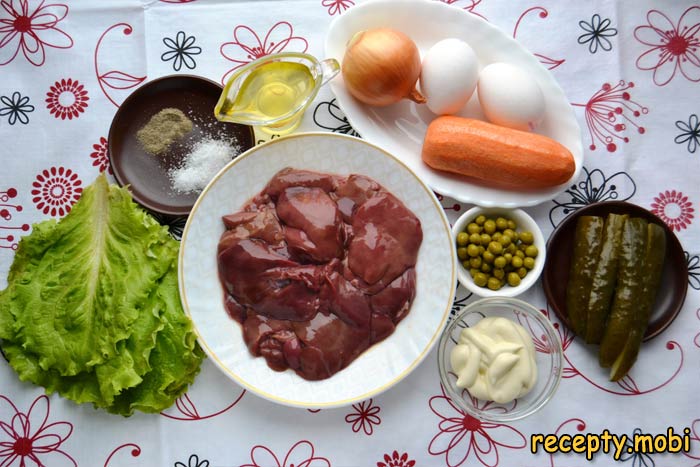
Rinse the chicken liver thoroughly under cold water and dry it with a paper towel.
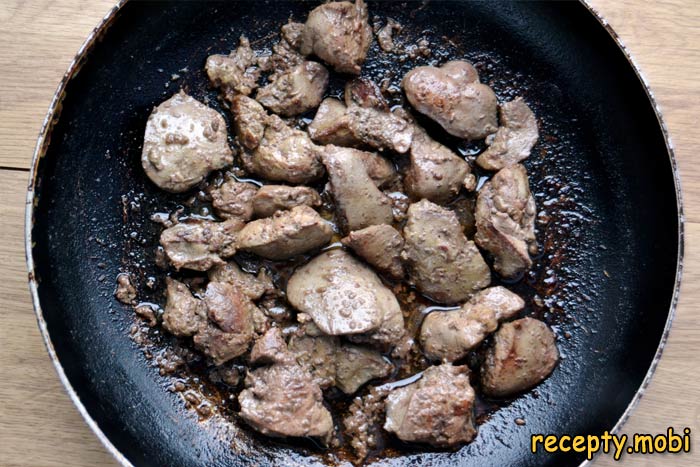
Pour the vegetable oil (50 ml) into a skillet and heat it well over high heat. Add the pieces of liver and fry them for 5–6 minutes on all sides until golden, turning from time to time – high heat gives a crust that seals the juices inside. Only once the crust has formed, add salt and pepper (salting earlier draws out the moisture). Then reduce the heat to the lowest setting, cover with a lid, and simmer for another 5 minutes until cooked through. The liver is ready when it is greyish-pink inside with no blood. Transfer the fried liver to a plate to cool, and do not wash the skillet – you will fry the onion in the "liver" oil for extra aroma.
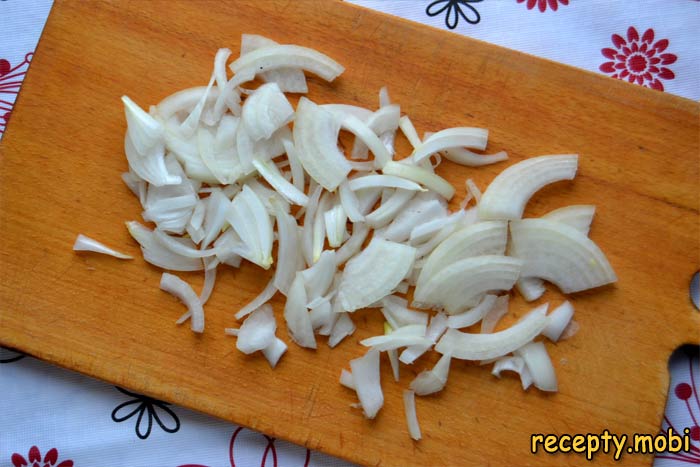
Peel the onion and cut it into thin half-rings, about 2–3 mm – thin half-rings fry quickly and turn an even golden colour. Onion cut too thick stays raw inside, while very fine shreds burn, so half-rings are the happy medium for layered salads.
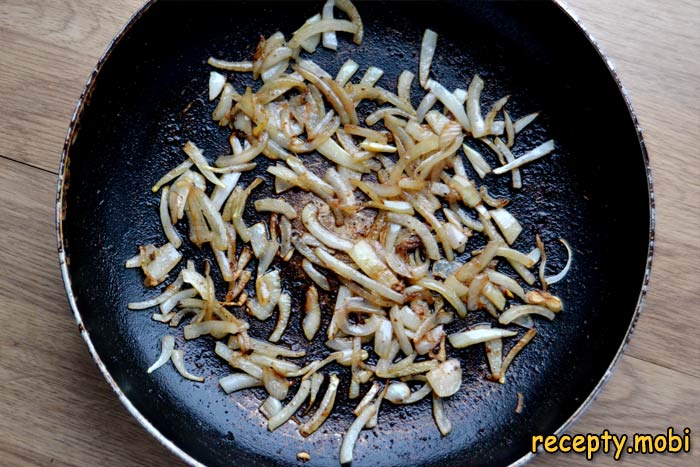
Tip the onion into the skillet with the remaining "liver" oil and fry it for 3–4 minutes over medium heat until golden, stirring constantly. The onion soaks up the aroma of the liver and gives the salad a deep, meaty flavour – an old trick of Soviet home cooks. Transfer it to a plate to cool, as hot onion would melt the mayonnaise between the layers.
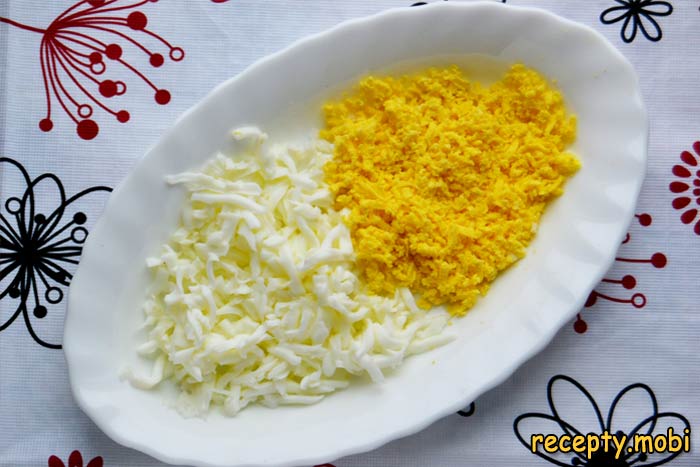
Put the eggs (2 pcs.) into cold salted water and boil them for 8 minutes after the water comes to the boil – the ideal time for hard-boiled eggs with a firm yolk. Straight after boiling, drop them into iced water for 5 minutes; this makes peeling easier and keeps the yolk from turning grey-green. Peel the eggs and grate them separately: the yolks on a fine grater (for decoration) and the whites on a coarse one (for the base of the salad).
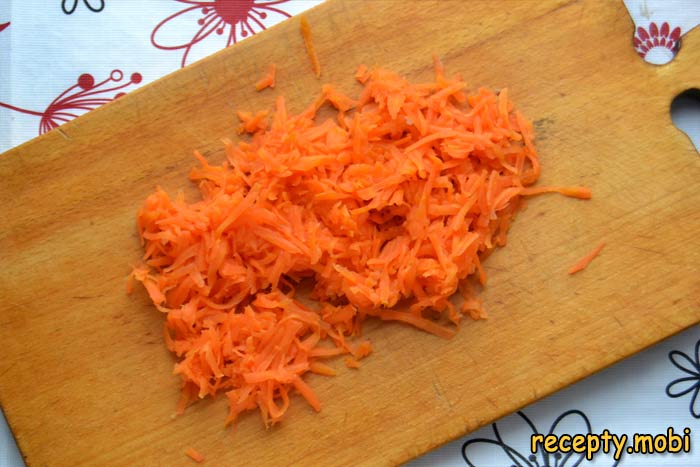
Scrub the carrot (1 pc.) well and boil it in its skin in salted water for 20–25 minutes until soft (check with a knife – it should slide in without resistance). Cool it completely in cold water, peel it, and grate it on a medium grater. Boiling it in its skin preserves the flavour and the vitamins, so the carrot does not leach out into the water.
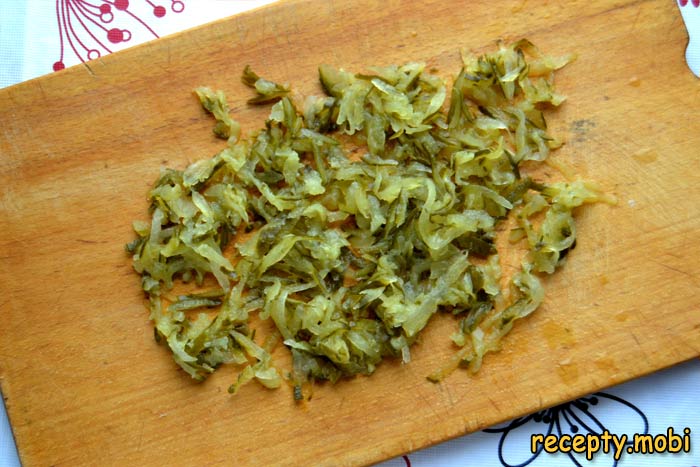
Grate the pickled cucumber (1 pc.) on a coarse grater. Be sure to squeeze out the excess brine by hand through a piece of muslin or a sieve – without squeezing, the cucumber will weep into the salad and make the mayonnaise layer split. A well-squeezed cucumber gives that distinctive salty note without washing out the structure.
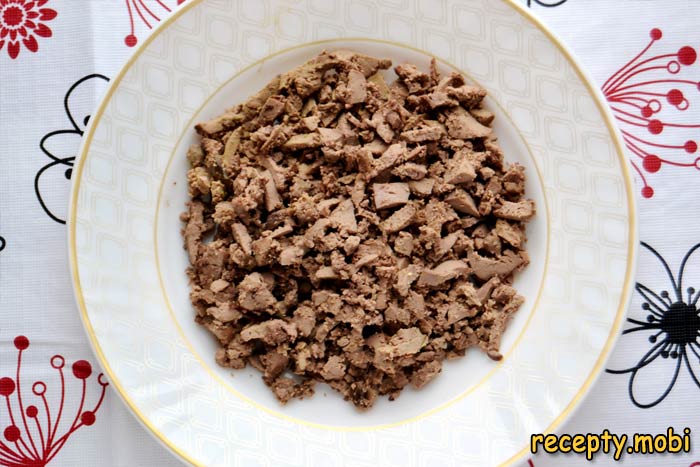
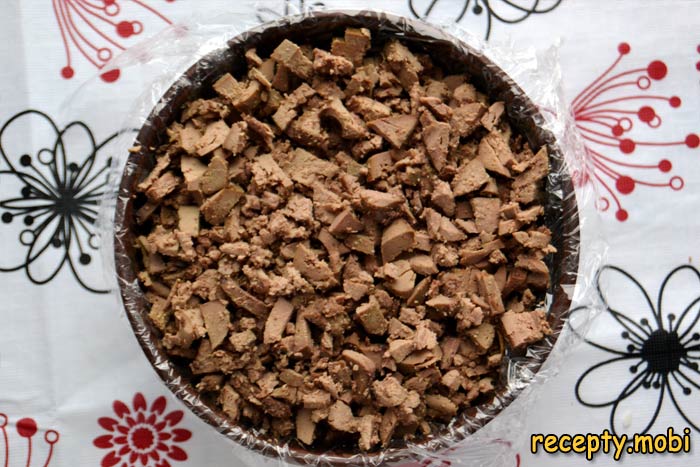
Cut the cooled chicken liver into small 5 mm cubes or grate it on a coarse grater, whichever you prefer. Grated liver gives a more uniform layer, while cubes give a more textured bite. I prefer 5 mm cubes, so you can feel the character of the liver.
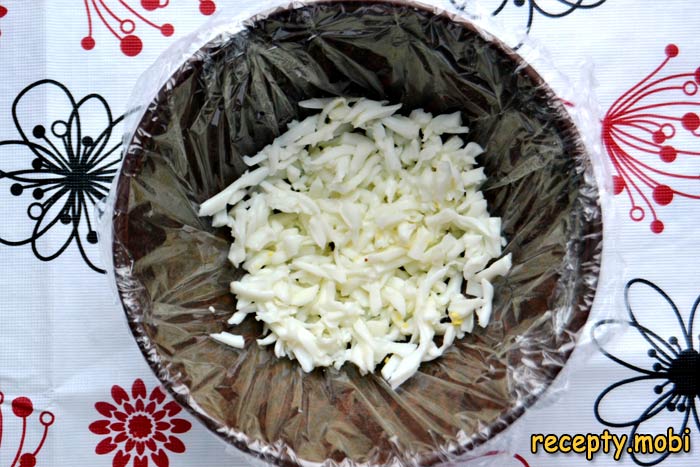
Take a deep salad bowl of about 0.5 litres and line it with cling film, leaving plenty overhanging the edges – the film makes it easier to turn out the finished salad. Lay the layers in reverse order (what should end up on top goes in first): grated egg whites on the bottom. Spread the egg whites with mayonnaise.
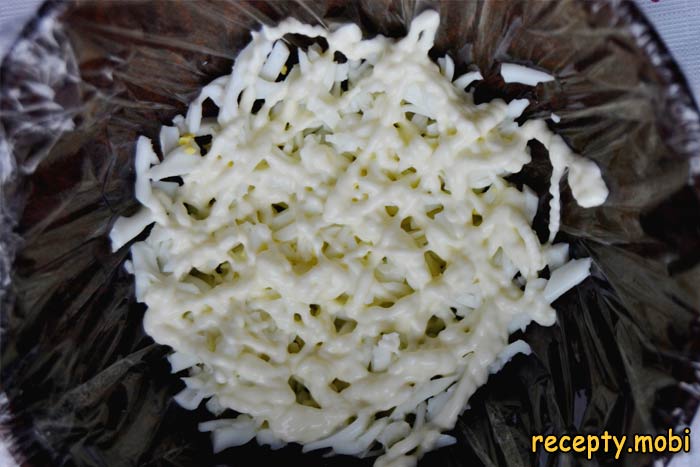
Spread mayonnaise on the egg whites layer.
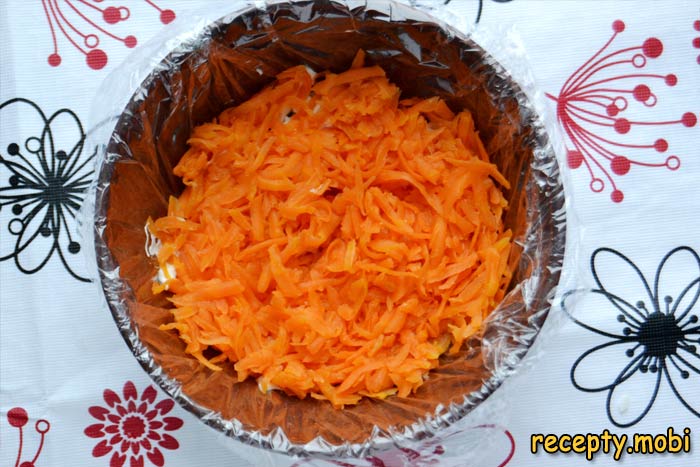
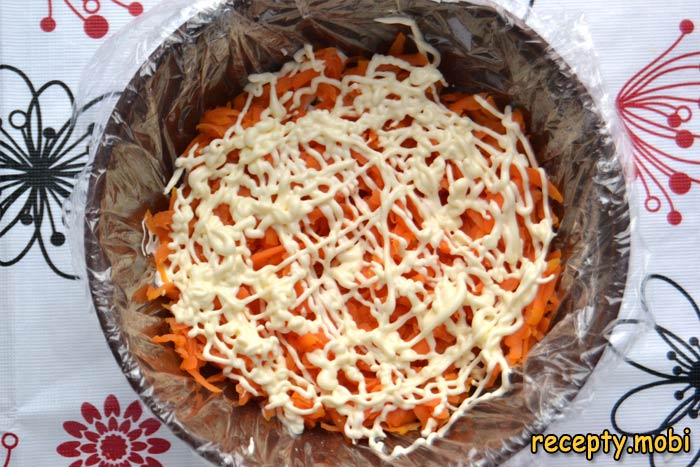
Spread the grated carrot over the layer of egg whites.
Cover the carrot layer with a net of mayonnaise.
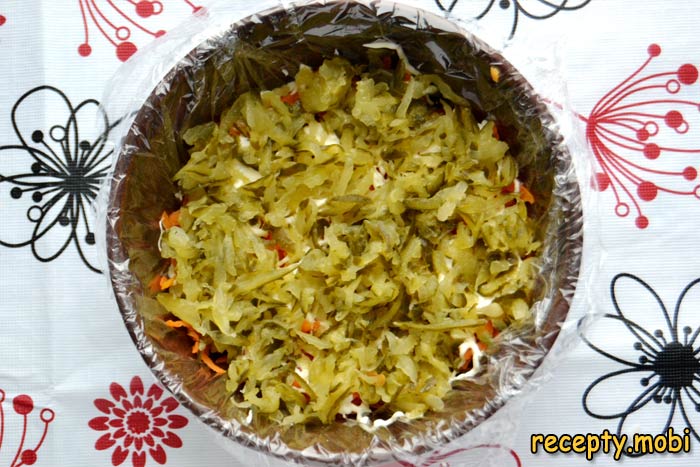
The next layer is the grated pickled cucumber, squeezed of its brine beforehand. Add it without mayonnaise, otherwise it would spread.
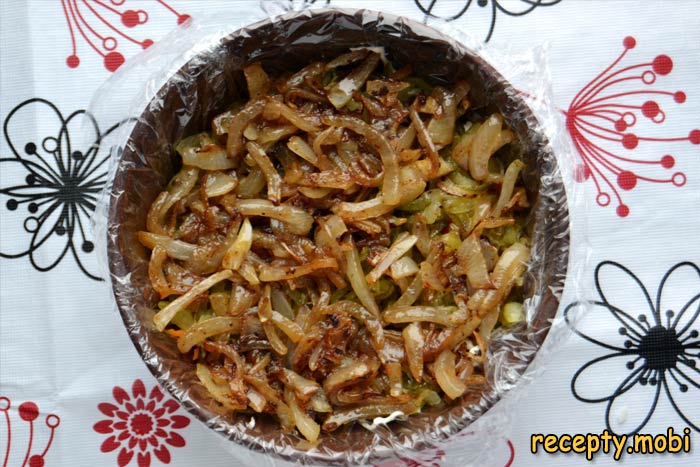
Then add the layer of fried onions.
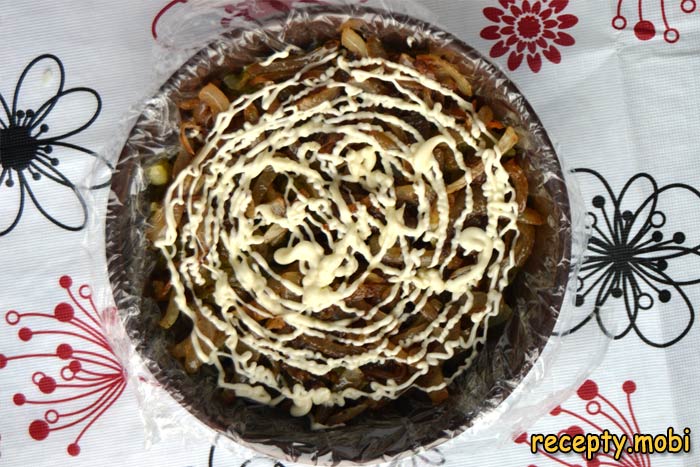
Now spread mayonnaise over the layer of fried onions.
The next, top layer is the chopped chicken liver.
Spread mayonnaise generously over the liver layer and press the layers down lightly with your palm to compact them. Cover with cling film on top and place the salad bowl in the refrigerator for 20–25 minutes so that the layers properly soak.

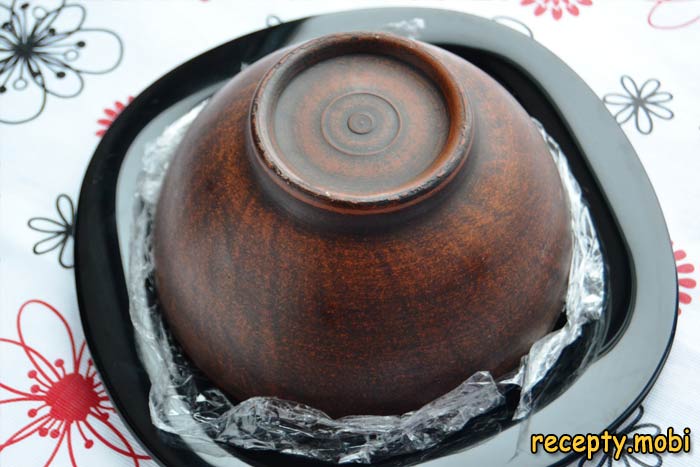
After that, cover the salad bowl with a flat serving plate and carefully turn it upside down. Lift off the bowl.
Carefully remove the cling film from the salad – it has taken the shape of the bowl, like a dome.
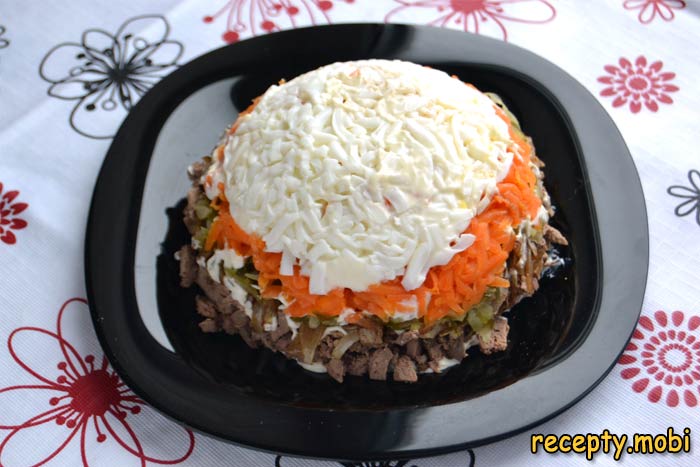
Decorate the sides of the layered salad with chicken liver, onions and carrots with thin strips of mayonnaise. On top of the salad, place the grated yolks (an imitation of the "Mimosa" look).

Add green peas for decoration as well. Around the salad on the plate, arrange fresh lettuce leaves. The layered salad with chicken liver, onions and carrots is ready. Bon appetit!


Tips
- 1
Do not fry the liver for longer than 12 minutes, or it will turn rubbery and dry. The optimum is 5–6 minutes over high heat plus 5 minutes under a lid.
- 2
Fry the onion in the "liver" oil – it soaks up the meaty aroma and gives the salad a deep flavour, just as Soviet home cooks did.
- 3
Be sure to squeeze the brine out of the pickled cucumber, otherwise the salad will weep and the mayonnaise layer will split. I use a similar approach for my "Mimosa" salad.
- 4
For an attractive presentation, line the salad bowl with cling film – it makes it easier to turn the finished layered "dome" out onto a dish.
FAQ
What can I use instead of chicken liver in this salad? +
Suitable alternatives include beef liver (a richer flavour, boiled for 20 minutes rather than fried), turkey liver (more tender), pork liver (fattier), or chicken hearts and gizzards (a leaner option that takes longer, about 40 minutes). For a meat-free version, leave out the liver and replace it with boiled beans or chickpeas (300 g) together with fried mushrooms for protein. Each kind of liver brings its own character. Chicken liver is the classic choice thanks to its tender texture, quick cooking and affordable price.
Can I replace the mayonnaise with a healthier dressing? +
Yes, you can use homemade mayonnaise (made with olive oil), 20% sour cream (a lighter option), Greek yoghurt (a diet-friendly choice), sour cream with mustard and a drop of lemon juice (an egg-free imitation of mayonnaise), or a 50/50 mix of sour cream and mayonnaise (a compromise). For a strict diet, use low-fat curd cheese thinned with a little water or yoghurt to a sour-cream consistency. Each substitute gives its own character. Mayonnaise is the classic for Soviet layered salads thanks to its thickness and distinctive taste.
How long does the finished salad keep in the refrigerator? +
The finished salad keeps in the refrigerator for up to 24 hours in a tightly closed container – any longer and the layers spread and the salad loses its shape. It is best served on the day it is made, after 20–25 minutes of soaking. On the second day the flavour is even richer, but the appearance suffers, so serve it in small individual dishes. Do not freeze it – the mayonnaise splits on thawing and the vegetables weep. Make it in the right quantity for the table, with nothing left over.
What should I serve the layered salad with? +
It is ideal as a festive starter for the table – serve it alongside cold cuts (roast pork, ham, smoked chicken), pickled mushrooms, or sliced fish (salmon, mackerel). It goes well with hot dishes such as roast chicken, pork or beef. Dark Borodinsky bread or garlic croutons suit the salad well. For drinks, try dry white wine (Riesling, Chardonnay), a semi-sweet wine (for those who like it), dry vermouth, or vodka for a Russian table. It is perfect for the 8th of March, a birthday, the New Year table, and corporate events.
- Comment
or post as a guest
Be the first to comment.


