
avg —
Five-Minute Raspberry Jam for Winter
Instructions
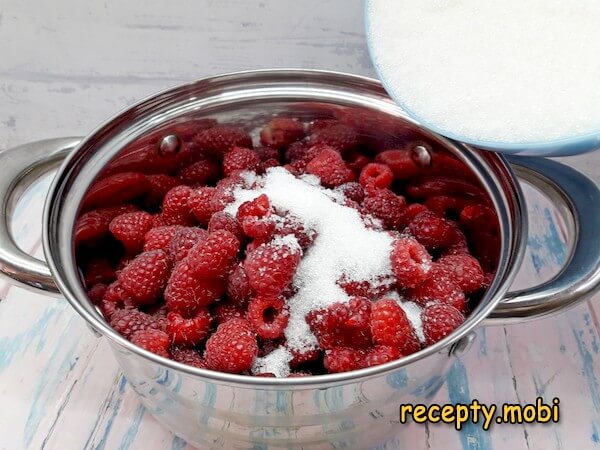
Prepare the ingredients for making homemade five-minute raspberry jam. Use only freshly picked raspberries – summer berries from your own garden or from a trusted seller at the market. I do not wash the raspberries but carefully sort them by hand, removing small twigs, leaves, and spoiled or crushed berries. Washing strips the raspberries of their characteristically delicate texture and makes the jam runny because of the water left in the crevices.

Divide the total amount of sugar (700 g) in half for a two-stage addition – this is the secret to the right jelly-like consistency. In a heavy-bottomed pot, layer the raspberries with one half of the sugar (350 g): a layer of berries – a thin layer of sugar – a layer of berries – sugar. Continue until all the raspberries are used up.
The top should be completely covered with a layer of sugar 3–5 mm thick. Place the pot of raspberries in the refrigerator for 4 hours (overnight is fine) – during this time the sugar will draw the juice out of the berries and form a natural syrup without adding any water, which is critically important for the right consistency.
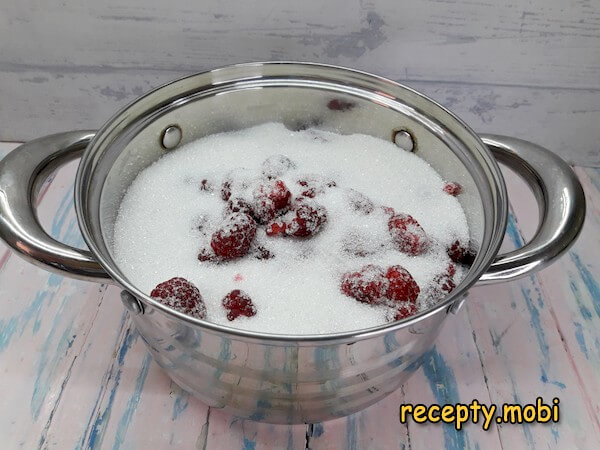
After 4 hours (or in the morning after a night in the refrigerator) the berries will release enough juice for cooking – you can tell by the pink liquid that has formed at the bottom. The raspberries will settle partly into the syrup that has formed – this is normal and correct.
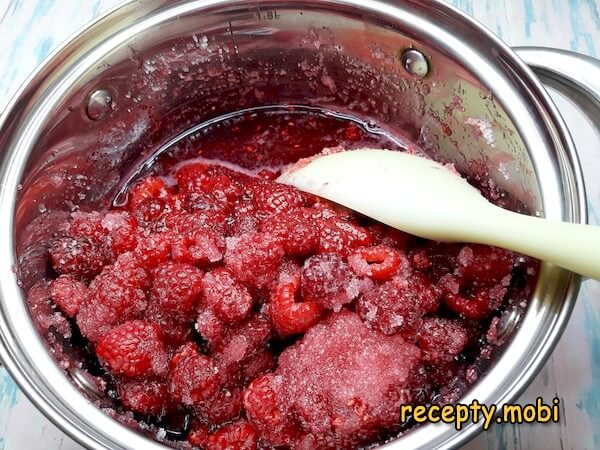
Prepare the glass jars for sealing, sterilizing them by any convenient method: over the steam of a kettle for 15 minutes, in the oven at 120 °C for 10 minutes, or in the microwave with 50 ml of water for 5 minutes. Boil the metal lids for 5 minutes. Over medium heat, begin to warm the berry mass with its syrup, stirring constantly and gently with a wooden spoon, until all the sugar crystals from the first half have completely dissolved.
Only after the first half of the sugar has completely dissolved, add the remaining reserved portion of sugar (350 g) – this is the key secret to the right consistency. The two-stage addition ensures the characteristic jelly-like texture without using any thickeners. Stir thoroughly and wait for the second half to dissolve.
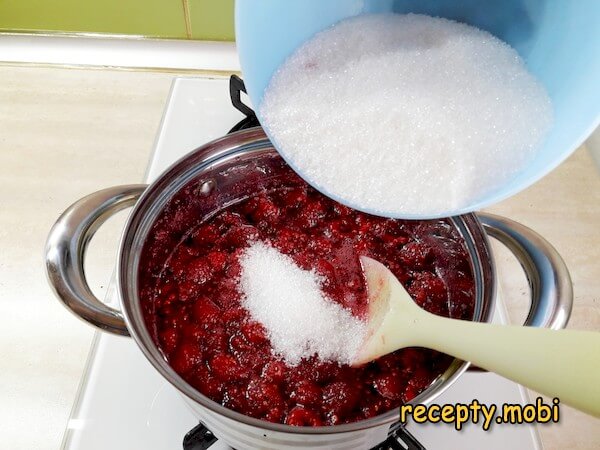
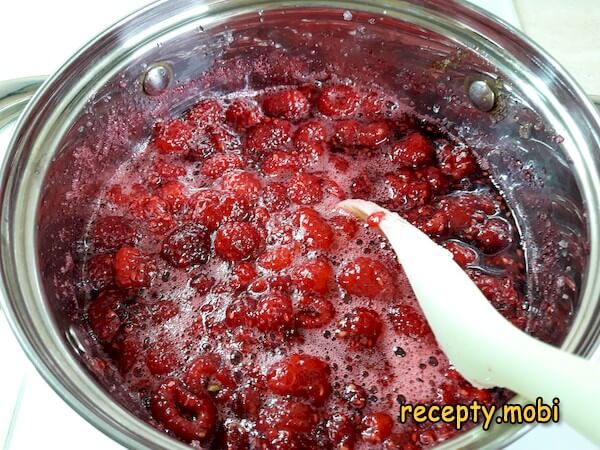
Bring the jam to the boil and cook for exactly 5 minutes over medium heat – this is the time reflected in the name "Five Minutes". During boiling a small amount of pink foam will gather on the surface – be sure to remove it with a skimmer or spoon, otherwise as it cools the foam will leave an unattractive, uneven layer. Constant stirring is not necessary; stirring occasionally, every 1–2 minutes, is enough.
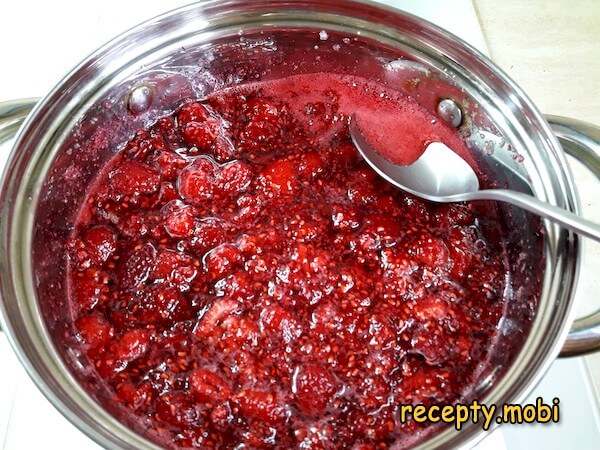
Turn off the heat and quickly pour the jam to the very top into the still-hot sterilized glass jars – cold jars may crack from the sudden heat. Use a ladle with a long handle for neat filling. The jars should be filled completely, with no air gap at the top.
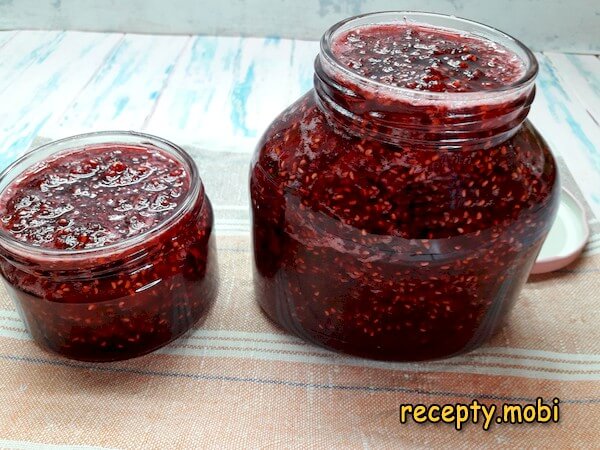
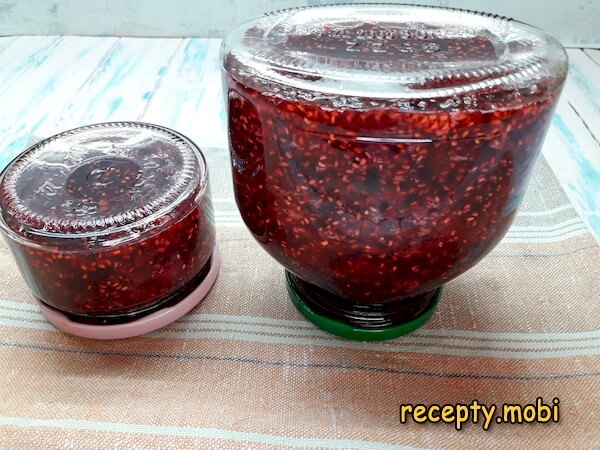
Straight away screw the jars tightly shut with the sterilized metal lids (screw-on or under a key) and turn the jars upside down for additional sterilization of the lids from the inside. Cover with a warm towel and let them cool slowly at room temperature for 12 hours – this "bath" will ensure long storage without the need for additional sterilization.Homemade five-minute raspberry jam can be stored in an ordinary dark kitchen cupboard at room temperature. The shelf life is 1 year and longer when properly sealed, but it is best to make fresh batches every year for the maximum of vitamins.


Tips
- 1
Do not wash the raspberries before cooking – after rinsing, moisture stays in the crevices of the berries, which makes the jam runny and ruins the jelly-like consistency. Only careful hand sorting without water.
- 2
Always use sugar in an equal 1:1 ratio with the berries – it is exactly this ratio that gives the right jelly-like consistency without thickeners. Less sugar and the jam will not set; more and it will be cloyingly sweet.
- 3
Cook the jam for exactly 5 minutes – this preserves the maximum of vitamins and keeps the berries whole. Long boiling destroys vitamin C, breaks the raspberries down into a purée, and makes the jam darker.
- 4
Be sure to skim the foam carefully during cooking – it will leave an unattractive cloudy layer on the surface of the finished jam and shorten its shelf life because of possible fermentation.
FAQ
Why does the jam turn out runny rather than jelly-like? +
There are three main reasons: the raspberries were washed (moisture from the berries got into the jam – only dry sorting), less sugar than the required 1:1 was used (a shortage of sugar will prevent it from thickening), or the jam was cooked longer than 5 minutes or less (the timing is critical). The variety of raspberry can also play a part – some varieties give less pectin. The fix: return the jam to the pot, add another 100 g of sugar, and boil for 3 more minutes. After cooling, the consistency will become firmer. The homemade version with the right proportions always turns out jelly-like.
Can I reduce the amount of sugar in the jam? +
For long storage – absolutely not. Sugar in an equal proportion with the berries acts as a natural preservative and gives the jelly-like consistency without thickeners. Reducing the sugar will lead to: fermentation of the jam after 2–3 weeks, the appearance of mould, a thin watery consistency, and a short shelf life. For a diet version with reduced sugar (50% of the weight of the berries), the jam can only be stored in the refrigerator for up to 1 month and you need to add pectin or gelatine for thickening. For classic year-long preserving, keep the 1:1 ratio.
How long does "Five-Minute" jam keep once sealed? +
When properly sealed in sterile jars with metal lids – 1 year and longer at room temperature in a dark kitchen cupboard or pantry. In a cool cellar at +4...+10 °C the term increases to 2 years. But it is better to make fresh batches every year – the fresher the jam, the more vitamins it contains. Store an opened jar in the refrigerator for no more than 2 weeks – on contact with air and a spoon the shelf life drops sharply because of possible microorganisms. Signs of spoilage: mould on the surface, a sour smell, bubbles.
Can I use frozen raspberries for "Five-Minute" jam? +
Yes, but with reservations. Pre-thawed raspberries contain a lot of water, which will dilute the jam considerably. To compensate, increase the sugar to 800 g per 700 g of raspberries and cook for 10 minutes rather than 5 – this way the excess moisture will evaporate. The result will taste less fresh than with fresh berries and be slightly darker in colour. The best option is to use fresh seasonal raspberries straight away (July–August), when they are at their most fragrant. Frozen ones are a solution for the off-season but not an ideal substitute. The step-by-step recipe works best with summer berries.
- Comment
or post as a guest
Be the first to comment.


