
avg —
Potato pancakes with greens – simple recipe
Instructions
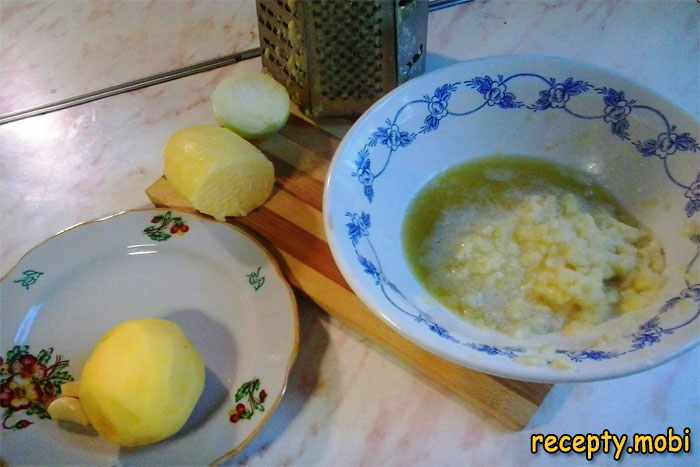
I wash the potatoes thoroughly under running water with a brush to remove any traces of soil. I peel the tubers with a vegetable peeler, cutting out the eyes and any damaged spots. Starchy potato varieties are best for draniki – they give a denser texture and hold their shape better. New potatoes are too watery and not suitable for this dish.
I grate the peeled potato on a fine grater with sharp teeth – this kind of grater helps release the most starch from the tubers, which is important for binding the mixture. I peel the onion and grate it on the same grater, adding it straight to the potato. The onion juice prevents the potato mass from darkening – the oxidation reaction that spoils the appearance of the finished draniki. I work quickly so the potato does not have time to darken.
I transfer the potato and onion mass to a fine sieve set over a deep bowl and leave it for 5–7 minutes so the excess liquid drains off. Then I squeeze the mass with my hands or through clean cheesecloth, removing as much moisture as possible. This is the key step – if you do not squeeze the potato, the draniki will fall apart in the pan and soak up too much oil. I do not pour out the liquid that comes off – valuable potato starch will settle at the bottom.
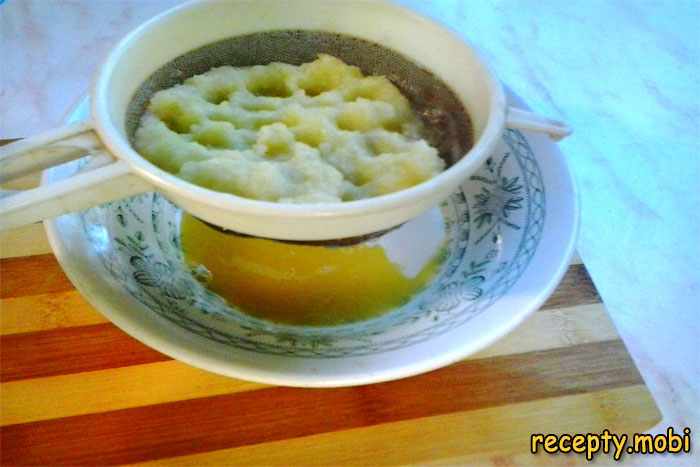
I transfer the squeezed potato mass to a clean, dry bowl. I drain the liquid from the bowl where the potato juice was settling, leaving the white starch at the bottom – I add it to the potato, as it is a natural binding component. I add the crushed garlic (pressed through a garlic press or grated on a fine grater), salt and ground black pepper to taste.
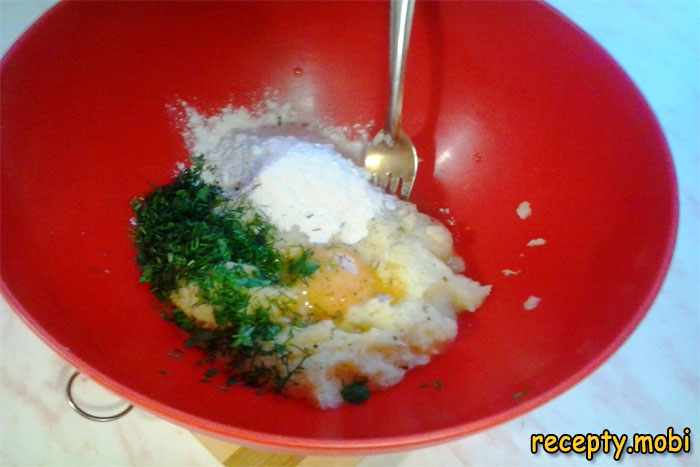
I rinse the fresh herbs (dill, parsley or a mix) thoroughly, pat them dry and finely chop them with a sharp knife. I add the herbs to the potato mass – they give the draniki a fresh aroma and an attractive look. I beat in one egg yolk – just the yolk, not the whole egg. The white makes the dough coarser and tougher, while the yolk gives tenderness and helps the draniki hold their shape during frying.
I add 1 tablespoon of wheat flour and 1 tablespoon of potato starch. These ingredients work as an extra binding component, especially important if the potato turned out not starchy enough. I mix the mass thoroughly with a spoon or by hand until completely smooth – all the ingredients should be evenly distributed.
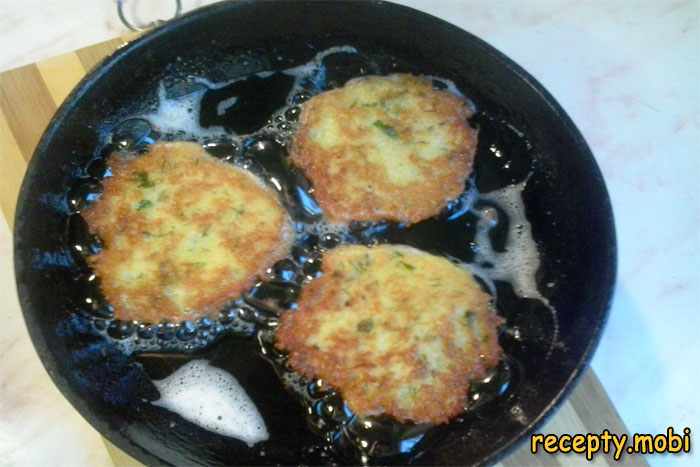
I put a heavy-bottomed frying pan (cast iron or non-stick) over medium heat and pour in a layer of vegetable oil about 3–4 mm deep. I heat the oil well for 2–3 minutes – this is critically important. I check that it is ready by dropping in a tiny bit of the mixture: if it sizzles straight away and bubbles up, the oil is ready. In cold oil the draniki will soak up the fat and turn out greasy, soft and pale.
With a tablespoon I place portions of the potato mixture onto the hot pan, leaving 2–3 cm between them – the draniki spread a little. With the back of the spoon I gently flatten each dranik, forming round cakes about 7–8 mm thick. Do not make them too thin – the middle will dry out, and not too thick – they will not cook through inside.
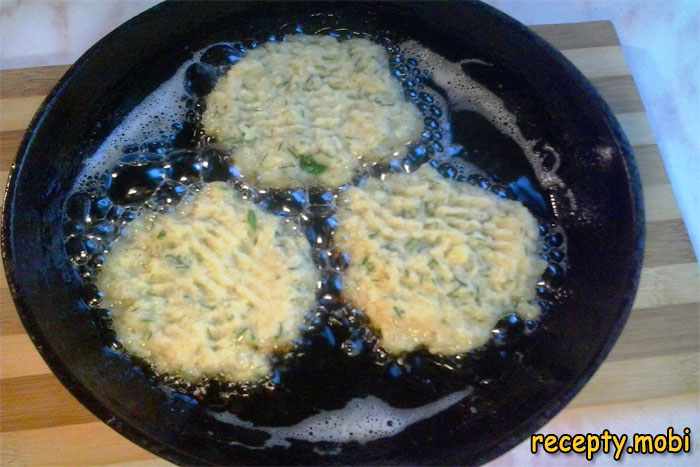
I fry the draniki over medium heat for 3–4 minutes on the first side, until the bottom crust turns golden brown and crisp. I turn them with a wide spatula and fry for another 2–3 minutes on the second side. The finished draniki should be golden on the outside and soft, fully cooked through inside. If the crust browns too quickly, reduce the heat.
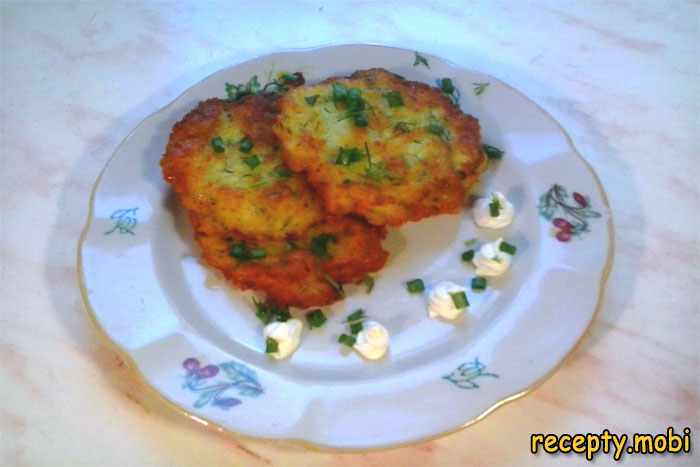
I place the finished draniki on a plate lined with paper towel – it will soak up the excess fat from the surface. I keep the finished draniki warm in the oven at 80–100 °C while I fry the remaining portions. I serve them hot with sour cream, sprinkled with finely chopped green onions. They also go perfectly with garlic sauce or simply with fresh herbs.


FAQ
Why do the draniki fall apart during frying? +
The main reasons are: the excess liquid was not squeezed out of the potato, too few binding ingredients were added (yolk, flour, starch), or the oil was not hot enough. Try adding another spoonful of flour or starch and make sure the oil is well heated.
Can I use a whole egg instead of the yolk? +
You can, but the texture will be denser and coarser. Egg white contains more water and protein, which "tightens" the dough – the draniki come out less tender and airy. For classic soft draniki, use only the yolk.
How do I keep the draniki warm and crisp? +
Lay the finished draniki in a single layer on a baking tray and keep them in the oven at 80–100 °C with the door slightly ajar. This way they stay warm and crisp until serving while you fry the remaining portions.
Can I make the draniki in advance? +
The finished draniki can be kept in the refrigerator for up to 2 days. Reheat them in a dry frying pan or in the oven at 180 °C for 5–7 minutes – they will turn crisp again. In the microwave the draniki will go soft.
Which potato is best to use? +
Choose starchy varieties with yellow or white flesh – they give a denser texture and hold their shape better. New potatoes are too watery, and waxy varieties are not starchy enough for draniki.
- Comment
or post as a guest
Be the first to comment.

")

