
avg —
Khinkali at Home
Instructions
I start with the filling. I grind the meat through a meat grinder with a coarse plate – this makes the filling juicier. I add the pepper mix and the cilantro. Fresh herbs should be finely chopped beforehand.
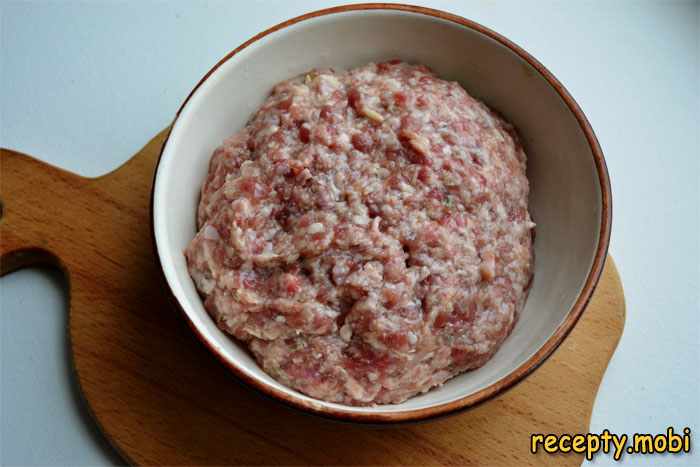
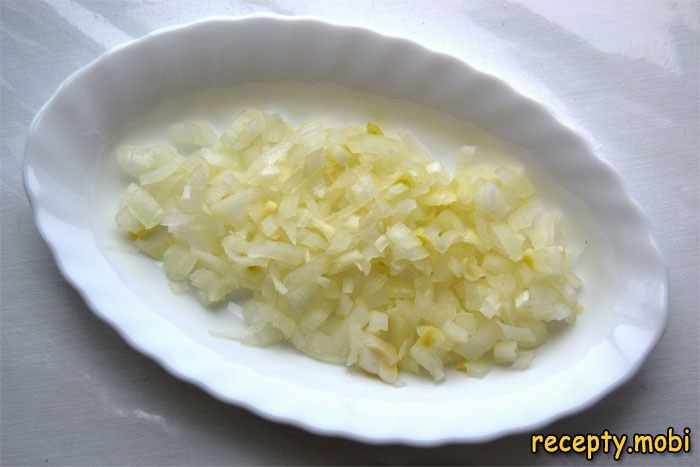
I peel the onion and chop it into small cubes, then add it to the filling. I mix everything thoroughly and begin pouring in the ice water in small portions, kneading each time until the filling absorbs the moisture. I add a lot of water – this is the secret to juicy khinkali. I salt to taste, cover with plastic wrap and put it in the refrigerator for 1 hour.
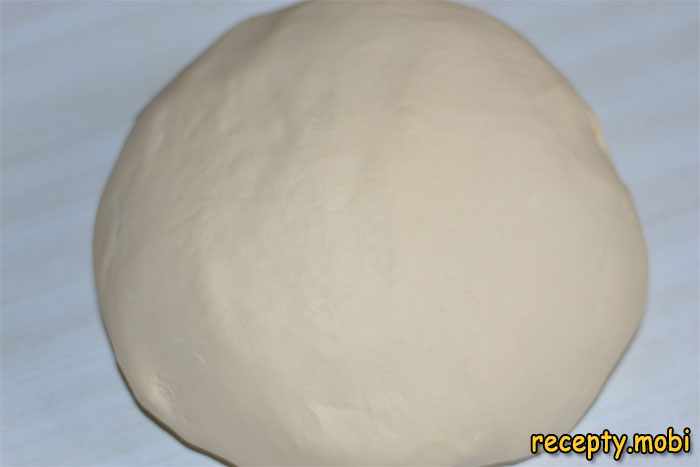
I make the dough. I sift the flour into a bowl in a mound and make a well in the centre. I put the water in the refrigerator in advance – it should be very cold. I pour the water into the well, add the salt and start kneading, gradually drawing in the flour from the edges towards the centre.

I knead the dough until it is smooth and elastic – at least 10 minutes. I cover it with plastic wrap and leave it to rest for 20 minutes. Then I knead it again for 10 minutes and let it rest for another 20 minutes. The dough should be firm and not stick to the hands.
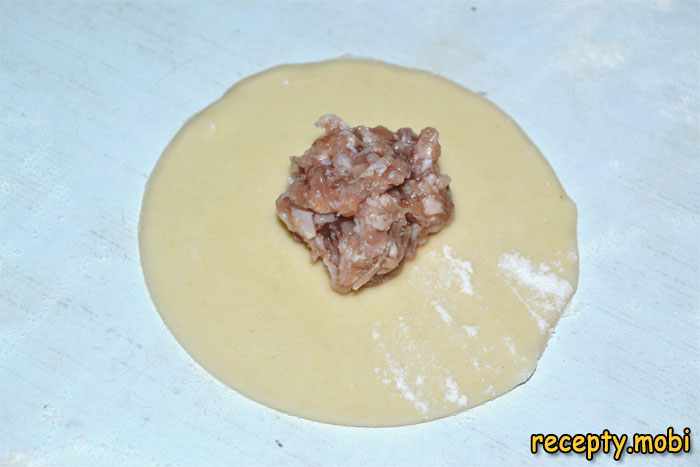
I dust the table with flour and roll out part of the dough into a thin layer. I cut out circles about 10 cm in diameter. I take the filling out of the refrigerator and mix it well. I place a tablespoon of filling in the centre of each circle.
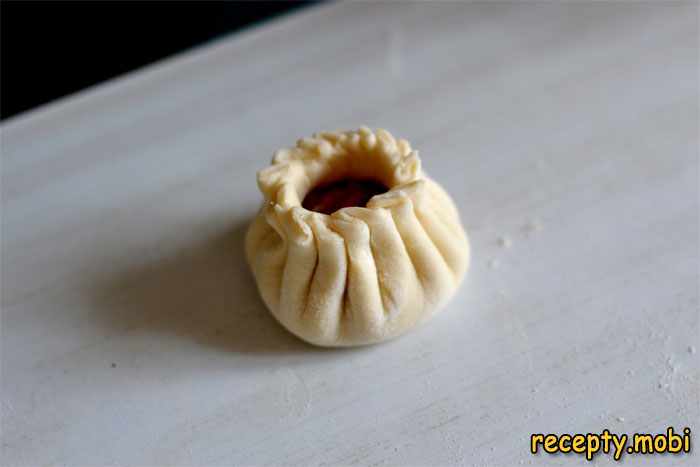
I lift the edges of the dough and start gathering pleats, pinching them one after another and forming the characteristic little pouch. There should be 18–20 pleats. I leave room inside the khinkali for the juice.
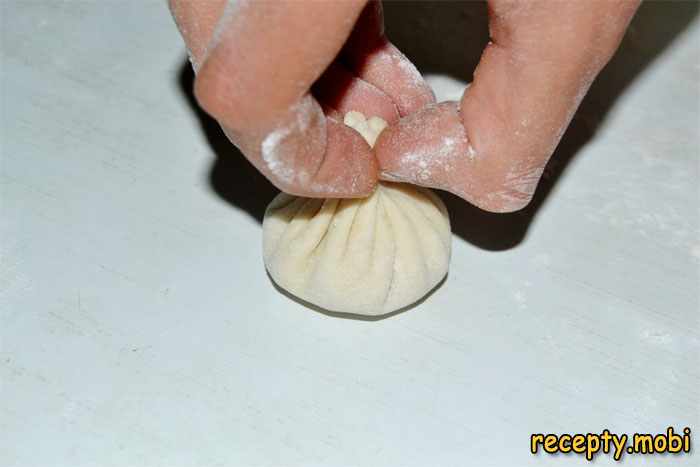
I bring all the pleats together in the centre, pinch them tightly and lightly twist the khinkali, holding it by the knot. I pinch off the excess dough at the top – this is the "tail".
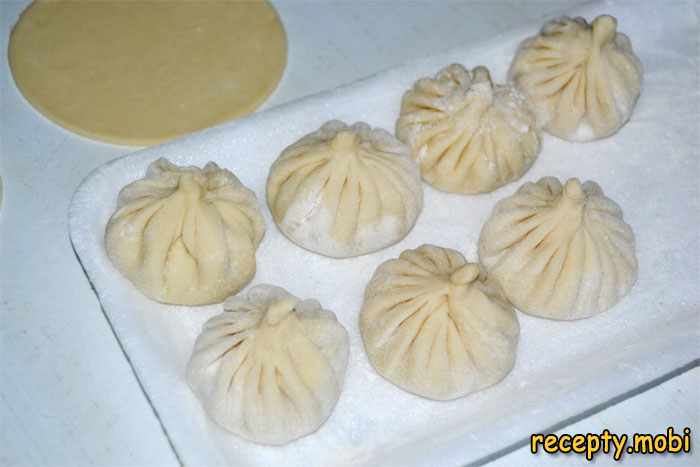
I place the shaped khinkali on a floured board. I make sure they don't touch each other – otherwise they will stick together.
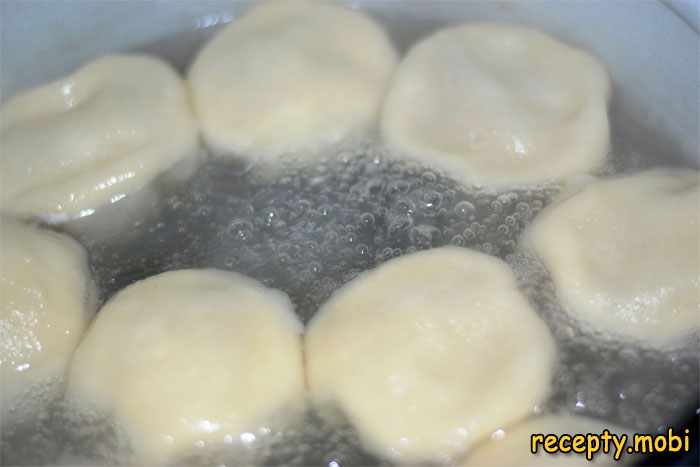
In a large pot, I bring salted water to the boil. With a spoon I create a whirlpool and lower the khinkali in one by one. Until they float up, I stir gently so they don't stick to the bottom. I boil them for 10 minutes after they surface. At the end I pour in a cup of cold water and immediately remove them with a slotted spoon.
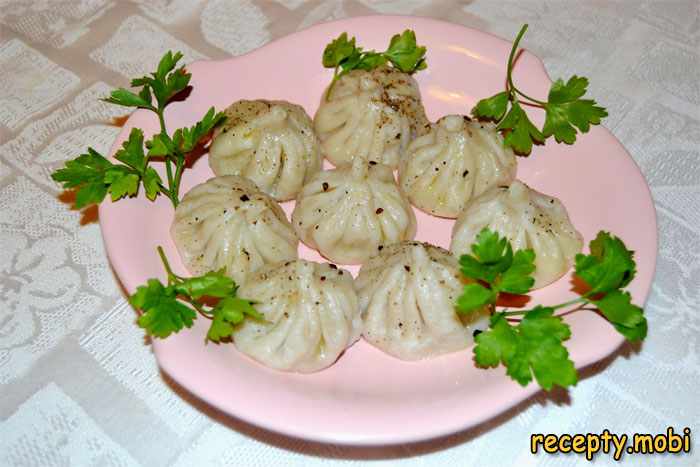
I place the cooked khinkali on a plate, separate from each other, and sprinkle them with coarsely ground black pepper. I serve them hot with fresh herbs. Khinkali are eaten by hand: you hold one by the tail, bite it from the side, sip the juice, and then eat it. The tail is usually not eaten.


Tips
- 1
The water for both the dough and the filling should be ice-cold – this is the key point. I put the water in the freezer for 20–30 minutes before using it.
- 2
I add plenty of water to the filling – it is exactly this water that turns into the fragrant broth inside the khinkali. The filling should be moist but not runny.
- 3
I knead the dough for a long time with rest breaks – this is how it becomes elastic and doesn't tear during shaping.
- 4
The cold water added at the end of boiling "shocks" the khinkali and helps the broth inside thicken, while keeping the dough from overcooking.
FAQ
What meat is best to use? +
Traditionally beef is used with lamb or pork. The pork should have a small amount of fat – this gives juiciness. You can use only beef, but add a little tail fat.
Why do khinkali burst during boiling? +
The causes are: dough that is too thin, pleats that aren't pinched tightly, or water boiling too vigorously. Boil over moderate heat and pinch the dough well.
Can khinkali be fried? +
Yes, fried khinkali are called "kuchennye". First fry them in oil until golden, then pour in a little water, cover with a lid and steam for 10 minutes.
Can khinkali be frozen? +
Yes, lay the raw khinkali out on a board so they don't touch each other, freeze them, then transfer them to a bag. Boil them without thawing, increasing the time by 3–5 minutes.
Why is there no broth inside? +
Too little water was added to the filling, or the khinkali were overcooked. The filling should be very moist, and the boiling time should be strictly 10 minutes after they surface.
- Comment
or post as a guest
Be the first to comment.


