
avg —
Lula Kebab at Home in a Skillet
Instructions
I prepare good-quality beef (600 g) – it's crucial to choose a cut that is NOT lean, but has layers of fat at around 15–20%. The fat keeps the finished kebab juicy. Shoulder, brisket or neck of beef are ideal. Lean fillet will give a "dry" kebab. A 50/50 mix of beef and lamb also works for the classic Azerbaijani version. I wash the meat thoroughly and pat it dry with a paper towel.
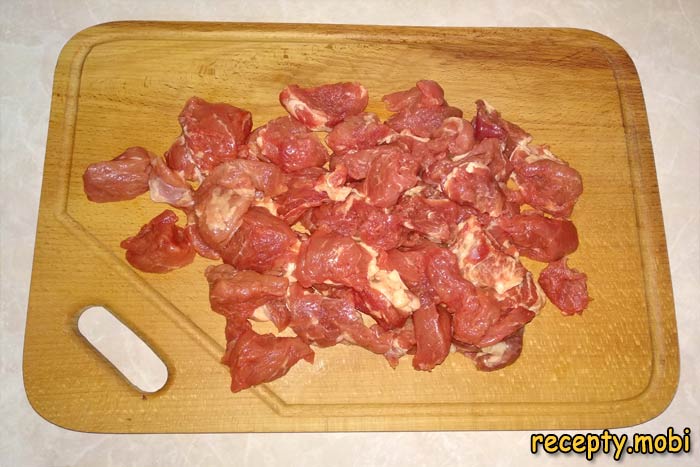
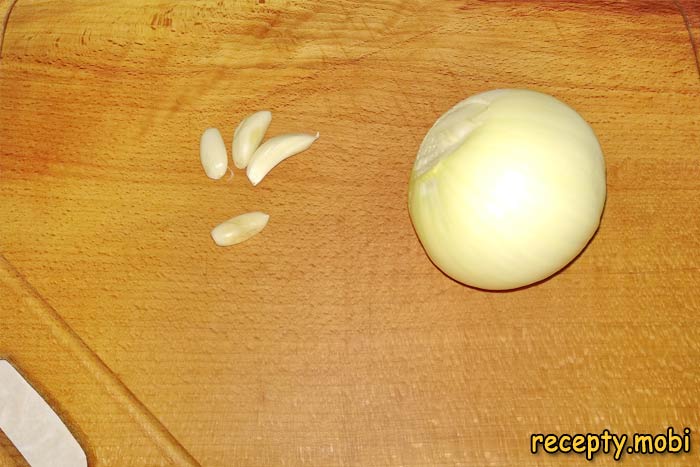
I cut the meat into small pieces of 2–3 cm so they are easy to put through the mincer. I peel the onion (1 large or 2 medium) and garlic (4 cloves). I set up the mincer with a COARSE plate (6–8 mm holes) – this gives the kebab its characteristic texture, unlike the paste-like mince for patties made on a fine plate.
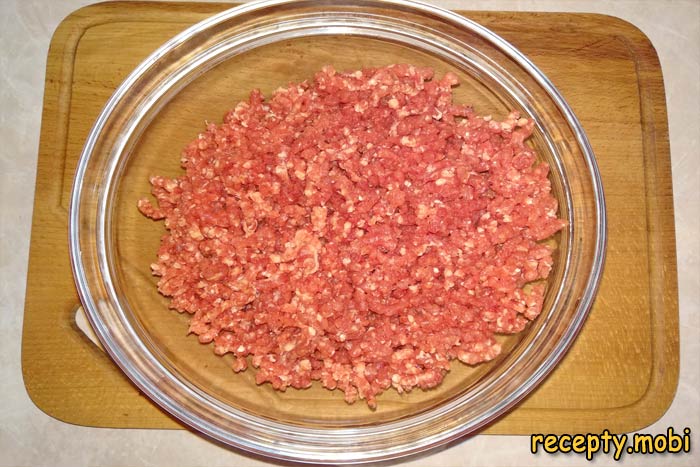
I put the meat through the mincer on the coarse plate – once is enough. Mincing twice makes the mince too "smooth" and the characteristic Caucasian flavour is lost. The finished mince has visible meat fibres – that's normal for lula kebab.
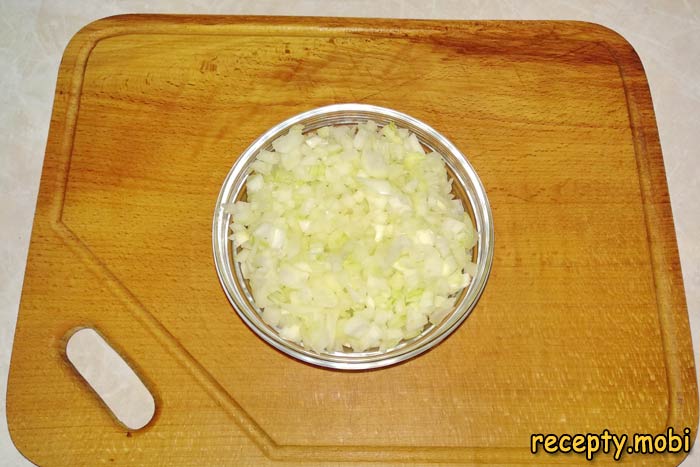
I do NOT put the onion through the mincer – it would release a lot of liquid and the kebab wouldn't hold its shape. Instead I chop the onion into a fine 3–5 mm dice with a sharp knife, then go over it again with a cleaver until it is a "fine crumb". This is the "secret" to the right structure of lula kebab.
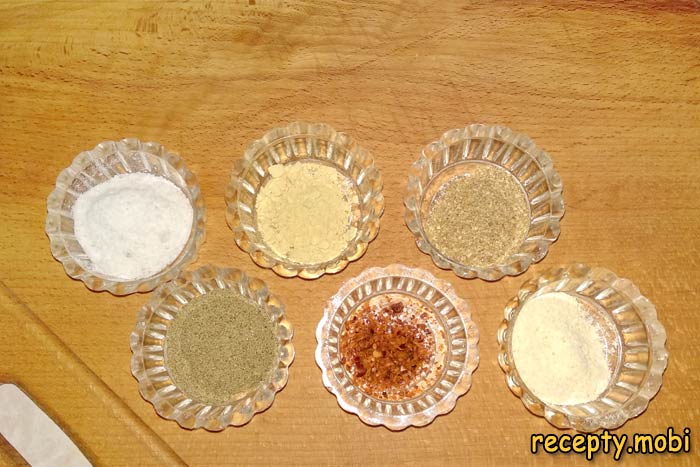
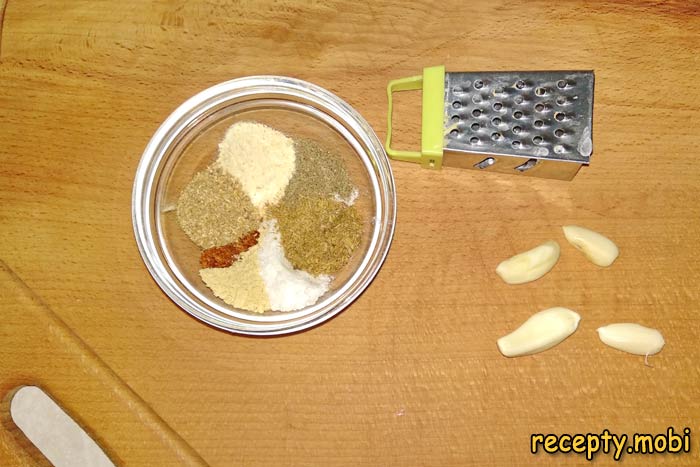
I prepare the spices – they are what turn "ordinary mince" into a "Caucasian dish". In a separate bowl I mix ground coriander (1 ½ tsp), dried granulated garlic (1 ½ tsp), ground black pepper (½ tsp), chilli flakes (¼ tsp), salt (2 tsp) and dried ginger (½ tsp – if you're using dried). I grate the fresh ginger (25 g) finely and separately. I grate the fresh garlic (4 cloves) finely.
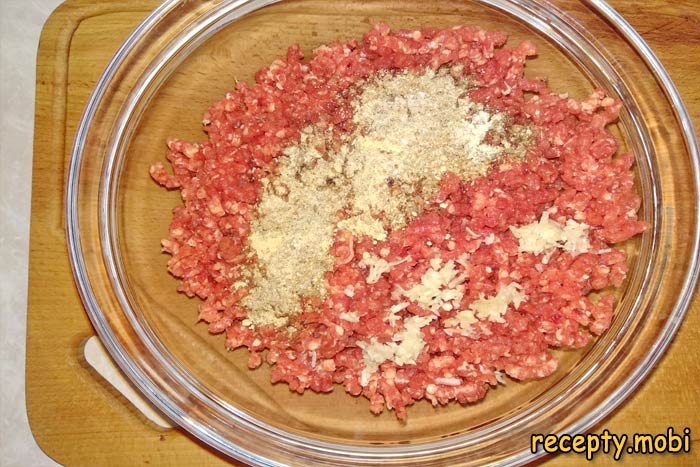
To the large bowl of mince I add the prepared dry spice mix, the grated fresh garlic and ginger (if you're using fresh). I knead it well by hand for 2–3 minutes until the spices are evenly distributed through the meat. The spices should "soak into" every fibre of the mince.
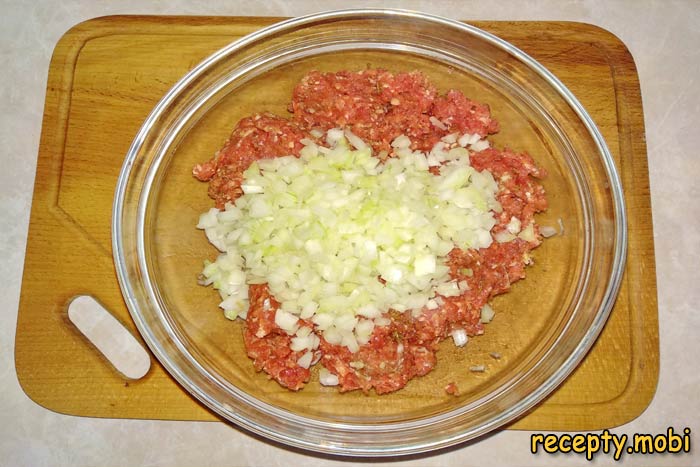
I add the finely chopped onion to the mince and again knead it well by hand for 1–2 minutes – the onion should be spread evenly. There's no need to mix for too long, or the onion will "run" and the mince will become too wet.
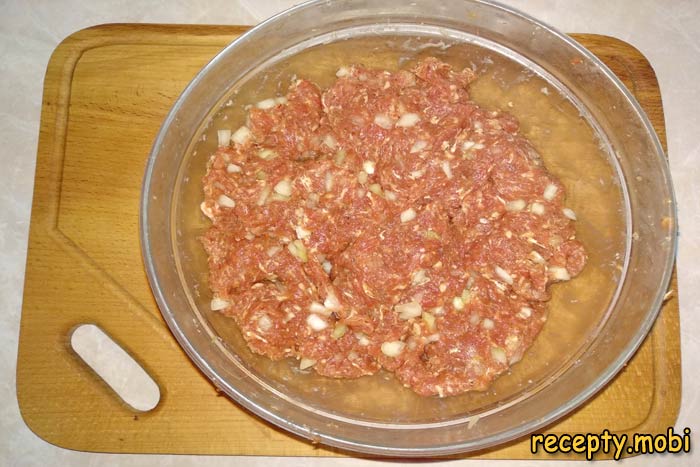
CRUCIAL STEP: I knead the mince by hand for 4–5 minutes with brisk "slapping" movements (lifting the mince and throwing it down hard into the bowl) until "protein threads" appear – the mince becomes "tacky" and pliable. This is "secret no. 1" of a proper lula kebab that holds its shape on the skewer or in the pan.
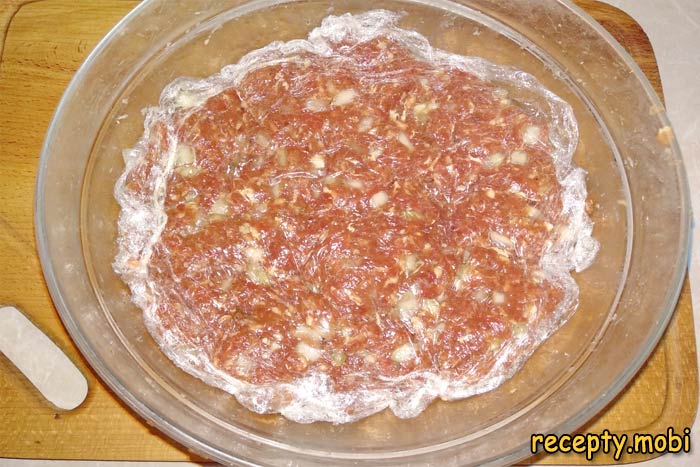
CRUCIAL STEP: I cover the bowl of mince with cling film "in contact" (with no layer of air, so it doesn't dry out) and put it in the fridge for AT LEAST 1 hour to stabilise. During this time the proteins bind, the fat firms up and the mince takes on the right "stickiness". Without this step the kebab will fall apart while frying.
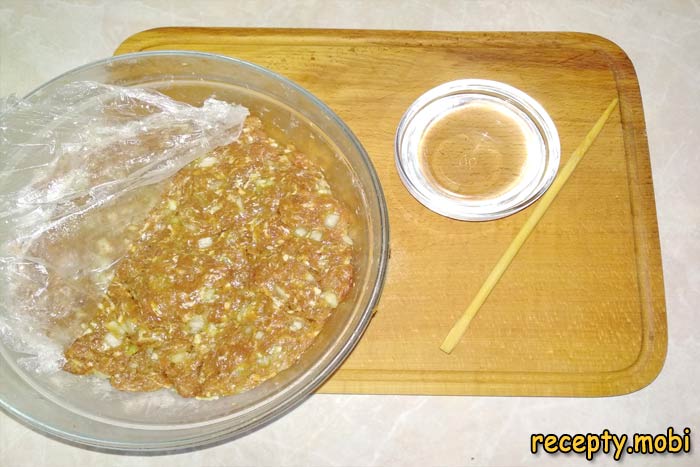
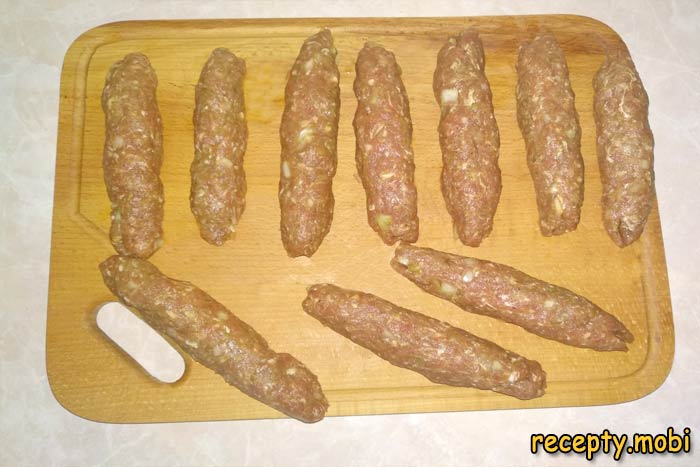
After 1 hour I take the mince out of the fridge. I get ready some Chinese sushi chopsticks (4–5 of them) or thick skewers to mimic the shape of the kebab. I prepare a bowl of cold water – I'll dampen my hands as I shape the kebabs so the mince doesn't stick.
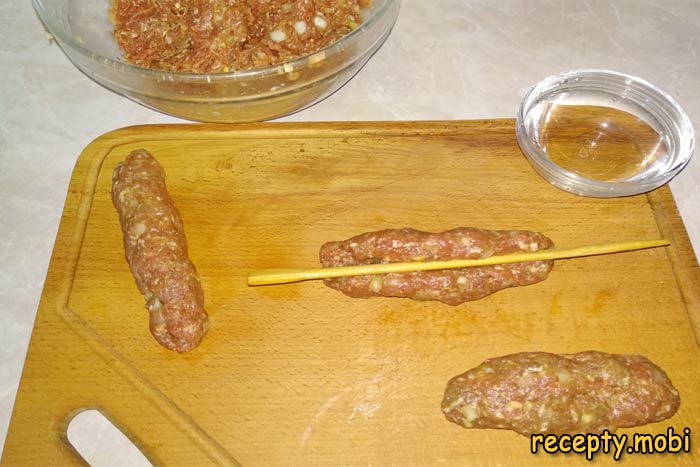
I form the kebabs at 80–100 g each. With wet hands I take a handful of mince, wrap it around a chopstick (or skewer) and pack it firmly all the way round, shaping a long "sausage" of 12–15 cm with a "ridged" surface (fingerprints). If the mince sticks to my hands, I wet them with water again. The finished "sausage" slides off the stick with a gentle pull.
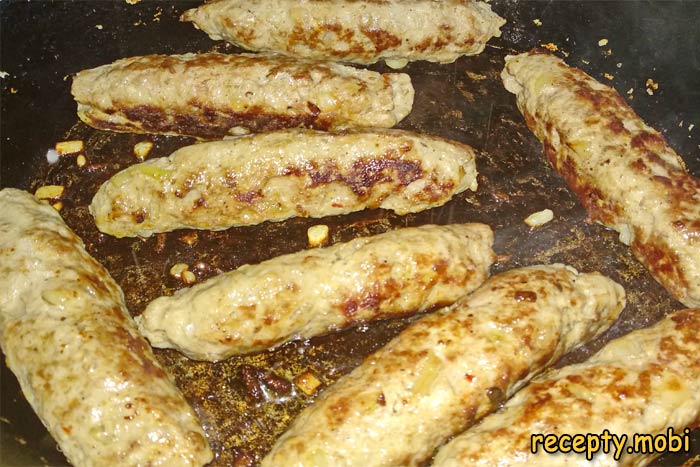
Into a heavy-bottomed skillet or a grill pan I pour vegetable oil (2 tbsp) and spread it with a silicone brush – the minimum oil for the diet-friendly version. I heat it well over a medium heat. I lay the kebabs 2 cm apart from one another – don't load the pan completely.
I fry the lula kebabs for 7–8 minutes on all 4 sides until golden, carefully turning them with a spatula every 2 minutes. The main thing is not to overcook them – the kebabs should stay juicy inside. The finished kebabs have a golden-brown crust on the outside and a pinkish, juicy centre (for the "medium" doneness that Caucasian tradition calls for).

Alongside, I make the classic garnish – pickled red onion with coriander. I peel the red onion (1) and slice it into very thin 1–2 mm half-rings – "see-through" half-rings. I finely chop the coriander (½ bunch). I combine them in a bowl, then add salt, sugar and lemon juice to taste. I rub it with my hands for 1 minute – the onion "gives up" its juice and softens slightly.
I serve the home-made lula kebabs hot, straight from the pan, on a serving dish. I scatter plenty of fresh chopped coriander over the top. Alongside go the pickled red onion, the cherry tomatoes (6, which can be lightly seared in the grill pan), and ketchup or tkemali sauce. On a separate plate I put thin lavash or garlic bread for mopping up the aromatic meat juices. The lula kebab is ready!


Tips
- 1
Knead the mince by hand for 4–5 minutes until "protein threads" appear – this is the "secret" to a kebab that keeps its shape on the skewer or in the pan.
- 2
ALWAYS stabilise the mince for 1 hour in the fridge – without this the kebab will fall apart in the pan.
- 3
Do NOT put the onion through the mincer – chop it into a fine dice with a knife. Minced onion releases moisture and the mince will "run". I use a similar principle for my home-made beef patties.
- 4
Use beef with 15–20% fat – lean fillet gives a "dry" kebab. Shoulder, brisket and neck are ideal.
FAQ
Can I replace the beef with another meat? +
Yes. The classic versions of lula kebab are: lamb (the most "authentic" Azerbaijani option, young lamb with tail fat); a 50/50 mix of beef and lamb (the classic across most Caucasian regions); turkey (a lighter option that cooks faster); chicken (the lightest option, good for children); and a mix of pork and beef (the Russian adaptation). For a meat-free version, use green lentils (300 g, boiled and mashed with sautéed mushrooms and spices) or "plant-based meat" (soya). Each meat gives its own character. Beef with tail fat (or beef plus lamb) is the "classic" of Azerbaijan and Armenia.
Can lula kebab be made in the oven? +
Yes. The oven version is more diet-friendly (no oil) and convenient for a large group. Lay the shaped kebabs on a baking tray lined with parchment, or on a wire rack (with a tray underneath to catch the fat). Bake at 200°C for 15–20 minutes until golden, turning once halfway through. You can use the grill setting for the last 3–5 minutes for an intense crust. The advantages of the oven: 10–15 kebabs at once, no fat, and even cooking. Ideal for a large group or a family celebration. Serve it the same way – with lavash and pickled onion.
How long do the finished kebabs keep? +
The finished lula kebabs keep in the fridge for up to 3 days in a tightly closed container. On the second day the flavour is even richer – the spices have fully merged with the meat. Before serving, reheat them in the oven at 150°C for 10 minutes under foil (which keeps them juicy), or in a pan with 1 tbsp of water under a lid for 5 minutes. Don't reheat them in the microwave – the kebabs will turn "rubbery". You can freeze the cooked ones for 1 month in airtight containers – thaw fully in the fridge for 8 hours before eating and warm through in the oven. You can also freeze raw mince and make the kebabs from the thawed mince.
What should I serve lula kebab with? +
It's perfect with thin lavash (Armenian or Georgian) – wrap the kebab with pickled onion and herbs in the lavash like a "shawarma". Also with wheat or corn bread, or garlic croutons. For side dishes: grilled vegetables (aubergines, courgettes, tomatoes, bell peppers), baked potatoes, basmati rice, Uzbek pilaf, or buckwheat. For sauces: tkemali (Georgian), satsebeli, garlic-matsoni sauce, tomato sauce with coriander, or adjika. For drinks: dry red wine (Saperavi, Cabernet), dry white (Rkatsiteli), light or dark beer, or sparkling water with lemon. For a dacha picnic – with grilled vegetables and lavash.
- Comment
or post as a guest
Be the first to comment.


