
avg 5.0
Pilaf with Chicken in a Multicooker
Instructions
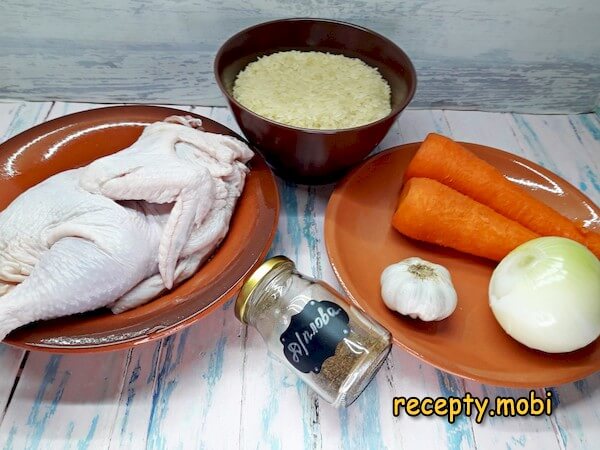
I get the listed ingredients ready for making chicken pilaf in the multicooker.
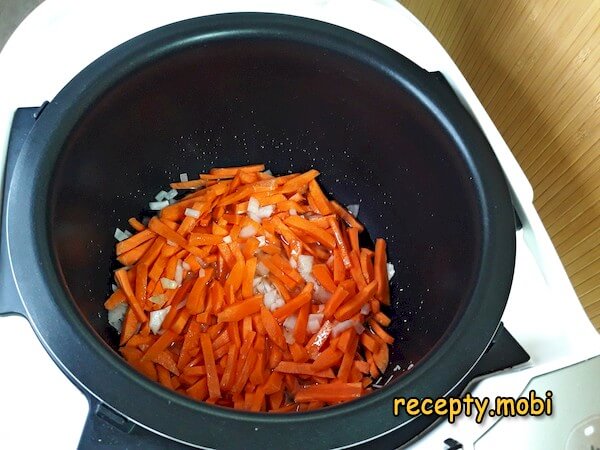
Finely chop the onion. To stop the carrot turning into a soft mush, it is better not to grate it but to cut it into neat sticks. That way the bright orange pieces stay clearly visible in the pilaf and give it a certain character.

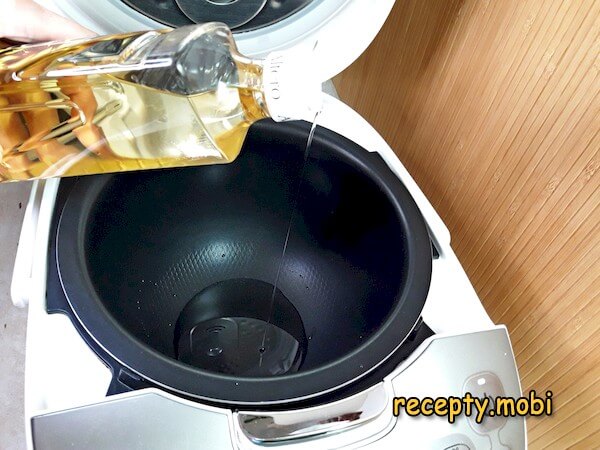
Cover the bottom of the multicooker with oil. The zirvak (the Central Asian name for the base of a pilaf) likes plenty of it, so the oil should be of good quality and preferably with an olive component.
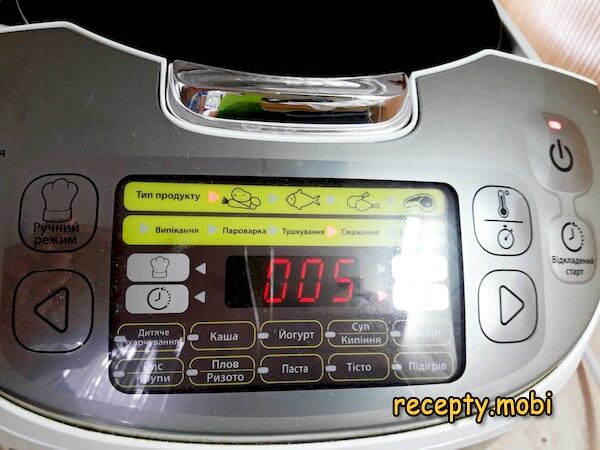
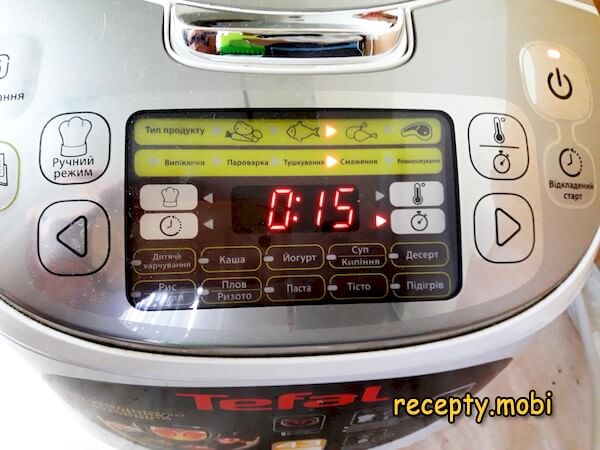
First the oil needs to be heated without closing the lid of the machine. To do this I set the display to the "Fry" mode, the product type to "Vegetables" and the time to 5 minutes.
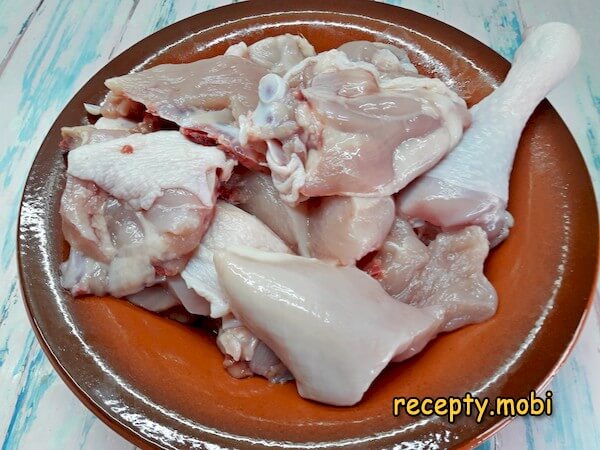
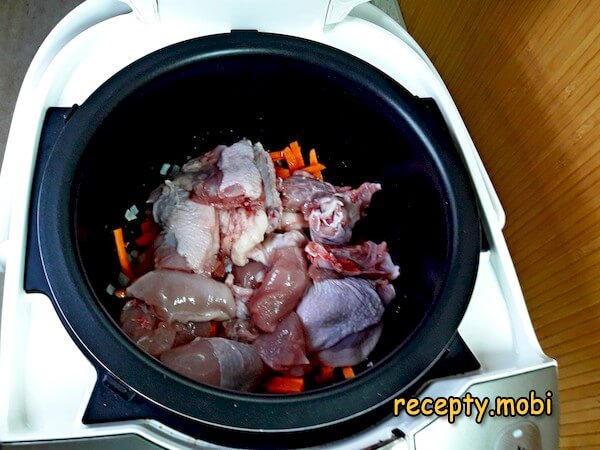
Meanwhile, I cut the meat into portions.
And I rinse the rice several times until the foreign suspended particles are gone and the water runs clear.

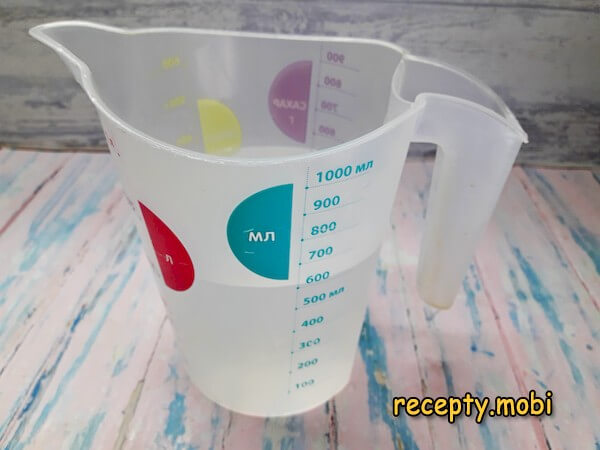
The water is measured not by weight but by the volume of rice. The proportion here is 1 part rice to 1.3 parts water. I measure out the right amount and bring it to the boil.
The 5 minutes of heating are up, and the multicooker gives the signal that the program has finished. Next you need to set a new task for the machine, having first loaded the vegetables into it.
Then I add the chicken pieces.
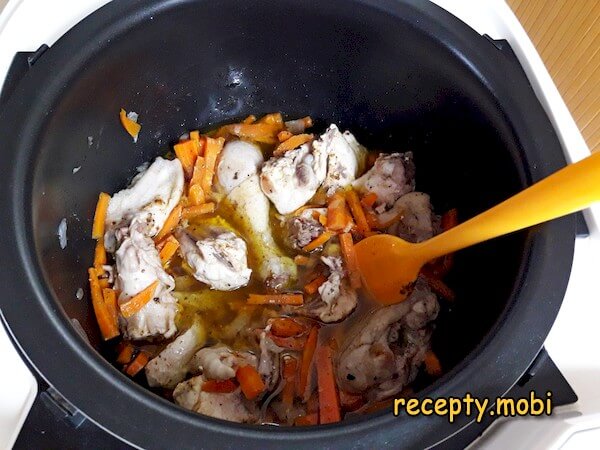
I stir the contents specifically with the silicone or other spatula that comes with the multicooker, so as not to accidentally damage the coating of the bowl. I click the lid shut.
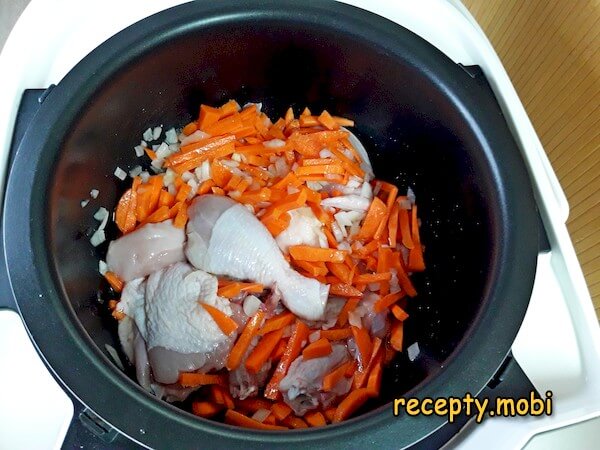
Next I set the following program. Product type – "Poultry", time – 15 minutes, mode "Fry".
When the signal beeps after the set time, I add the spice.
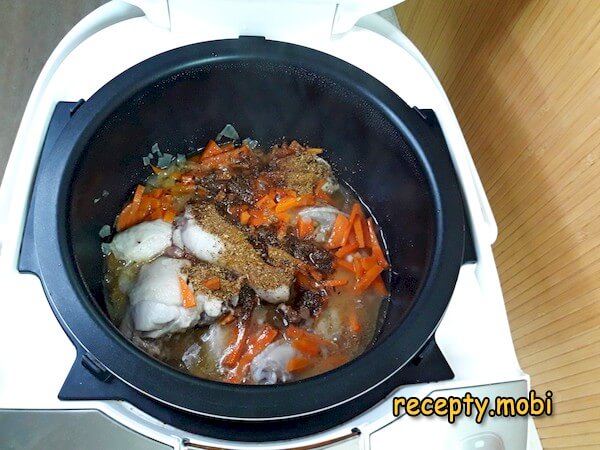
Followed by the salt.
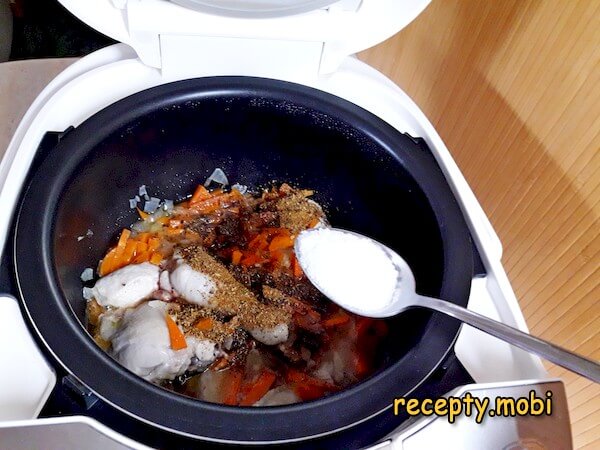
I stir everything right now, because once the rice has been added the mixture can no longer be disturbed.
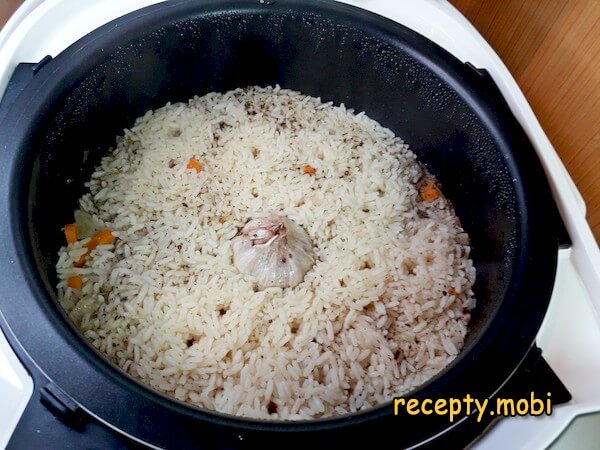
I pour in the rice and level it out so that it completely covers the zirvak.
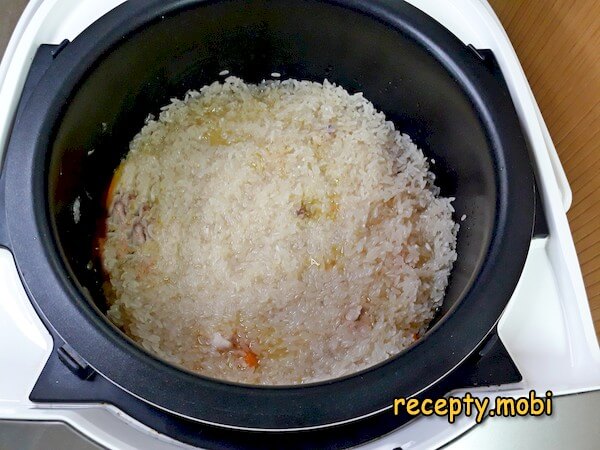
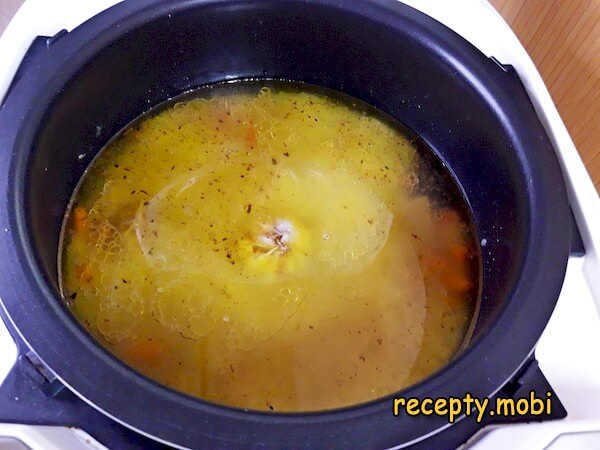
Carefully, so as not to shift the top layer, I pour in the hot water (it comes out exactly 2 centimetres above the surface of the rice).
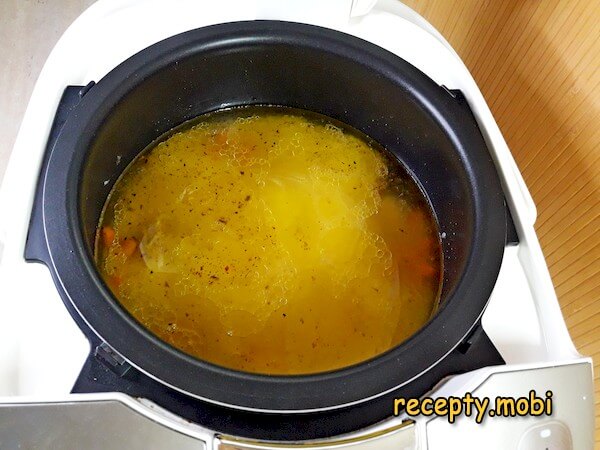
I peel the top layers off the garlic, wash it, and push it into the centre of the circle of rice.
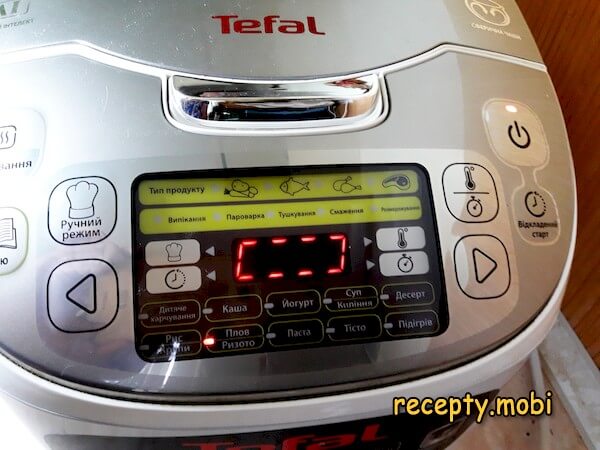
I lower the lid and set the next program in the "Pilaf" mode. On this multicooker the time is set automatically, although on other similar models that have no specific "Pilaf" mode you need to set it manually – that is 50–60 minutes. And set the mode to "Grains" or "Rice".
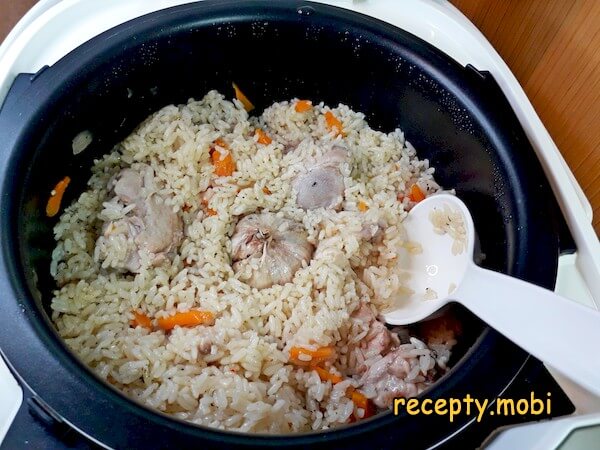
When the signal sounds that the process is over, I don't open the bowl straight away but leave it on the keep-warm setting for 10 minutes (it turns on automatically if the lid has not been lifted). After that the pilaf is completely ready.
Now the rice can be mixed with the rest of the ingredients.
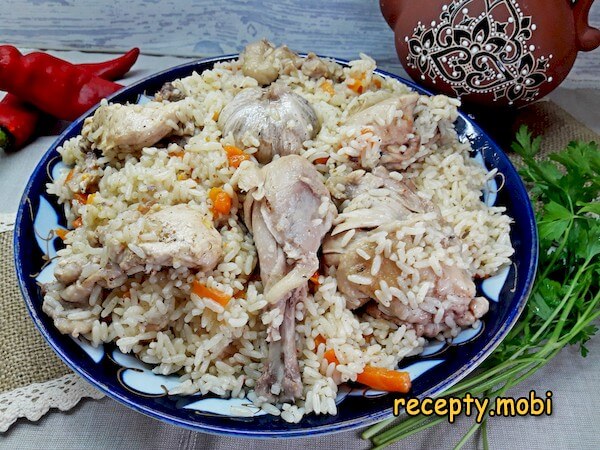
The tastiest and quickest chicken pilaf in a multicooker always turns out crumbly, and the meat comes out very tender and soft. I serve the dish hot, seasoned with fresh herbs and served separately together with a spicy sauce.Give it a try – the multicooker makes the most magnificent pilaf with no fuss, whether you make it with chicken or as pork pilaf in a multicooker. Bon appétit!


Tips
- 1
LONG-GRAIN RICE is the "secret" of crumbliness. Round rice will turn into a sticky porridge. Only parboiled long-grain rice gives a real pilaf.
- 2
THE 1:1.3 RATIO is the "secret" of the rice. For 1 volume of rice use 1.3 volumes of hot water. By volume, not by weight!
- 3
CARROT IN STICKS is the "secret" of the look. Grated carrot will dissolve into the zirvak. Sticks give bright colour in the pilaf.
- 4
10 MINUTES OF KEEPING WARM is the "secret" of crumbliness. After the signal, do not open it straight away. The same principle works with other kinds of pilaf in a multicooker.
Video
FAQ
Which rice should I choose? +
Ideally, parboiled long-grain basmati or jasmine rice. Alternatives: Thai long-grain (450 g – more delicate), Indian basmati (450 g – "premium"), Uzbek "Devzira" (450 g – authentic for pilaf), parboiled domestic rice (450 g – "budget"). The brands Mistral, Jasmine, Sun Rice and Devzira are tried and tested. Do not use: round rice (sticky, not for pilaf), brown wild rice (a different texture), or instant rice. For a "premium" option, use Devzira with its reddish tint. Rinse until the water runs clear (4–5 times). Soaking before cooking is not essential.
Which chicken should I choose? +
Ideally, half a whole carcass on the bone (730 g) – it gives a rich pilaf. Alternatives: boneless chicken thighs (700 g – more tender), drumsticks on the bone (730 g – more aromatic), breast (700 g – a "diet" option, but drier), a mix of breast and thighs (700 g – "premium"). Fresh chilled chicken is the "premium" option. Do not use: shop-bought mince (it spoils the idea) or broiler wings (too little meat). The brands Miratorg, Cherkizovo and Petelinka are tried and tested. For a "premium" option, use farm-raised free-range chicken. Frozen chicken will do once fully thawed.
How long does the pilaf keep? +
In the fridge, in a pan with the lid on – 3 days. Any longer and the rice goes stale and the meat loses its juiciness. Before serving, reheat it in a frying pan or in the microwave for 3–5 minutes. In the freezer, in portions – up to 2 weeks. Thaw it in the fridge for 6–8 hours. Fresh pilaf is at its "star" best in the first 2–3 hours after cooking (once it has rested). On the second day the flavour is deeper and brighter. Do not leave it at room temperature for longer than 4 hours – the meat spoils. It is best to cook it "for one or two servings".
What to serve with the pilaf? +
The Uzbek classic: with a salad of fresh tomatoes and onion – "achichuk" (an Uzbek salad). With fresh herbs (parsley, coriander, tarragon). With garlic sauce or with spicy tkemali. With adjika or satsebeli. With a bowl of green tea – an "Uzbek" classic. With a glass of kefir or ayran. With a shot of brandy or vodka – the "Russian" way of serving. With a glass of grape juice. With suluguni or brynza cheese as a starter. With pickled hot peppers. With a piece of lavash or flatbread. With a cup of meat broth. A universal hot dish for a large gathering.
- Comment
or post as a guest
Be the first to comment.


