
avg —
Chicken roll at home without harmful additives and preservatives
Instructions
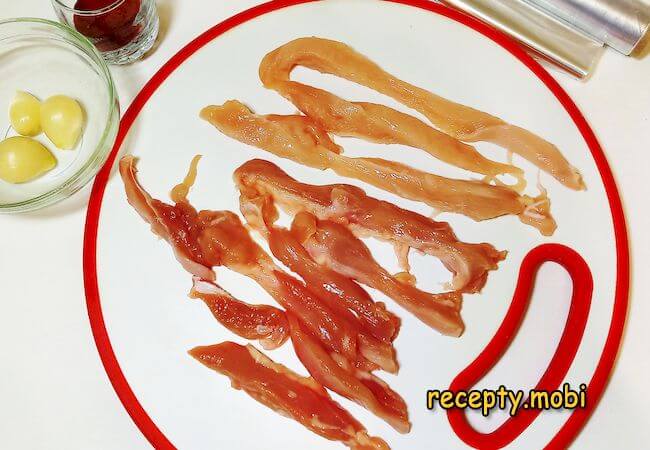
I begin cooking. I carefully free the breast and thighs from the skin. I separate the meat from the bones.

From the bones I cook a strong broth – using a minimal amount of water. I cut the chicken pieces into thin strips.
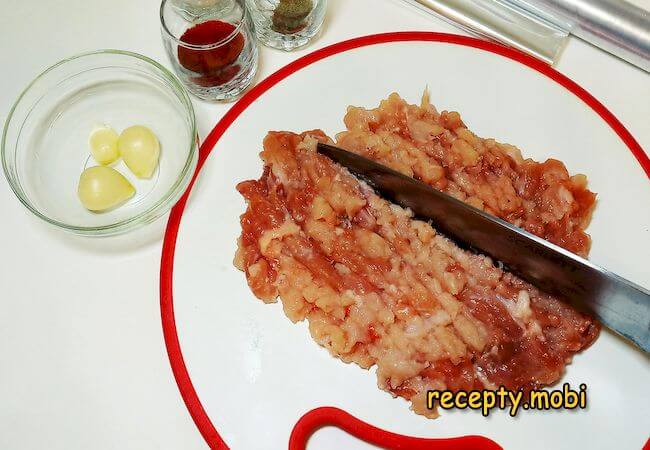
I lightly beat the prepared strips of meat with the flat of a wide knife (I do not cut, but crush the meat). Breaking down the protein fibres helps the meat pieces bond together well.
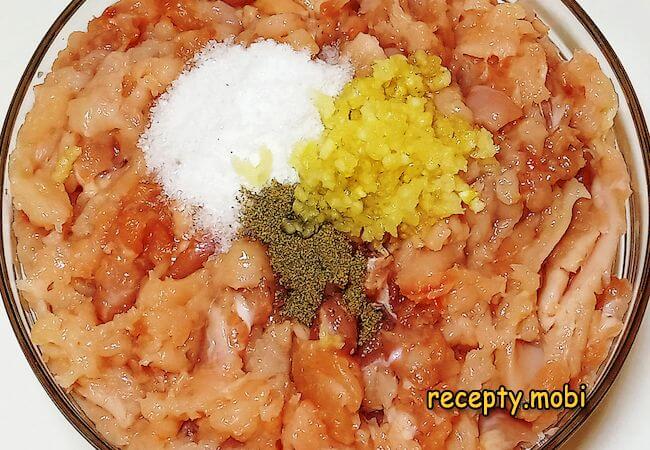
To the prepared chopped meat I add salt, pepper and minced garlic.
I put on disposable gloves and mix the resulting mass for 10 minutes – this is the "signature" massage for the proper release of protein; this is exactly how the ham texture is formed. I add the skin to the meat, seal the marinated mixture tightly and put it on the top shelf of the refrigerator for at least 2 hours, preferably overnight. I measure out 70 ml of the prepared broth and cool it in the refrigerator. Once the marinating is done, I set the chicken skin aside, pour in the cooled broth, put the gloves on again and mix thoroughly. The meat should absorb all the liquid.
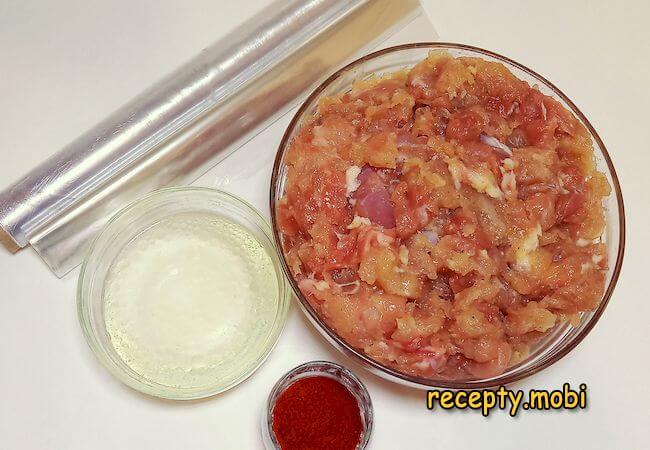
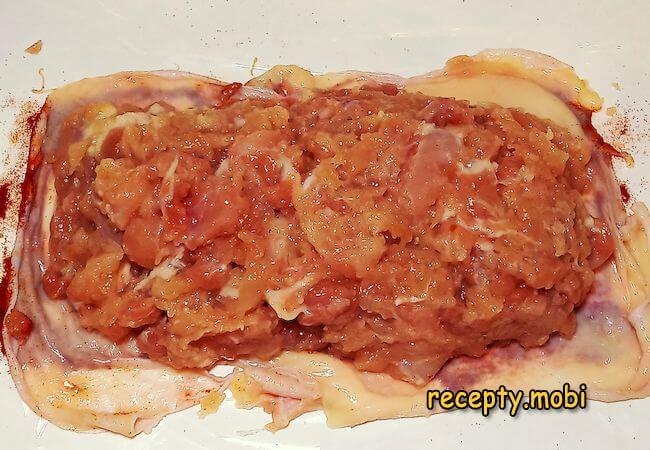
I divide the mass into two equal portions. I form the rolls. I cut the 1-metre baking sleeve in half, then along the side seam. I open out each half. I line the work surface with the first sheet. I sprinkle the edge of the prepared sheet with 1 tsp of paprika. On top I lay out the skin from the breast and place half of the meat on it.
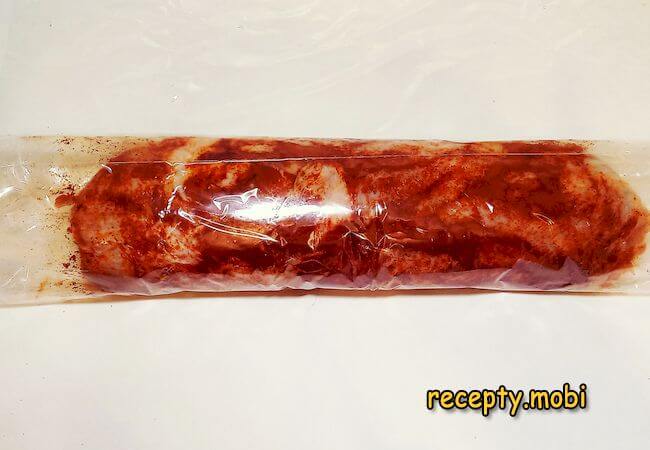
I roll up the roll – tightly, without any "air pockets".
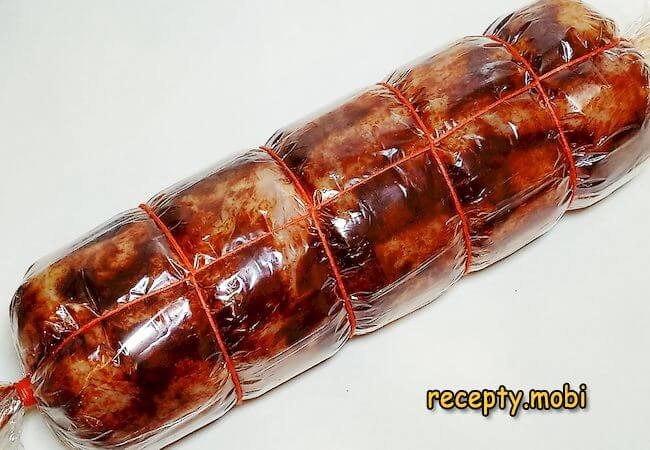
I tie one end of the sheet with cooking thread. I stand the roll on its end. I tap it lightly on the table so that the excess air comes out. I tie the second end. I compress the ham with additional loops of cooking thread. I do the same with the second portion.
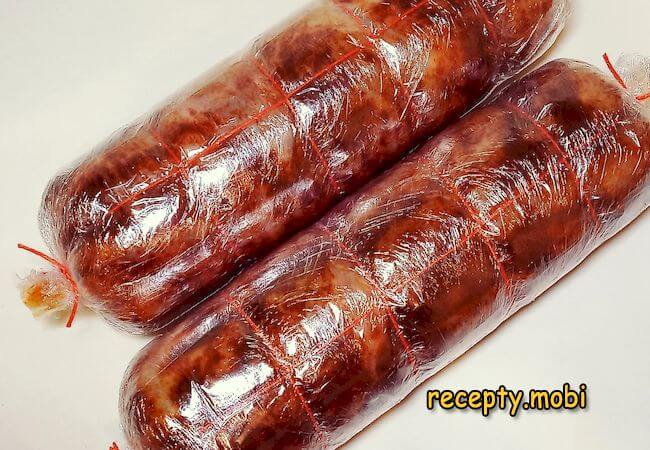
I improve the seal with several layers of cling film.
I place the formed rolls in a wide pot, fill it with ordinary water and set it on medium heat.
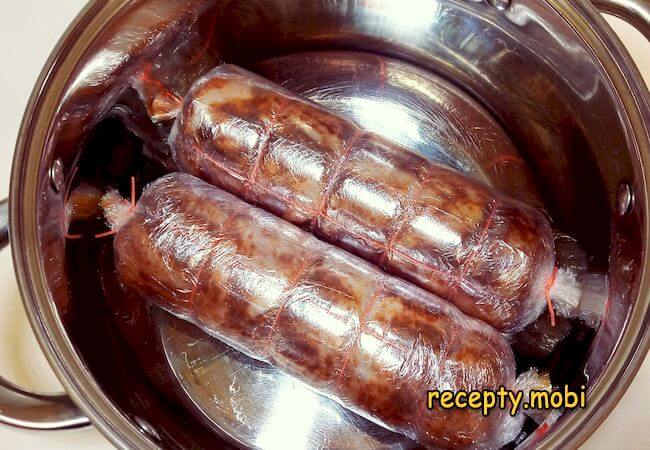
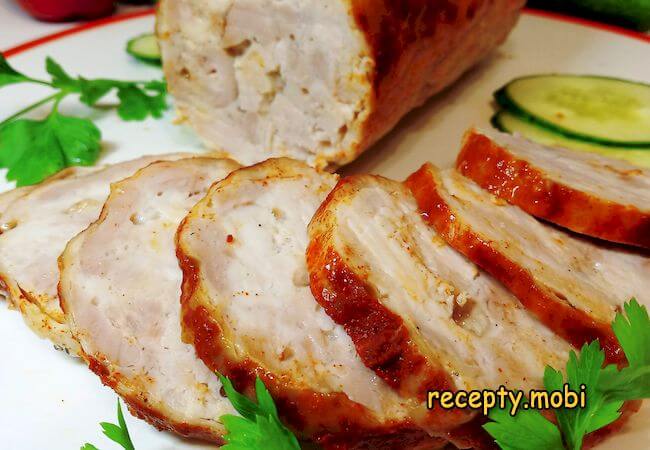
I heat the ham very slowly. I keep the maximum water temperature within 80 °C. If you have no kitchen thermometer, the acceptable degree of heating is judged by very active steaming and the odd single bubble. From this moment I cook the ham for 1.5 hours.Important! To rule out any loss of meat juices, I stay by the cooker the whole time and control the cooking process. The water must not boil vigorously!I quickly plunge the finished rolls into iced water, and after they cool I put them in the refrigerator for a full day. During this time the protein product finally matures, acquires a dense structure and an expressive flavour.I serve the chicken roll as an appetising cold cut for the festive table, or use it in the everyday diet instead of sausage products.Enjoy your meal!


Tips
- 1
THE 10-MINUTE MEAT MASSAGE is a must. It is just like industrial ham: the protein "comes out" and glues the pieces into a single mass. Without the massage you will get a "crumbly" texture.
- 2
A TEMPERATURE NO HIGHER THAN 80 °C is the key rule. Higher = the meat "boils" and gives up its juices, and the roll will be dry and tough.
- 3
A FULL DAY OF MATURING in the refrigerator – do not skip it. During this time the enzymes "work", the structure becomes dense and the flavour expressive.
- 4
COOL IT IN ICED WATER right after cooking – this "seals" the juices inside. The same principle works for other meat delicacies.
FAQ
Can I do it without a kitchen thermometer? +
You can, but it is harder. The guides without a thermometer: the water should "steam" actively but not boil – only the odd single bubble occasionally rises from the bottom. That is roughly 75–85 °C. The routine: heat the water to "almost boiling", reduce the heat to minimum, and check periodically. If you see active bubbles across the whole surface, the heat is too high – reduce it at once. For peace of mind, a thermometer is inexpensive and pays for itself on the very first batch of ham. Without temperature control, everything depends on luck.
What can replace paprika? +
Flavour alternatives: smoked paprika (a more "smoky" taste, like "cold smoking"), sweet paprika (milder), turmeric (yellow colour, an Eastern accent), dry adjika (spicier). In this recipe the paprika is mostly for colour (a pretty pink shade of the roll in cross-section) and a light flavour. Without it the roll will be "pale", but edible. You can also replace the spice: dried basil + dried parsley (a herby option), Provence herbs 1 tsp, Italian herbs 1 tsp.
How long does the roll keep? +
In the refrigerator in sealed packaging – 5–7 days. This is a homemade product without preservatives, so do not keep it longer. In the freezer – up to 2 months in vacuum packaging. Defrost it in the refrigerator for 12 hours, not in the microwave. Keep sliced pieces no longer than 2 days – they dry out quickly. For a week's "fitness lunch", slice the whole roll at once, portion it into containers and put it in the refrigerator. It is ready for a week of breakfasts and lunches with sandwiches.
What to serve it with? +
A classic – at breakfast with bread and cheese, as a sandwich. For the festive table – an appetising cold cut, next to a cheese plate. With an omelette or fried eggs in the morning – pretty and filling. In salads – replace any boiled sausage. In sandwiches – with vegetables and mustard. For a snack – with dark bread and a salted cucumber. For a children's lunch – with pasta or mashed potatoes. For a fast (except a strict one) – as a "permissible" protein dish on days when the rules are eased.
- Comment
or post as a guest
Be the first to comment.


