
avg —
Yeast-free pizza dough (quick recipe)
Instructions
I prepare the ingredients. The milk should not be cold, but not too warm either – room temperature is ideal. Cold milk mixes poorly with the egg and gives an uneven batter, while hot milk partly cooks the protein and spoils the structure of the dough.
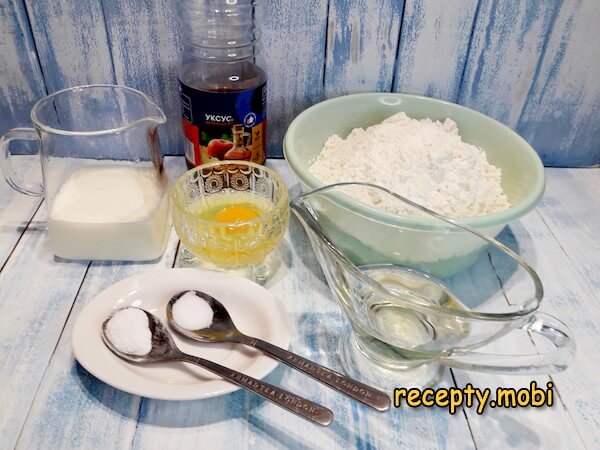
I put the egg into the mixing bowl and simply stir it with a whisk – there is no need to beat it to a foam. The aim of this step is to break the yolk into the white so they spread evenly through the whole mass of the dough.

I add the milk and vegetable oil to the egg and sprinkle in the salt. Neutral oil is essential here – an aromatic one (unrefined sunflower oil, for example) would overpower the neutral taste of the dough and stop you tasting the filling.
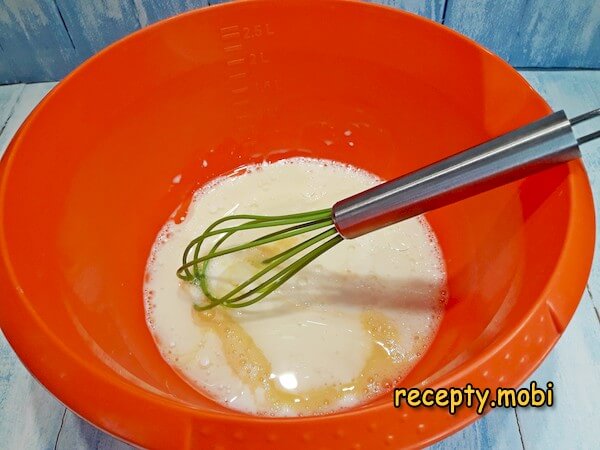
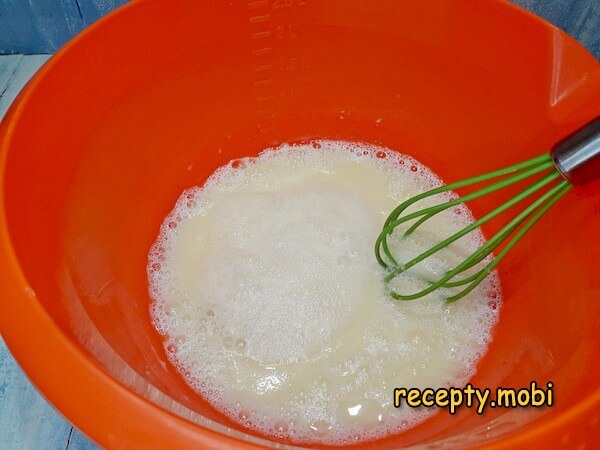
I mix everything together and pour the baking soda straight into this liquid mixture, in one spot – that way it is easier to slake it at once with vinegar, without losing the gas.
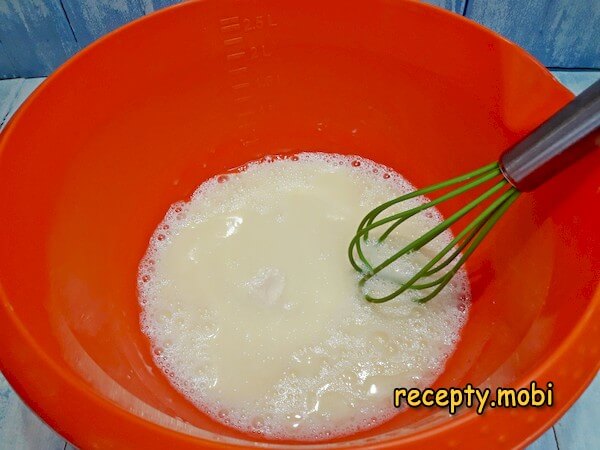
I pour the vinegar on top, straight onto the soda – the reaction takes place inside the liquid mixture, and all the carbon dioxide that forms stays in the dough instead of escaping into the air. If you slake the soda in a spoon beforehand, as people often do, most of the rising power is lost before mixing even begins.
After stirring lightly, I start sifting in the flour, adding it to the liquid mixture in batches. Sifting saturates the flour with air, so the dough turns out lighter and free of lumps.
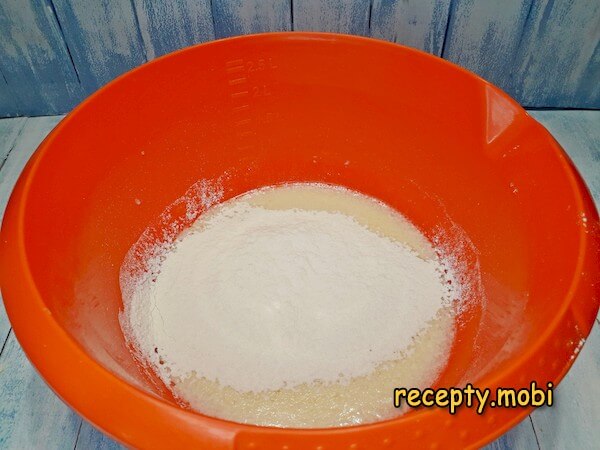
At first I work with a spoon, combining the dry flour with the wet mass so that the main lumps break up before the dough becomes firm.
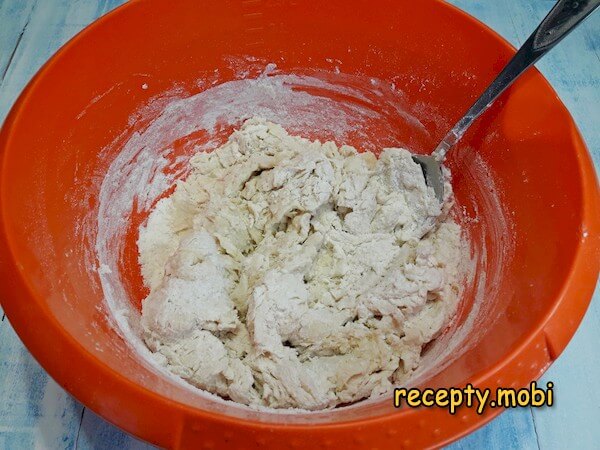
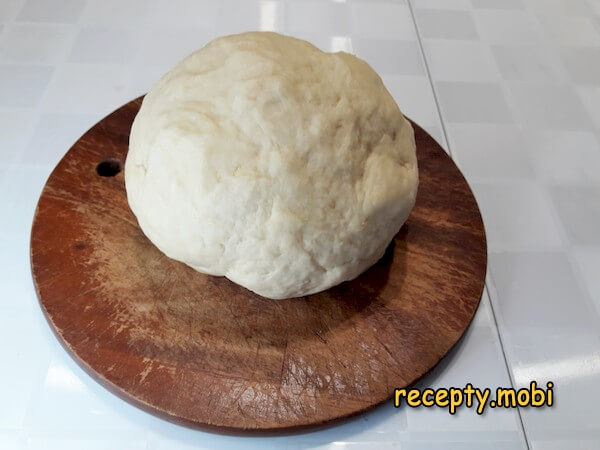
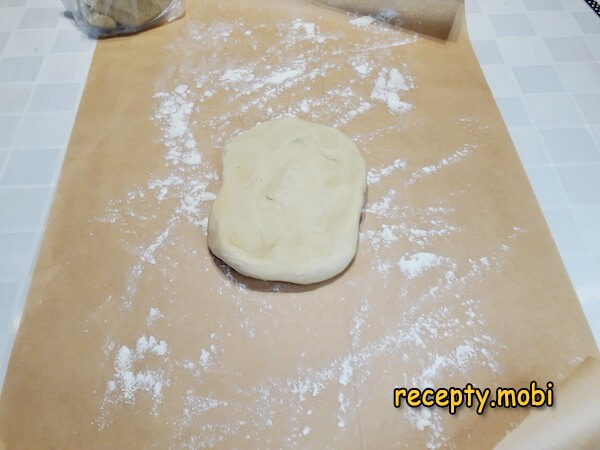
When the spoon becomes hard to move, I turn the dough out onto the table and finish kneading by hand. I do not knead for long – even if a few small unbroken lumps remain, they will dissolve on their own after resting in the bag. I shape a neat ball.
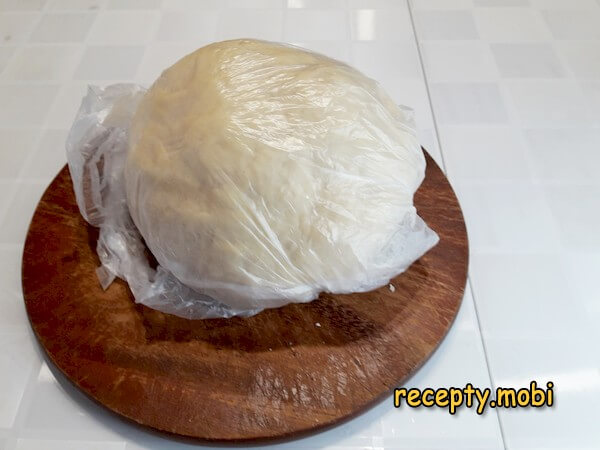
I wrap the ball tightly in a bag and leave it on the table to rest. It needs only as long as it takes to chop the filling. If I want to prepare the dough in advance, so I can bake a pizza quickly when the chance comes, I put the bag with the dough in the fridge – without yeast it keeps perfectly well for up to 7 days.
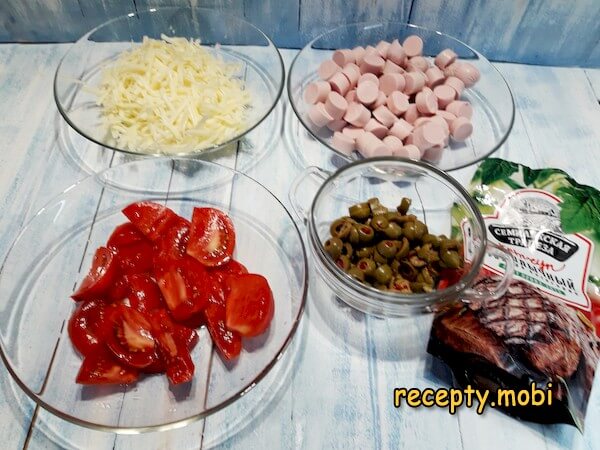
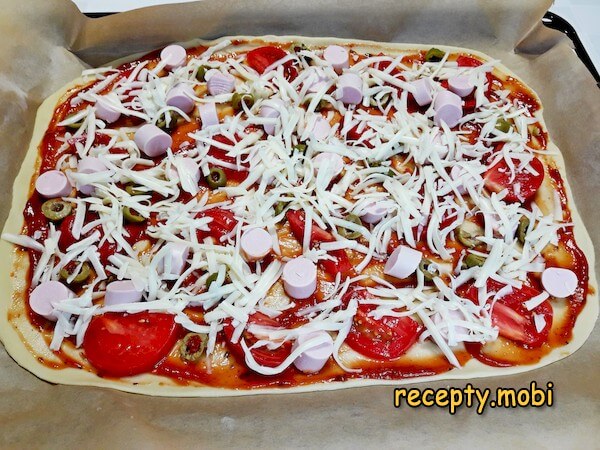
The pizza filling can be anything – sausages, tomatoes, olives, cheese, for example. By the time everything is chopped, the dough will have rested and become more pliable for rolling out.
I turn the oven on to 200 degrees. I divide the dough into 2 parts (if you are making the pizza on a large baking tray, there is no need to divide it). I roll the piece out straight away on parchment that I dust lightly with flour, first kneading the flat round of dough by hand to set the direction for the rolling pin – that way the dough stretches more easily without tearing.
I roll the piece out with the rolling pin to the size I need, starting from the centre towards the edges and turning the sheet – that way the thickness comes out even across the whole round.
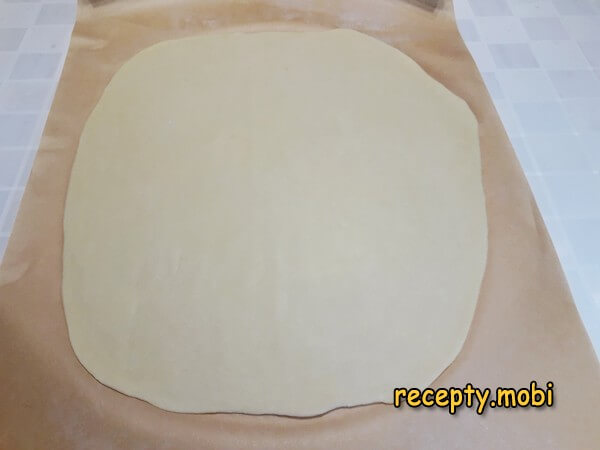
The thickness should be 1–2 millimetres. Even if the dough is slightly see-through in places, it still will not tear – it is very elastic and dense at the same time.
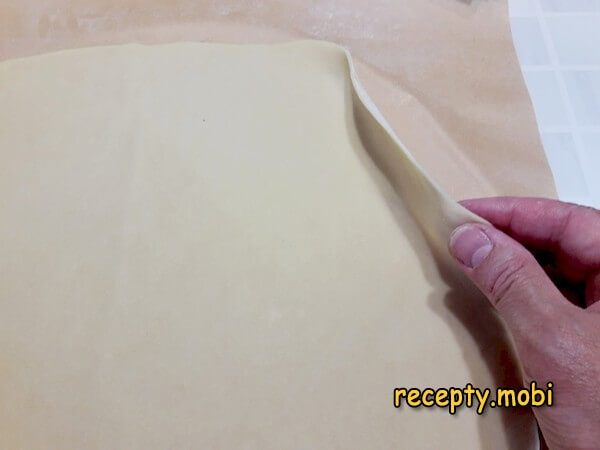
I transfer the rolled-out sheet, parchment and all, onto the baking tray and lay out any filling. The parchment is important: it keeps the thin dough from sticking to the tray and makes it easier to move the finished pizza.
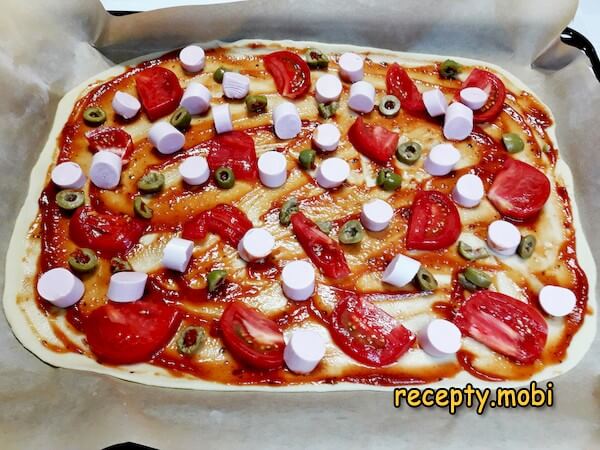
On top I sprinkle grated cheese – it gives a golden crust and binds the whole filling together.
I bake the pizza on the middle rack of the oven for 10 minutes. I judge it done by the colour of the floured edge – as soon as it browns slightly, I take the tray out at once. Thin dough must not be overbaked, as it quickly becomes dry and brittle.When ready, this yeast-free pizza dough has a soft, fine-pored structure, with edges that are neither hard nor over-browned. A pizza like this leaves no dry, brittle scraps – it is a reliable, well-tested recipe that will come to the rescue more than once.


Tips
- 1
SLAKE THE SODA IN THE MIXTURE – the "secret" to the rise. If you slake the soda in a spoon beforehand, most of the carbon dioxide escapes into the air. Tip the soda into the liquid mass and pour the vinegar straight on top – the reaction takes place inside the dough and all the CO2 works on the leavening.
- 2
MILK AT ROOM TEMPERATURE – the "secret" to a smooth mix. Cold milk blends poorly with the egg and leaves streaks of white. Warm milk (but not hot, not enough to set the protein) gives a smooth liquid base into which the flour mixes without lumps. The same trick works in soft pizza-parlour-style pizza dough.
- 3
DO NOT KNEAD FOR LONG – the "secret" to tenderness. Long kneading activates the gluten and the dough becomes firm, like dough for dumplings. A light mix "just to a ball" plus a rest in the bag – the gluten relaxes on its own and the dough turns out soft and elastic.
- 4
A REST IN THE BAG – the "secret" to elasticity. Without a rest the dough tears when rolled and holds its shape poorly. After 5–10 minutes in the bag on the table the gluten "settles down" and the dough rolls out easily to 1–2 mm without tearing. The same principle applies in kefir pizza dough with yeast.
FAQ
What can replace the vinegar for slaking the soda? +
The best alternatives are freshly squeezed lemon juice (1 tsp – the "classic", giving a light tang), apple cider vinegar (1 tsp – milder than table vinegar), white wine vinegar (1 tsp – neutral in taste), or kefir/soured milk (you can partly replace the milk – 50 ml, as the acid in kefir slakes the soda itself). Do not use: concentrated vinegar essence (70%) without diluting it, as it gives a harsh aftertaste and spoils the flavour of the finished pizza.
Can the dough be stored for longer than 7 days? +
In the fridge under a bag or cling film – strictly up to 7 days; after that the dough darkens, a sour smell appears and it becomes unusable. In the freezer the dough can be kept for up to 1 month: I divide it into portions, wrap them in cling film and put them in a bag. I thaw it in the fridge for 6–8 hours before use. After thawing the dough loses a little elasticity, but it is still perfectly suitable for thin pizza and does not need re-kneading.
Which flour works best? +
Ideally – premium wheat flour with a protein content of 10–11% (the "classic for pizza"). Alternatives: first-grade flour (the dough is a little darker, but denser in structure), a 1:1 blend of premium and wholemeal flour (more wholesome, with a light nutty flavour), or Italian "00" flour (the premium option, ideal for thin Neapolitan pizza). Do not use pancake flour – it is low in protein and the dough will turn out too loose, without the elasticity needed for rolling.
What should I do if the dough turns out too runny or too stiff? +
If the dough sticks to your hands and will not hold its shape, I add a little flour, a tablespoon at a time, and knead it in. If, on the contrary, the dough is too firm and crumbles, I add milk a teaspoon at a time. The main rule is that flour varies in moisture and grind, so 400 g is a guide, not an exact figure. The final consistency is a soft, elastic ball that does not stick to your hands but does not fall apart either.
- Comment
or post as a guest
Be the first to comment.


