
avg —
Strawberry Topping (Sauce)
Instructions
I prepare a minimum of ingredients for the topping – strawberries, starch and sugar. Fresh strawberries give the brightest aroma and the most natural taste, but frozen ones (without sugar) work very well too – use them without thawing and increase the cooking time by 2–3 minutes.
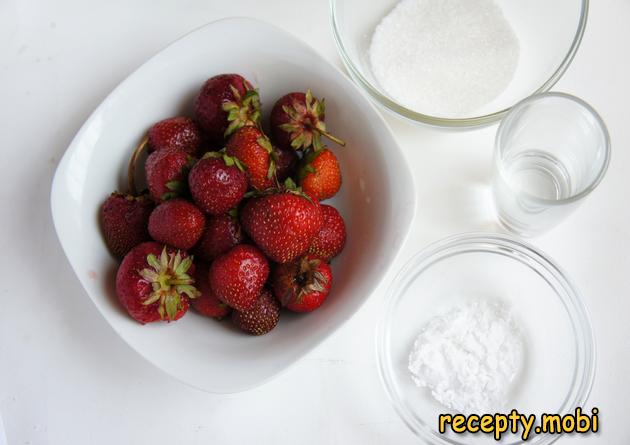
I pick out whole, firm strawberries (300 g) with no bruises or blemishes. Summer farm strawberries from the garden are ideal. Shop-bought winter "greenhouse" strawberries with a white core will give a "bland" topping.
I wash the strawberries carefully – the "secret" to keeping the aroma is: DO NOT pull off the calyxes BEFORE washing. Whole berries with their "green tails" hold their shape better and do not absorb excess water. To avoid damaging the delicate berries, I dip them in water in a colander several times – a "gentle shower" instead of a strong jet of water.
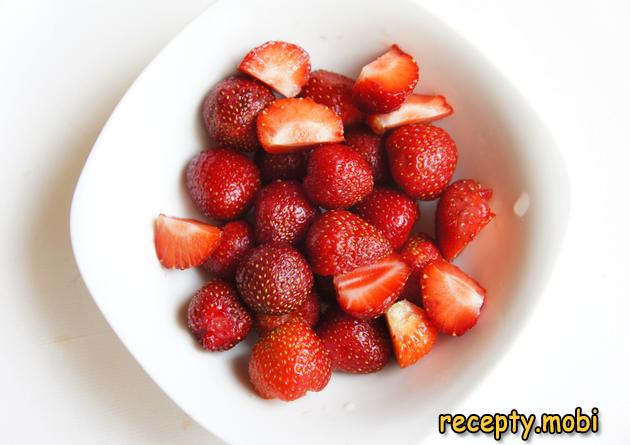
After washing, I remove the calyxes (the green "tails"). I leave small berries WHOLE – they will be "visible" in the finished topping. I cut large strawberries in half or into quarters for easier serving.
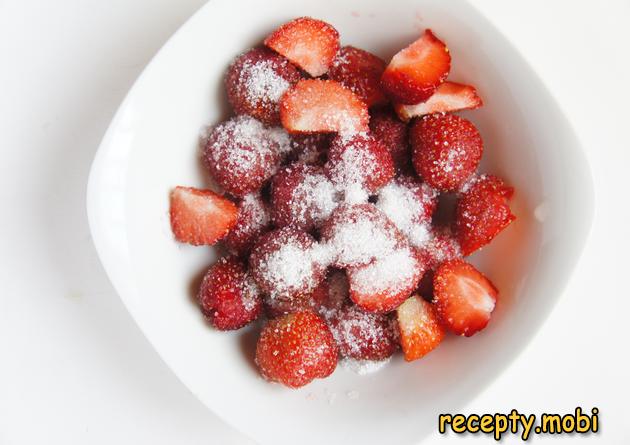
I sprinkle the prepared berries with sugar (2 tbsp) – the sugar will "draw out" the juice from the strawberries and give the topping its characteristic "glossy" look. You can add less sugar (1 tbsp) for a more "diet" version, or more (3 tbsp) for a "sweeter" one.
I put the sugared berries into an enamelled cooking pot with a thick bottom – the "secret" to even heating without scorching. Enamelled cookware does not react with the fruit acids in the strawberries, making it ideal for berry sauces.
I put the pot of berries over LOW heat. CRITICAL STEP: to avoid damaging the berries, I DO NOT stir them with a spoon – that would break the berries into mush. Instead, I gently SHAKE the pot by the handles – a delicate "shake" as they do in a restaurant. The sugar will distribute evenly without damaging the structure of the berries.
After 2–3 minutes of heating, the sugar gradually dissolves completely into the berries – the strawberries release their juice and a natural "strawberry syrup" forms. The berries turn "glossy" and the sauce takes on a bright pink colour.
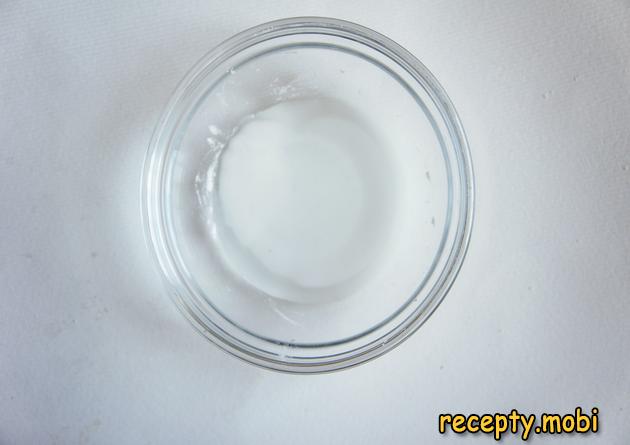
Meanwhile, I prepare the "starch mixture" for thickening. I pour 1 tablespoon of clean COLD water into a separate bowl. I take 1 heaped teaspoon of CORNSTARCH – it gives a more "transparent" and "silky" texture to the topping. The alternative is potato starch (which gives a more "viscous" consistency).
CRITICAL STEP: I add the starch to the cold water and mix it THOROUGHLY until completely smooth – with no lumps! If the mixture has any floury lumps, strain it through a fine sieve before adding it to the topping.
When the sugar has completely dissolved in the strawberry juice (after 2–3 minutes on the heat), I pour the starch-and-water mixture in a THIN STREAM into the cooking pot with the strawberries. AT THE SAME TIME, I shake the pot with gentle "swirling" movements so the starch distributes evenly without lumps.
Optionally, I add natural vanilla (the seeds of ½ pod) or vanillin (1 g) – it gives a refined aromatic note. Also optional is fresh lemon juice (½ tsp) for a light tartness and a "mirror-like" shine to the sauce.
I simmer the strawberry sauce for 2 MINUTES over the lowest heat – during this time the starch "activates" and thickens the sauce to the right "topping" consistency. DO NOT cook it longer – an overcooked sauce loses the "freshness" of the berry aroma.
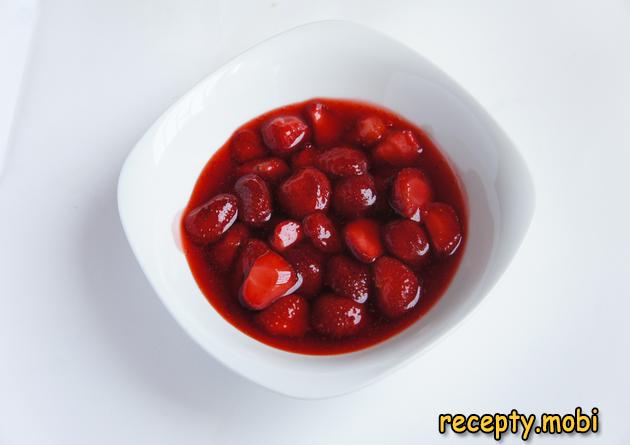
I take the finished topping off the heat. I taste it – if needed, add more sugar (for sweeter) or lemon juice (for tartness). The finished topping is a bright berry-pink with a "glossy" shine, with tender pieces of strawberry in a thickened syrup.
Optionally, for a "restaurant-style" smooth version without pieces of strawberry, I blend the cooled topping for 30 seconds until it becomes a smooth, creamy mass. The result is a "smooth" strawberry sauce like the ones served with ice cream in fine restaurants.
The strawberry topping is ready! I serve it chilled in a pretty bowl or sauce boat. It is ideal with vanilla ice cream, cheesecake, pancakes, cottage-cheese bake, mousses and panna cotta. It keeps in a glass jar in the refrigerator for up to 2 days.


Tips
- 1
Use CORNSTARCH – it gives a silky, transparent texture. Potato starch gives a more "viscous" and "cloudy" one.
- 2
DO NOT stir the berries with a spoon – the "secret" to keeping the berries whole. Shake the pot by the handles instead.
- 3
Dissolve the starch in COLD water SEPARATELY – without this you will get "lumps" in the finished topping.
- 4
Do not cook longer than 2 minutes with the starch – an overcooked sauce loses its fresh berry aroma.
FAQ
What can replace the strawberries in the topping? +
The technique is universal for most berries and fruits. Berries: raspberries (delicate aroma), blueberries (blue colour with antioxidants), pitted cherries (a more "tart" taste), black or red currants, blackberries, bilberries, lingonberries. Fruits: peaches or nectarines, diced; mango (tropical); apricots in halves; fresh pineapple, diced; banana with lemon juice (to prevent darkening). Mix: strawberry + raspberry 50/50 (double summer flavour); sour and sweet cherry (contrasting); mixed berries (4 different ones). Each fruit gives its own character. Strawberry is the "classic" topping because of its bright colour and versatility.
What can replace the starch in the topping? +
There are several options for thickening. Pectin (1 tsp) – a natural fruit thickener that gives a "jelly-like" texture. Gelatine (1 tsp in 50 ml water, soaked for 30 minutes, added to the hot sauce) – sets as it cools. Agar-agar (½ tsp) – a vegan alternative to gelatine; boil for 2 minutes. Without a thickener: simmer the berries with sugar for 15–20 minutes until they thicken naturally. Flour (1 tbsp in water) – the most budget-friendly, but it gives a "floury" taste. Cornstarch is the "gold standard" for silky berry toppings.
How long does the finished topping keep? +
The finished strawberry topping keeps in the refrigerator for up to 2 days in a tightly closed glass jar or container. It is not recommended to keep it longer – it loses its freshness and berry aroma. Do not leave it at room temperature for more than 2 hours in hot weather. You can freeze the topping in portions in mini ice-cube moulds for 1 month – it is handy to "take out a cube", warm it and serve. For long-term storage (like jam), simmer the topping with a large amount of sugar (300 g per 300 g of berries) and seal it in sterilised jars – it keeps for up to 1 year.
What to serve strawberry topping with? +
It is a versatile dessert sauce for many uses. With ice cream: vanilla ice cream (the classic), cream and chocolate ice cream – with strawberry topping on top. With cheesecakes: New York cheesecake, no-bake cheesecake, cottage-cheese pie. With breakfasts: pancakes, fritters, cottage-cheese pancakes, cottage-cheese bake, porridge oats, muesli with yoghurt. With desserts: panna cotta (the classic), sponge cake, doughnuts, meringue. In drinks: milkshakes, smoothies, lemonade. With a cheese board: with hard cheeses and walnuts – a "gourmet" option. With hot black tea and coffee as a "jam-sauce". At a children's birthday party – with cake and pastries.
- Comment
or post as a guest
Be the first to comment.


