
avg —
Candies made from condensed milk and cocoa (+Cooking Video)
Instructions
To begin, I take 100 g of hazelnuts. You can use other nuts if you prefer. To make the skins easier to remove, I lightly toast the hazelnuts in a frying pan. After that I grind the hazelnuts to a fine crumb. I used a kitchen chopper.
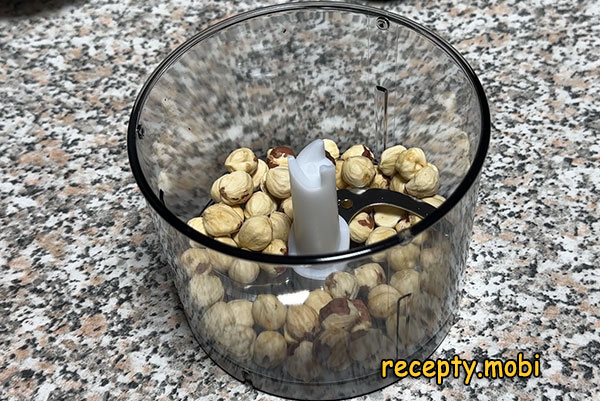
This is the fragrant hazelnut crumb you get after thorough grinding – it should be a "crumb", not a "dust" and not large pieces.

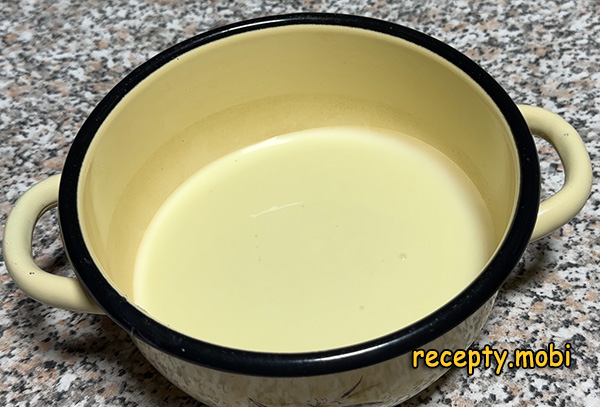
I pour the 400 g of condensed milk from the can into a deep saucepan – a deep one, so it does not splatter when it comes to the boil.
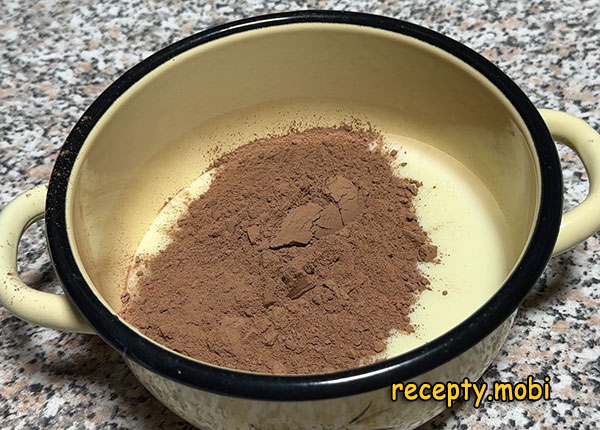
I add 4 tablespoons of cocoa powder to the condensed milk – a good "Dutch" cocoa gives a bright chocolate flavour and a characteristic colour.
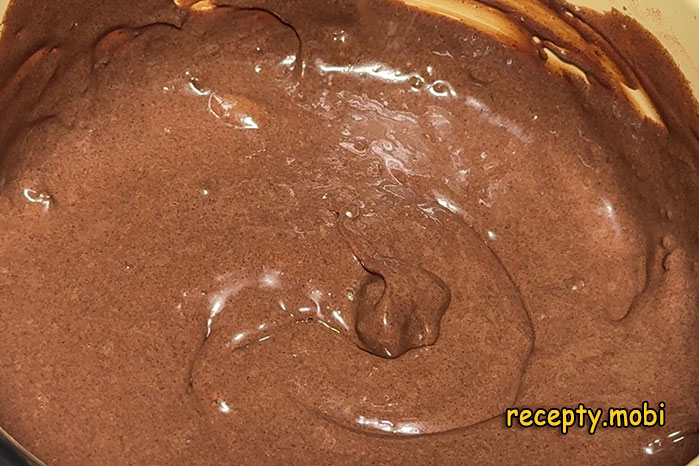
I mix the condensed milk with the cocoa powder until the mass is uniform – the cocoa should dissolve completely, with no lumps.
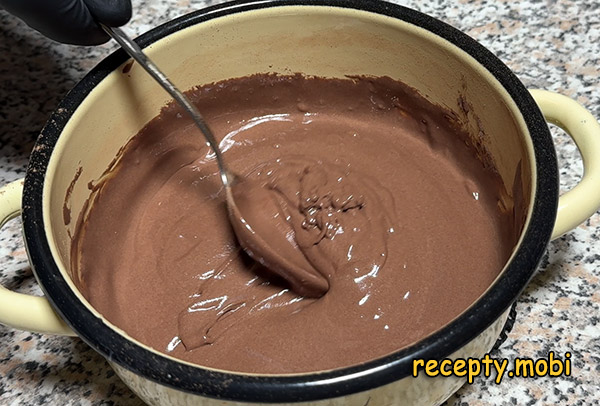
I put the saucepan with the condensed-milk-and-chocolate mass on the hob and turn the heat to medium. Stirring constantly, I bring the mass to the boil – continuous stirring prevents the condensed milk from scorching.
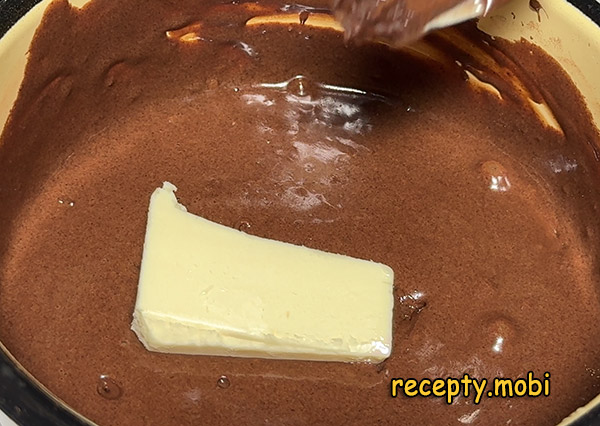
I add 50 g of butter to the chocolate mass. I stir until the butter has completely dissolved – the butter gives a delicate "buttery" aroma and helps the mass set to the right consistency.
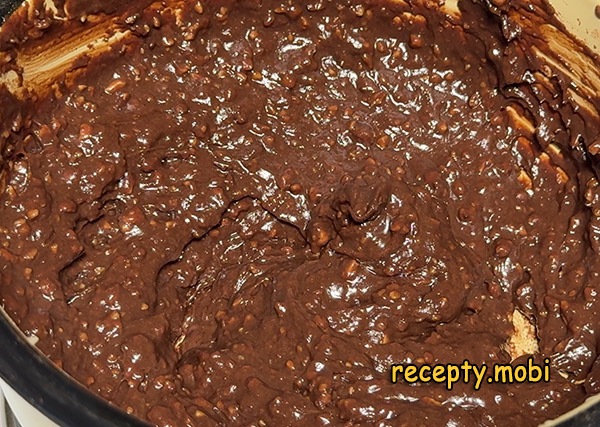
Then I add the ground nuts to the mass. I stir everything well until uniform – the nuts should be distributed evenly throughout the mass.
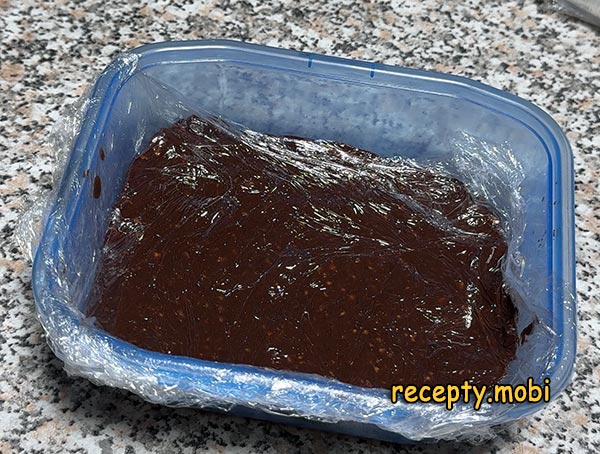
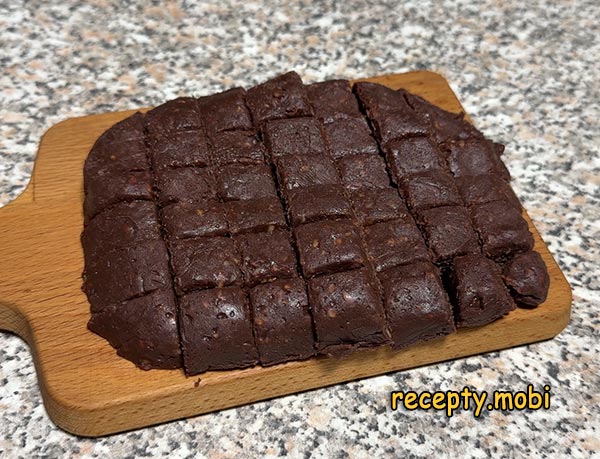
I take a convenient container and line it with cling film. I spread the prepared chocolate-and-nut mass into it and level the surface. I cover the top with cling film. I put it in the fridge for at least 1.5 to 2 hours – it is the chilling that makes the mass firm enough to slice.
I take the mass out of the fridge, peel off the cling film and cut the chocolate-and-nut mass into small squares – the ideal size is 2×2 cm.
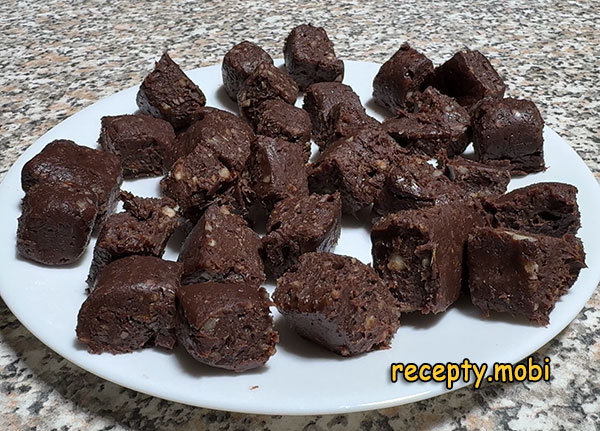
I separate the chocolate-and-nut candies from one another and transfer them to a plate – carefully, so as not to spoil their shape.
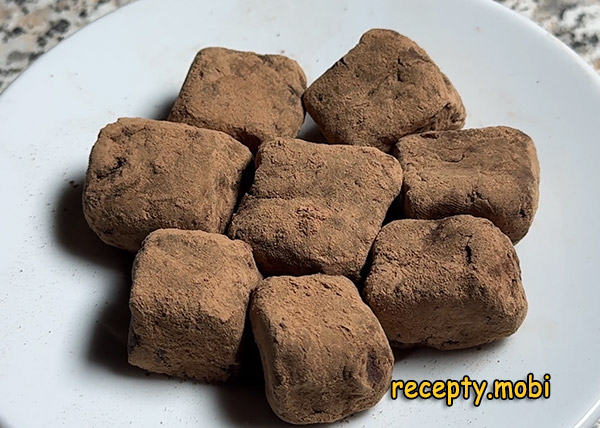
To give the treat a final touch, I recommend rolling each candy generously in cocoa powder. This adds a refined chocolate aroma and a pleasant slight bitterness. After that, the candies from condensed milk and cocoa are ready to grace your table and delight your guests with their wonderful taste.


Tips
- 1
Toasting the nuts is the "secret" to the aroma. Raw nuts have a soft, "green" note that gets lost in the rich chocolate mass. Lightly toasting the hazelnuts for 5 minutes in a dry frying pan brings out their "buttery" aroma and gives the characteristic "roasted" taste that comes through clearly in the finished candies. This is a "secret" from confectioners.
- 2
Constant stirring is the "secret" against scorching. Condensed milk is very temperamental – it scorches onto the sides of the pan in an instant. Without continuous stirring with a wooden spatula or a whisk, the candies will taste "burnt". The last minutes of cooking are especially risky, when the mass thickens – that is exactly when the chance of scorching is highest.
- 3
Variations with nuts and dried fruits are the "secret" of seasonality. Using the same base you can make different "signature" versions. Following the same idea as the candies with peanuts, dried apricots and prunes, I add dried fruit to the mass for a "fruity" note, or swap the nut for almonds, peanuts or cashews.
- 4
Rolling in cocoa is the "secret" of an attractive presentation. Plain square candies look rather "bare" and are not very presentable. Rolling each one in cocoa powder gives a "chocolate truffle" presentation with a pleasant light bitterness. A similar rolling technique works in the homemade dried-fruit candies in chocolate "Snow balls".
Video
FAQ
How long do candies made from condensed milk keep? +
In an airtight container in the fridge – up to 7 days without any loss of quality. On the second day the flavour becomes richer, as the components "settle". At room temperature in an airtight box – up to 3 days (in warm weather they may "run"). You can freeze them for 1 to 2 months – before serving, defrost them in the fridge for 2 to 3 hours. It is best to do the outer cocoa coating just before serving, because during storage the cocoa can "soak into" the candies and lose its "truffle" effect.
Can I replace the hazelnuts with other nuts? +
Yes, any nuts work very well. Alternatives: walnuts (the classic, a more "Russian" taste), almonds (more delicate, with a creamy shade), cashews (soft, without the characteristic bitterness), peanuts (the budget option), pine nuts (premium, with a subtle flavour). You can make "mixed" candies with two or three kinds of nuts at once. Not suitable: salted nuts (they change the flavour) and very fine nut flour (you lose the crunchy contrast). The main thing is that the nuts should be a "crumb", not a "dust".
What should I do if the mass has not thickened? +
The main reasons: not enough cooking time – cook it for another 5 to 10 minutes until you get a "stretchy" consistency. Unsuitable condensed milk – some "low-budget" producers use vegetable fats, and that kind of "condensed milk" does not thicken. Use only real condensed milk marked "GOST" – it gives the right firmness. If the mass is still runny, you can add 1 to 2 tablespoons of powdered milk – it will "drink up" the excess moisture and add firmness.
What should I serve candies made from condensed milk with? +
The classic way to serve them is with black or green tea, as a sweet for tea time. With coffee: with an espresso or cappuccino, for the contrast of bitter against very sweet. With milk drinks: with hot milk and cinnamon, or with cocoa and marshmallows. For a children's party: instead of shop-bought sweets, with compote or fruit drink. For an adult party: with dessert wine, liqueur or cognac. With dessert: with a scoop of vanilla ice cream as a "topping", or crushed into a crumb as a cake decoration.
- Comment
or post as a guest
Be the first to comment.


