
avg —
Homemade Marshmallow with Agar-Agar – Classic Recipe
Instructions
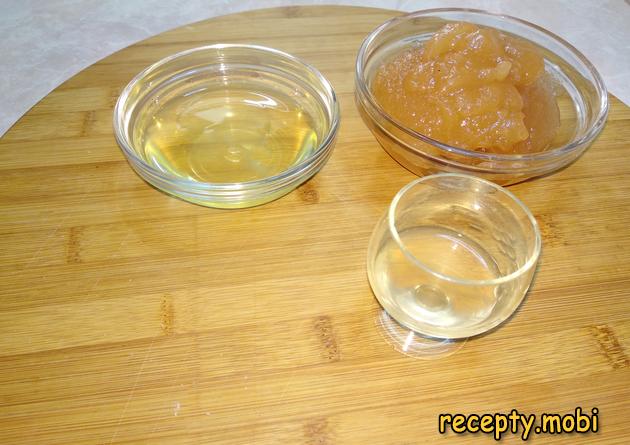
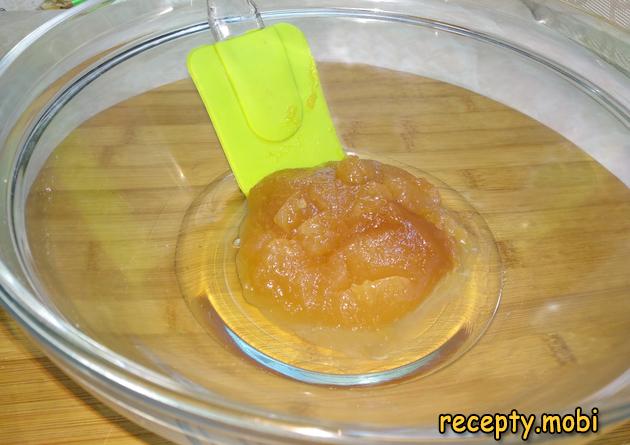
The first step is to whip the apple puree with the egg white and lemon juice. The egg white and the puree must come straight from the refrigerator – a cold mixture whips up better, gives a more stable foam and a fluffier structure in the finished marshmallow.
Transfer the ingredients into a deep bowl. The bowl should be quite tall – during whipping the mixture increases in volume by 3–4 times. A mixer bowl is ideal.
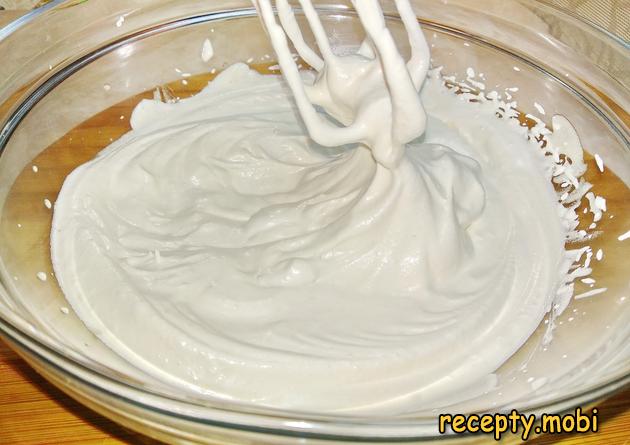
Whip the apple-and-egg-white mixture with a simple hand mixer for 5–7 minutes until stiff peaks form. To check it is ready: when you turn the bowl upside down, the mixture does not run out but holds firmly on the whisk. This is a key stage – an under-whipped mixture will not give the marshmallow the right texture.
The next step is to make the syrup. You will need the water, the sugar and the agar-agar. Agar-agar is a natural gelling agent made from seaweed; it works at a high temperature (90–95 °C), which is how it differs from gelatin.
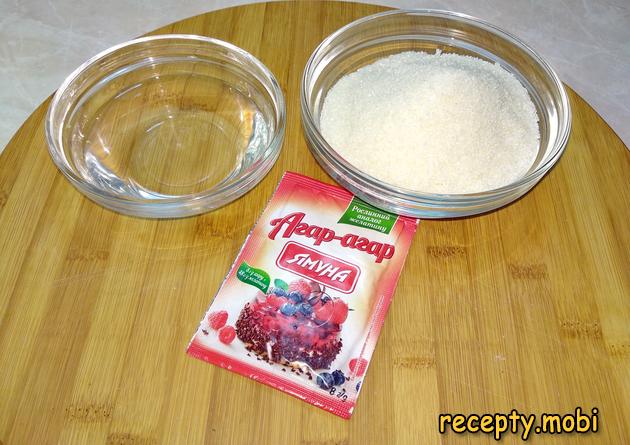
Pour the ingredients into a heavy-bottomed saucepan, stir, and place on the hob to heat. A heavy bottom matters – it gives even heating, so the syrup does not scorch and the agar-agar does not "cook" unevenly in spots.
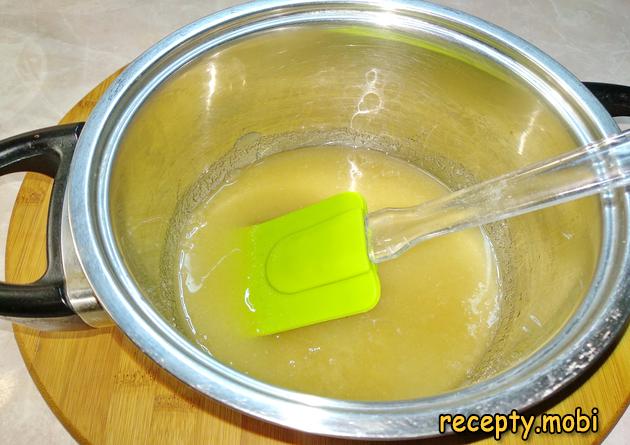
Bring the mixture to a boil and reduce the heat. Stir constantly with a silicone spatula, not letting it settle on the bottom. Constant stirring is critical for agar-agar – otherwise it will clump together into lumps.
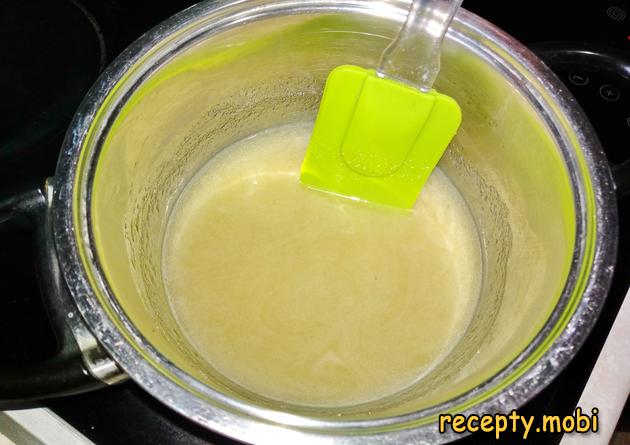
Continue cooking the syrup for about 7 minutes. I judge it is ready by the "thread": the syrup should run off the spatula in a thin, continuous "thread". This means the syrup has reached the right temperature and thickness for whipping into the egg-white mixture.
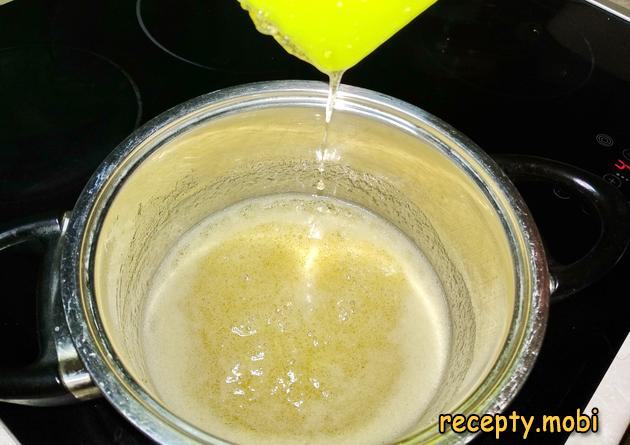
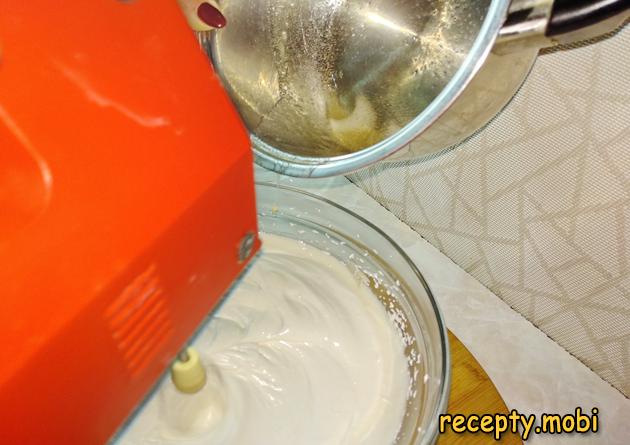
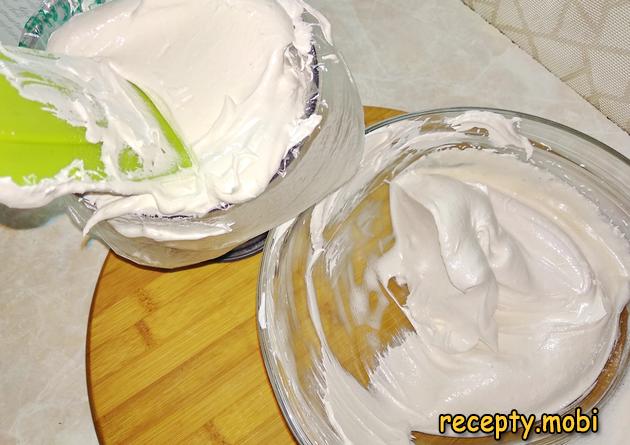
Return to the apple-and-egg-white mixture and whip it for another minute. Without stopping the mixer, pour the syrup into the mixture in a thin stream. A thin stream is important: hot syrup added all at once can curdle the egg white. Whip the resulting mixture for about 5 minutes – it thickens and practically "winds" itself around the whisk. This means the marshmallow cream is ready.
Transfer the mixture into a piping bag with a wide nozzle. A "star" nozzle is the classic choice for a beautiful marshmallow shape. A wide nozzle is easier to work with than a narrow one.
Prepare a sheet of parchment paper: draw circles on it with a pencil, then turn the sheet over – so the pencil does not contact the food. Pipe the marshmallows onto the drawn circles – this way the dessert comes out all the same size.
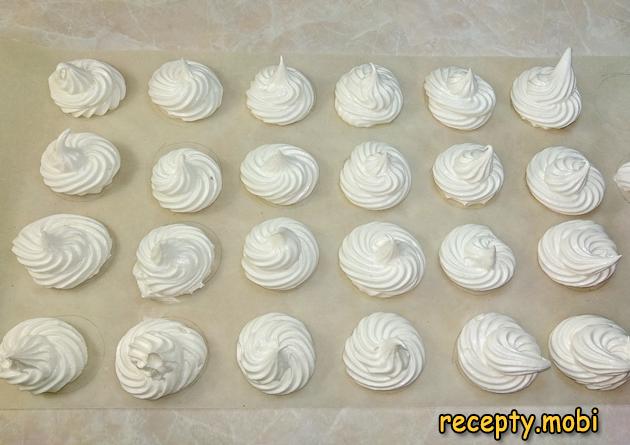
For an even base on the halves, first pipe a "star", then make a couple of turns around it. Leave the prepared marshmallows on the parchment to set at room temperature for 8–12 hours. The refrigerator is not needed for stabilizing – the marshmallow will not set properly there.
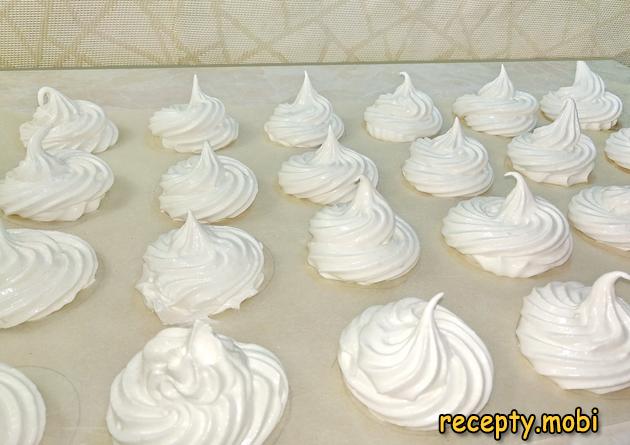
After 8–12 hours the marshmallow has set and firmed up – it holds its shape well, but stays sticky. Dust it with powdered sugar; after that the dessert is easy to pick up. The powder is the "secret" of a proper marshmallow: it stops the pieces sticking together.

The marshmallow can be left as halves or joined into pairs by their "bottoms". The "bottoms" are left without powder – they stick together well and hold as pairs without any extra effort.
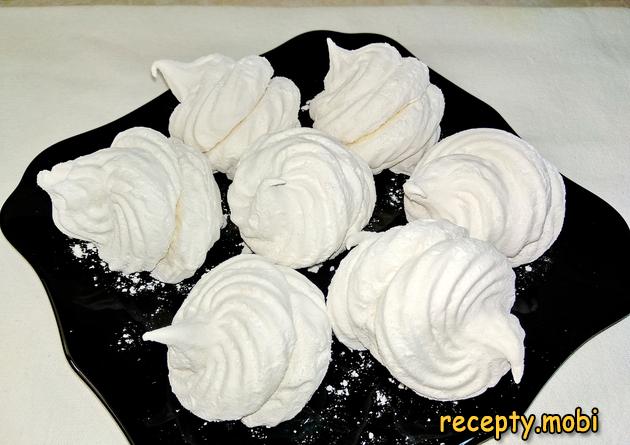
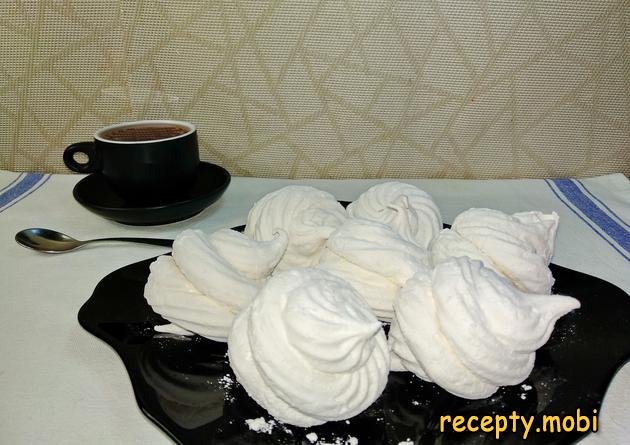
According to the classic recipe, homemade marshmallow with agar-agar is ready. I arrange it on a dish, brew some turmeric tea and call everyone to the table.


Tips
- 1
The egg white and the puree MUST come from the refrigerator – a cold mixture whips up better and gives a more stable foam than a warm one.
- 2
Agar-agar needs a high temperature to work (90–95 °C) – which is exactly why we cook the syrup for 7 minutes to the "thread" stage. Gelatin will not replace agar in this recipe.
- 3
Stabilizing ONLY at room temperature for 8–12 hours – the refrigerator will "spoil" the structure. A similar principle applies in other desserts made with agar-agar.
- 4
Pour the syrup into the egg-white mixture in a THIN STREAM, without stopping the mixer. Adding the hot syrup all at once will curdle the egg white.
Video
FAQ
What can I substitute for agar-agar in the recipe? +
Fully replacing agar-agar with gelatin is not possible without changing the technique – they work at different temperatures. Gelatin needs cold to set, agar needs a high temperature. If you only have gelatin, the method is different: soak 15 g of gelatin in cold water for 15 minutes, then dissolve it in the hot syrup (not boiling!). The result will differ: marshmallow made with gelatin is more "rubbery", while marshmallow with agar is "crisp" inside. Classic marshmallow is made specifically with agar.
Which apple puree should I use? +
Ideally homemade puree from tart apple varieties (Antonovka, Simirenko, Granny Smith). A tart apple gives the natural pectin needed for the structure. Shop-bought puree from jars of baby food will also work (without sugar). Thickness matters: a runny puree will not give the right mass. If the puree is runny, cook it down over low heat for 10–15 minutes until it has the thickness of "thick sour cream". Sweet purees (from pears or bananas) are not suitable – they do not have the right amount of pectin.
How long does homemade marshmallow keep? +
In an airtight container at room temperature – 5–7 days; in the refrigerator – up to 2 weeks. The main thing is to protect it from moisture in the air, otherwise the marshmallow will go damp and become sticky. Store it with cling film or in a box with a tight lid, layering powdered sugar between the layers. I do not recommend freezing – after thawing the texture is spoiled. For long storage it is better to make a smaller portion and eat it fresh.
Can I make coloured marshmallow? +
Yes, you can add food-grade gel colouring (pink, green, blue) to the apple-and-egg-white mixture – 2–3 drops for the whole batch. With liquid colourings add 5–10 drops. Natural colourings: beetroot juice (pink), spinach juice (green), turmeric (yellow) – but they can add their own flavour. Flavourings (vanillin, almond extract) are added to the egg-white mixture before you start whipping. Experiment – the basic technique stays the same.
- Comment
or post as a guest
Be the first to comment.


