
avg —
Strawberry-Banana Ice Cream at Home
Instructions
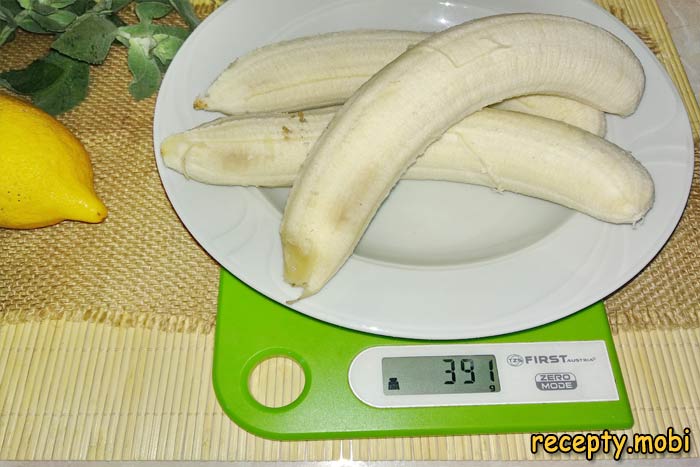
I prepare the ingredients – a 100% natural base with no sugar and no eggs. I choose VERY RIPE bananas (400 g, 3–4 pcs) with brown spots on the skin. This is "secret No. 1" of a creamy texture – overripe bananas contain more natural sugars and starches. Green bananas will give an icy mass full of crystals.
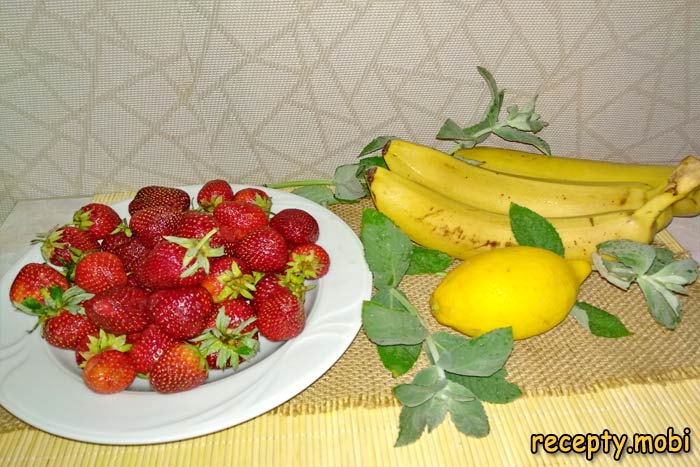
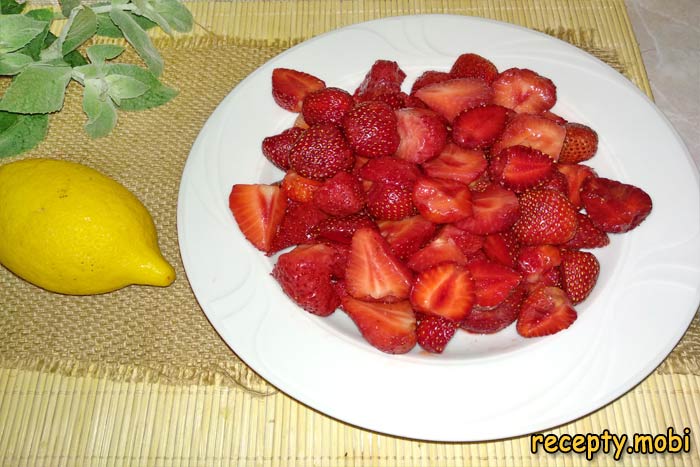
I choose strawberries that are fragrant and sweet – ideally home-grown from the garden or from a farm. Mass-market shop strawberries are often bland, and the ice cream will taste flat. If there are no fresh ones, you can use frozen strawberries without sugar.
I wash the strawberries and bananas thoroughly under cold running water. I pat the strawberries dry with a paper towel – excess water will form icy crystals during freezing. I remove the stems from the strawberries.
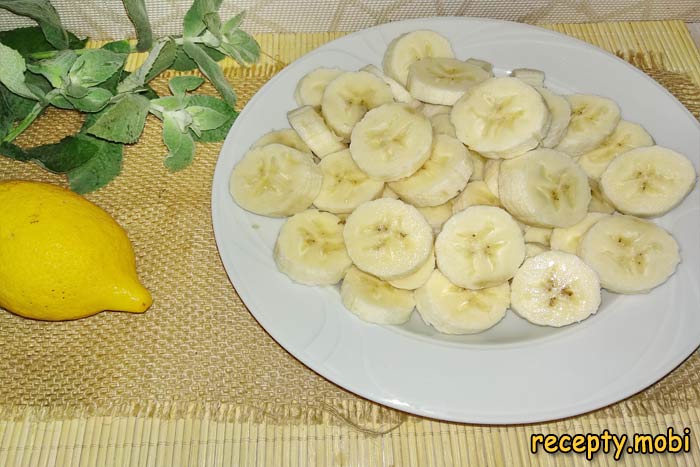
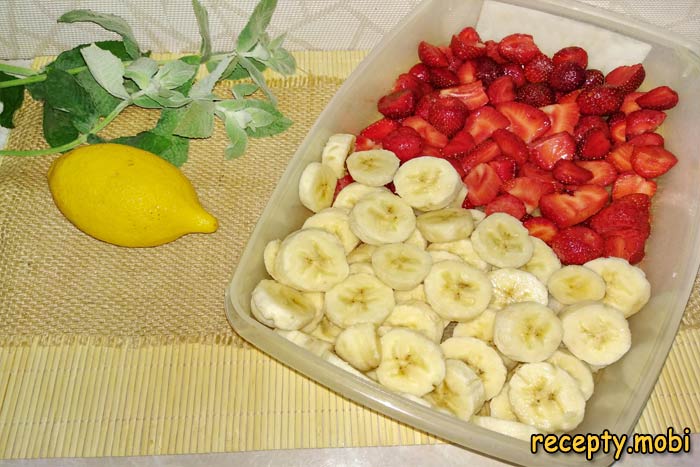
I peel the bananas and cut them into thin rounds 3–4 mm thick – thin slices freeze quickly and are easier for the blender to process. Thick pieces will freeze into icy blocks that are hard to break down with a blender.
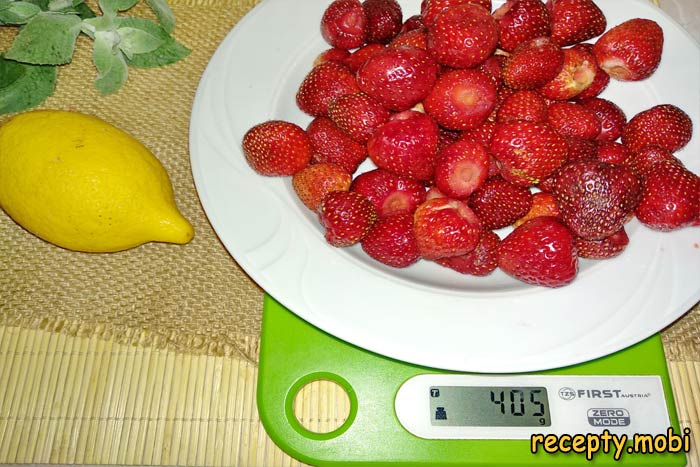
I cut the strawberries into 2–4 pieces depending on size: large berries into 4 parts, medium ones into 2 parts, and small ones I leave whole. Pieces of the same size will freeze and process evenly.
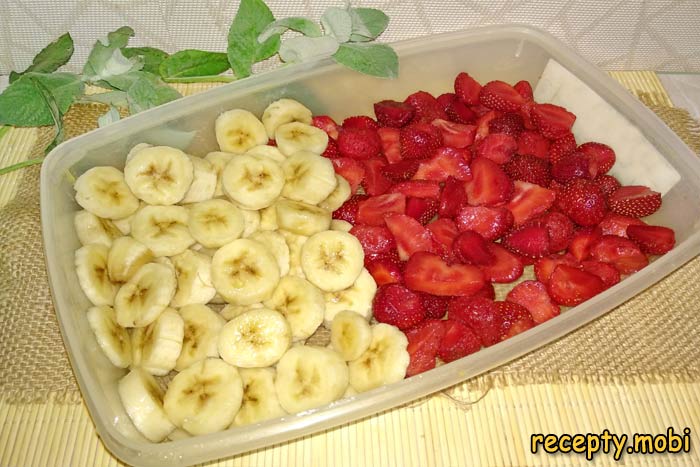
CRITICAL STEP: I transfer the cut fruit into a large container with a lid in a single layer (not piled on top of each other, otherwise it will stick into one block). I cover it with the lid or cling film and put it in the freezer for 2–3 hours until fully frozen. You can also freeze it overnight.
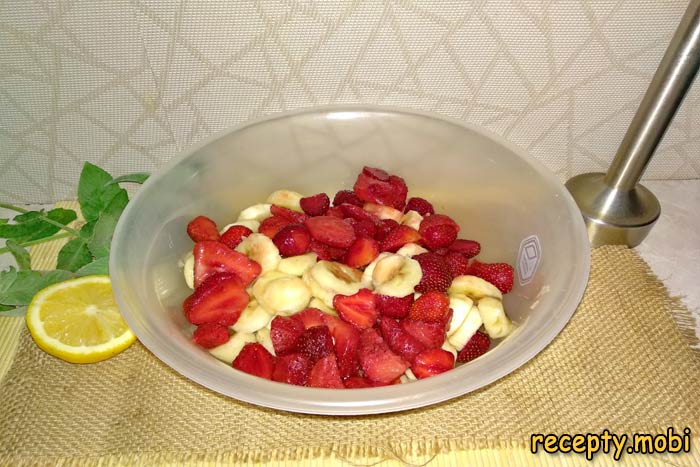
After 2–3 hours I take the fruit out of the freezer. If it is rock-hard, I let it sit at room temperature for 5–10 minutes so the blender can handle it easily. Heavily frozen fruit can break the blades of a cheap blender – be careful.
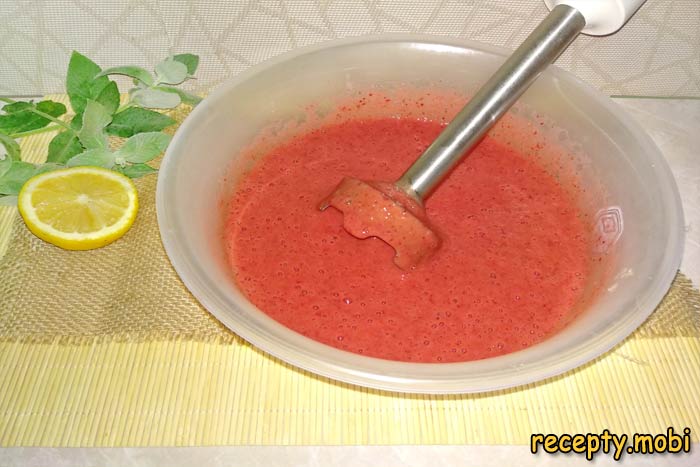
I transfer the frozen fruit into the bowl of a powerful blender (at least 600–700 W) or a food processor with an "ice-crushing" setting. I add fresh lemon juice (2 tsp) – it "fixes" the bright colour of the strawberries and stops them from darkening through oxidation.
I blend the fruit into a smooth, fluffy mass for 2–3 minutes, stopping the blender from time to time and scraping the mixture off the sides of the bowl with a spatula. If the blender struggles with the frozen fruit, add 50 ml of cold milk to make the work easier. The finished mass should be smooth and creamy, with no lumps.
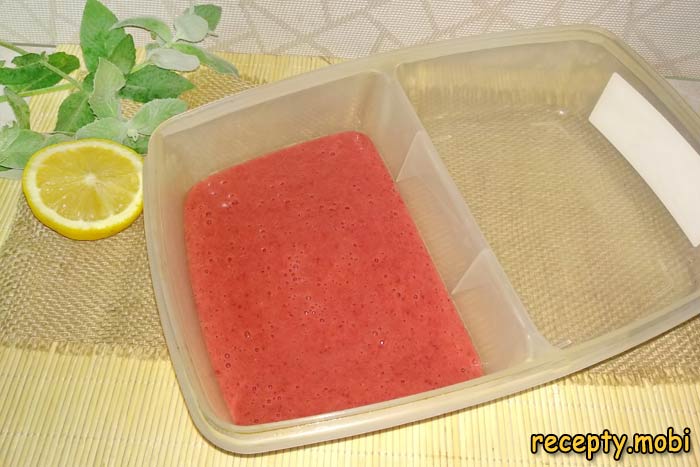
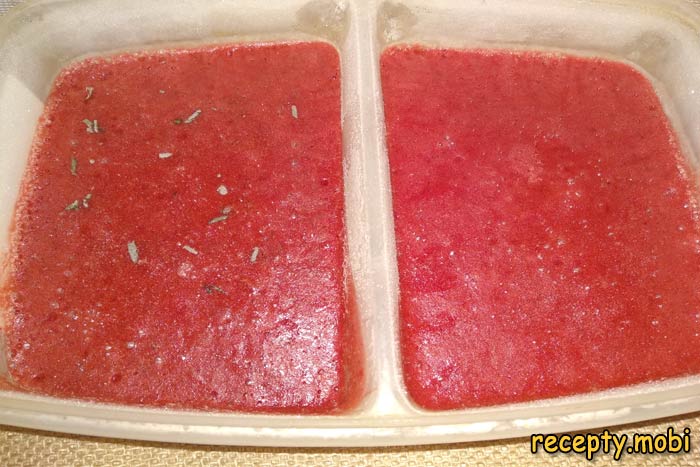
I transfer half of the finished strawberry-banana mass into a freezer container. This will be the first "classic" version without mint – children love it.
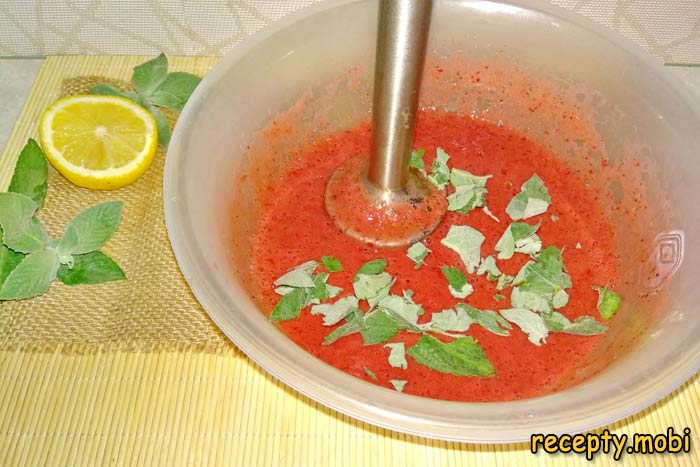
To the remaining half of the mass in the blender bowl I add 5–7 fresh mint leaves (leaves only, no stems). I blend again for 1 minute until the mint is fully crushed – it gives pretty green flecks in the pink mass and a fresh, minty flavour.
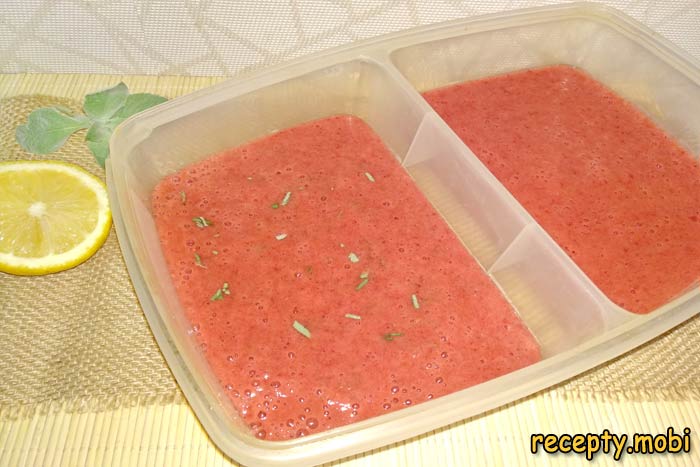
I transfer the mint version into a separate container. If you like, finely chop 2–3 mint leaves with a knife (not a blender) and stir them into the mass for pretty "mint flakes". You end up with two versions of ice cream from a single recipe.
I put the containers of ice cream into the freezer for another 30–60 minutes until the consistency finally sets. If you leave it longer than 2 hours, the ice cream will become very hard, so let it sit for 10 minutes at room temperature before serving.
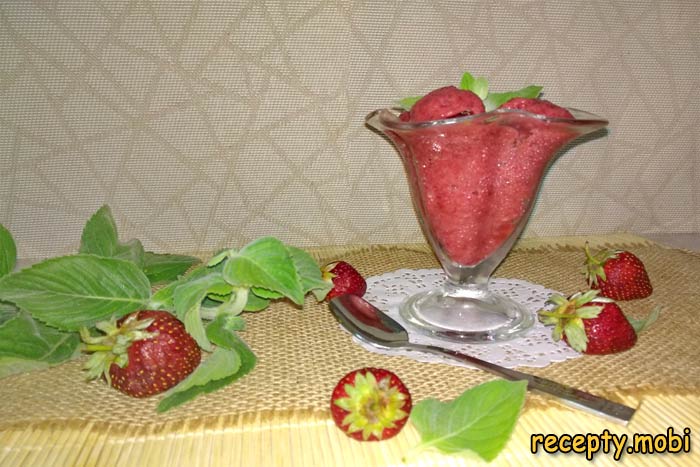
I serve the ice cream in pretty dessert bowls with 1 scoop of the classic version plus 1 scoop of the mint one. I decorate it with a whole strawberry, a fresh mint leaf and a thin slice of lemon. If you like, drizzle it with honey or melted dark chocolate for an extra-special touch. The strawberry-banana ice cream at home is ready!


Tips
- 1
Use ONLY VERY RIPE bananas with brown spots – this is the "secret" to a creamy texture. Green ones will give an icy mass.
- 2
Lemon juice "fixes" the bright colour of the strawberries – without it the ice cream will darken through oxidation.
- 3
Freeze the fruit in a SINGLE LAYER in the container, not piled on top of each other – otherwise it will stick into one block.
- 4
Use a powerful blender (600–700 W) or a food processor – a cheap blender will not cope with frozen fruit.
FAQ
What other fruits are suitable for banana-based ice cream? +
Any seasonal berries and fruit will work: raspberries (a delicate aroma), blueberries (blue ice cream with antioxidants), cherries (pitted, with a more tart flavour), peaches or nectarines (a summer classic), mango (for a "tropical" taste), fresh pineapple (an unusual, exotic option), and black or red currants (first strain them through a sieve to remove the seeds). For berries with small seeds (raspberries, blackberries, currants) be sure to strain them through a sieve before adding them to the banana. Each fruit gives its own character – experiment with the season. Bananas are a universal "base" that binds any fruit together.
Can it be made without bananas? +
Yes, but the texture will be different – without the creamy base from the bananas. Alternatives for "binding": very ripe avocado (for a "green" version with an exotic taste), full-fat coconut milk (200 ml) for a "tropical" note, thick 10% Greek yoghurt (200 g) for a "yoghurt" ice cream, whipped 33% cream (200 ml) for a classic creamy version, or very ripe mango (300 g) as a replacement for banana. Without the creamy base from these ingredients you will get a "fruit sorbet" (fruit ice) rather than ice cream. Bananas are the most affordable and simplest binding ingredient.
How long does homemade ice cream keep? +
The finished ice cream keeps in the freezer at -18°C for up to 1 month in an airtight container. After 1 month it is still edible but loses its fresh aroma and texture. Before serving, let the ice cream sit for 5–10 minutes at room temperature – it will be softer and easier to scoop. Do not thaw it completely and re-freeze it – the structure will "break" and you will get an icy mass. It is ideal to make it in small portions, in containers of 4–6 servings each. You can also freeze it in portions in ice-lolly moulds on a stick – a handy option for children.
What to serve homemade ice cream with? +
It is ideal on its own as a summer dessert in pretty bowls with a decoration (a fresh berry, a mint leaf, a slice of lemon). Fresh baking goes well with the ice cream: waffle cones or cups, sponge biscuits, homemade pancakes (with a scoop on top), or fluffy fritters (a version for children). For sauces – honey, chocolate sauce, caramel or berry syrup. For an adult dessert – with brut champagne, dry white sparkling wine (Prosecco) or a sweet liqueur (Baileys, Amaretto). For a children's birthday – with fruit lemonade and cake. For a beach picnic – in a sealed cool bag with dry ice to hold its shape for longer.
- Comment
or post as a guest
Be the first to comment.

")

