
avg —
Pistachio Ice Cream
Instructions
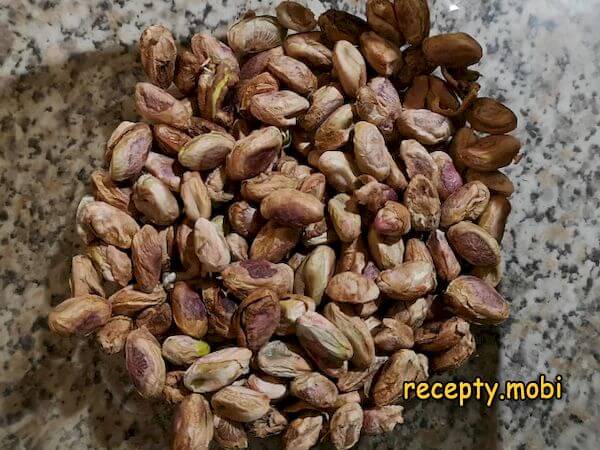
Prepare all the ingredients you will need.

Shell the pistachios – a long but necessary step. You can get the whole family involved in the process.
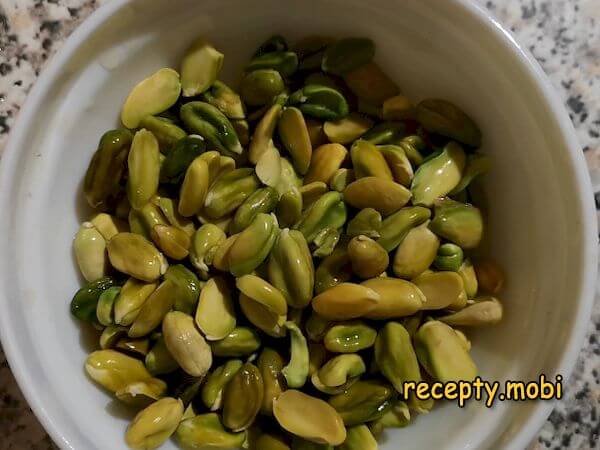
Pour boiling water over the shelled pistachios and leave them for 15–20 minutes. After this the skins come off easily – without them the ice cream turns out brighter and more delicate.

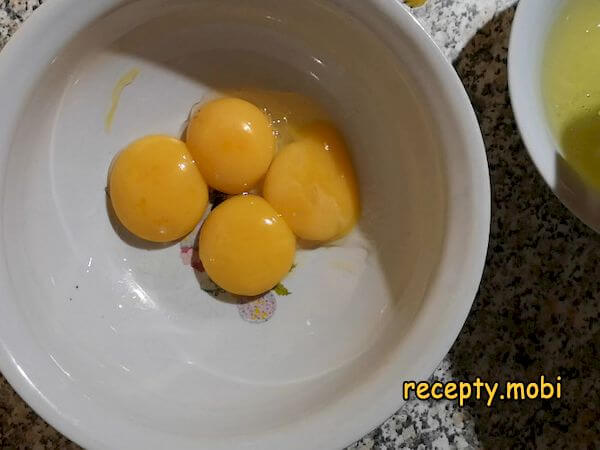
Separate 4 yolks from the whites. The whites will come in handy for other dishes – for meringue, for example.
Peel the skins off the pistachios – they should come away easily now.
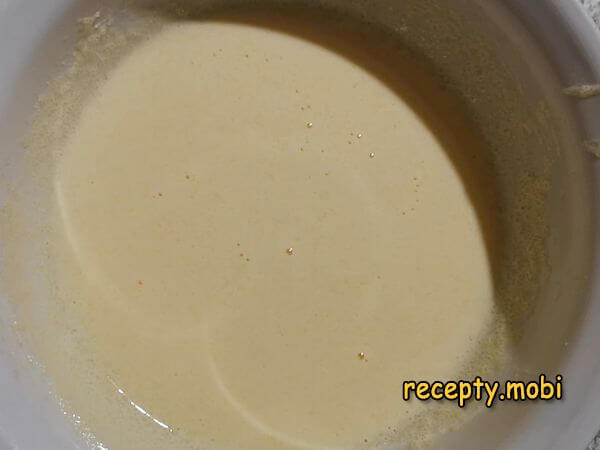
Tip the nuts into a blender bowl and add 250 ml of milk. Blend at high speed for 1–2 minutes.
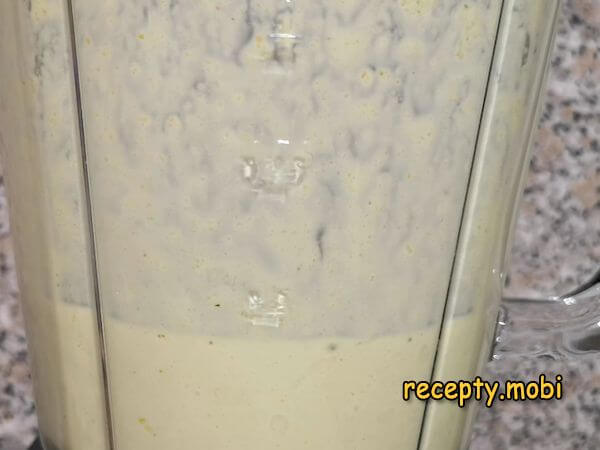
Pour the resulting mixture into a saucepan.
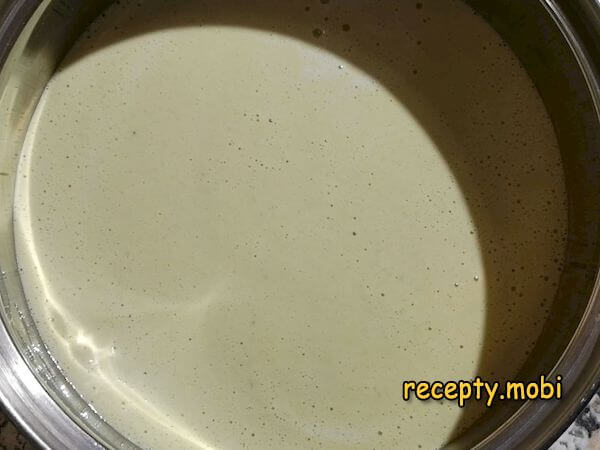
Pour 500 ml of cream into the milk-and-pistachio mixture.
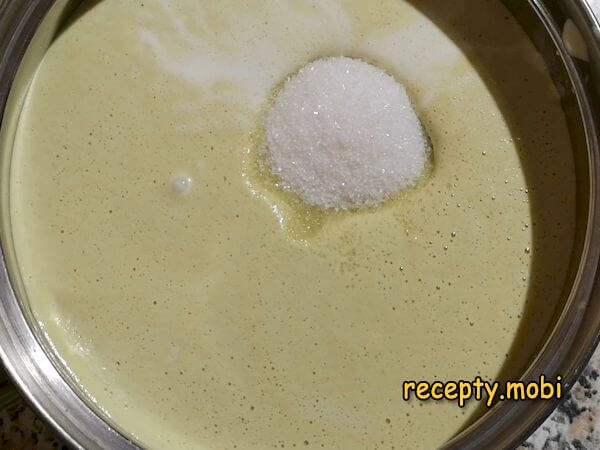
Add 100 g of sugar (half the total amount) to the same pan.
Go back to the yolks. Add the remaining 100 g of sugar to them.
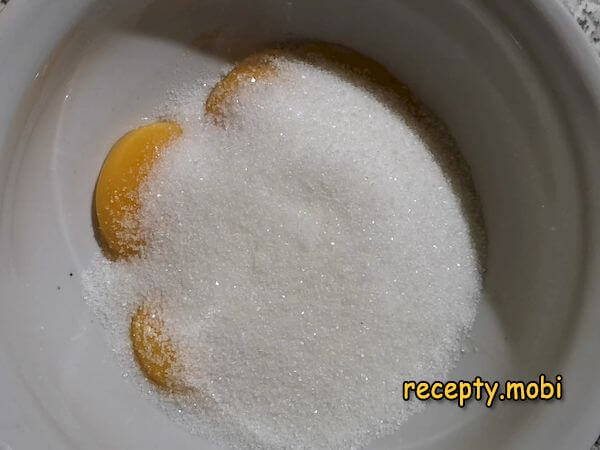
Whisk the yolks with the sugar until they increase in volume and lighten in colour – this means the sugar has “taken” with the yolk.
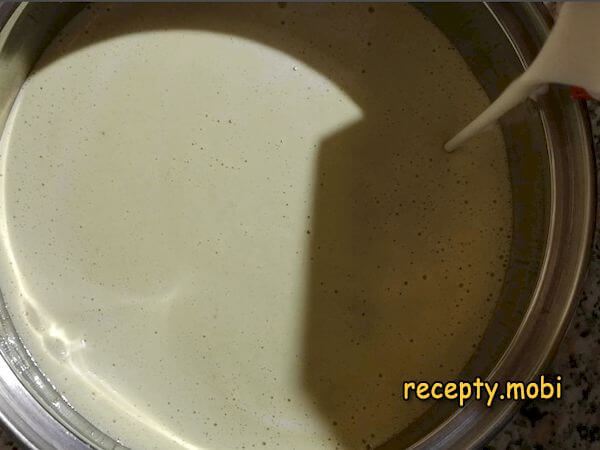
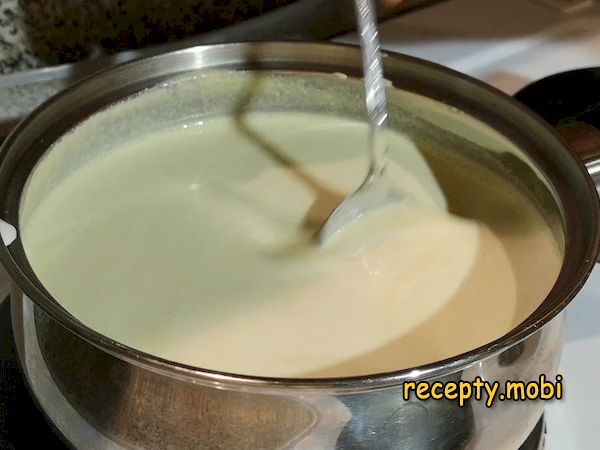
Put the pistachio mixture on the heat and, stirring gently, bring it to the boil. As soon as the first bubbles appear, take it off the heat.
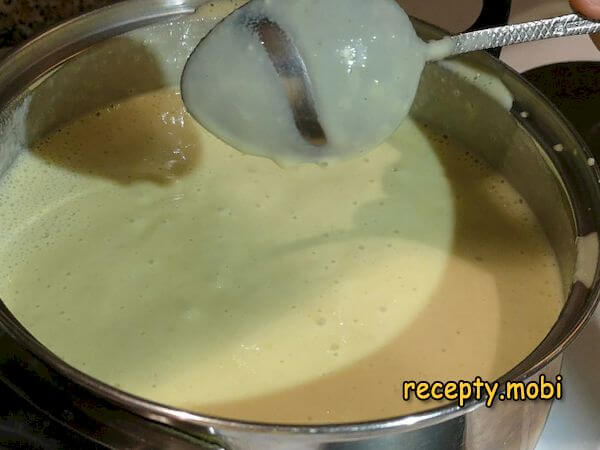
Pour the pistachio mixture into the yolk mass in small portions, whisking vigorously all the while – so that the yolks do not curdle.

Put it back on the heat and, stirring constantly, warm it through without letting it boil – otherwise the egg whites may curdle. To check the thickness of the mixture, dip a spoon in and run a finger across it. If the trace stays clear, the custard is ready – take it off the heat.
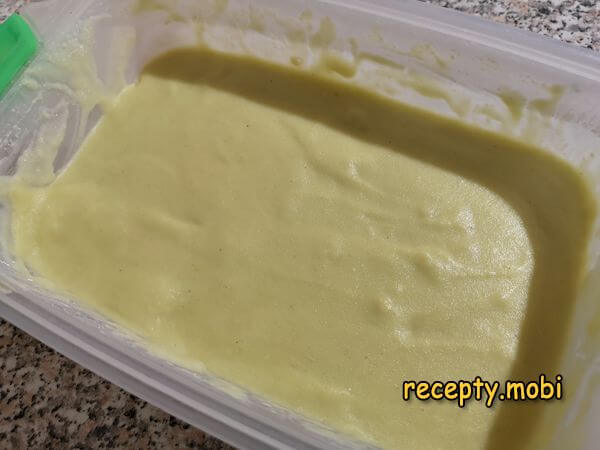
Pour it into a mould for freezing. Leave it at room temperature until completely cooled, stirring occasionally – so that a skin does not form. Then place it in the freezer.

So that the ice cream freezes evenly, stir it gently roughly every hour. The pistachio ice cream is ready.
To make it easier to shape into scoops, let the ice cream stand at room temperature for 10 minutes.Enjoy your meal!


Tips
- 1
ALWAYS PEEL the skins off the pistachios – without them the ice cream comes out a bright green and delicate. With the skins on, the colour turns a “dirty grey”.
- 2
DO NOT bring the yolk custard to the boil – only up to steaming (75–80 °C). Otherwise the yolks will “cook” and you will get a grainy mass.
- 3
STIR every hour during freezing – this is the key to a creamy texture. Without stirring, ice crystals form.
- 4
TAKE IT OUT 10 MINUTES before serving – ice cream frozen “solid” is hard to scoop. A similar trick works for other kinds of homemade ice cream too.
Video
FAQ
Which pistachios should I choose? +
The best choice is raw pistachios in the shell (either freshly harvested or well packaged). Salted roasted ones (the snack-with-beer kind) will not do: the ice cream will turn out salty and bitter. Unsalted roasted ones can be used, but the aroma will be “more intense” than with raw nuts. Iranian and Californian pistachios are the best for flavour and colour (a bright green kernel). Turkish ones are good too. Avoid greyish, “empty” nuts – a sign of age or poor storage. 200 g in the shell equals roughly 100 g of peeled kernels.
Do I need to add colouring? +
No. Homemade pistachio ice cream has a natural pale green colour – exactly the shade the natural pistachios give it. If you want the bright “emerald” colour you get in the shops, be aware that they use food colouring (usually E140 chlorophyll). You can add 1–2 drops if you want a more intense shade. For a natural boost of colour, add 1/4 tsp of spirulina (a natural green algae, odourless). But the best option is to accept the natural pale shade as a mark of how natural it is.
How long does the ice cream keep? +
In the freezer in a sealed container – up to 2 months. Over time the flavour fades and ice crystals may appear (if you do not stir it). Homemade ice cream without stabilisers freezes harder than shop-bought – take it out 10–15 minutes before serving. After the first “freeze and serve”, refreezing worsens the texture. It is best eaten within the first 1–2 weeks of making it. Store it away from strongly smelling foods (meat, fish) – ice cream “absorbs” smells.
What to serve it with? +
The classics: with a warm apple or cherry pie (a hot-and-cold combination), with chocolate sauce, with caramel sauce, with honey and nuts. With biscuits (biscotti, almond). As an “iced coffee” (a scoop of ice cream in a cup of espresso – affogato). With fruit – strawberries, raspberries, pineapple. In a cocktail – a milkshake with banana. For adults – with Amaretto or Frangelico liqueur (the nutty notes are brought out). A classic Italian serving – with a drop of extra virgin olive oil and a pinch of sea salt.
- Comment
or post as a guest
Be the first to comment.


