
avg —
Marble Eggs – How to Dye Eggs for Easter
Instructions
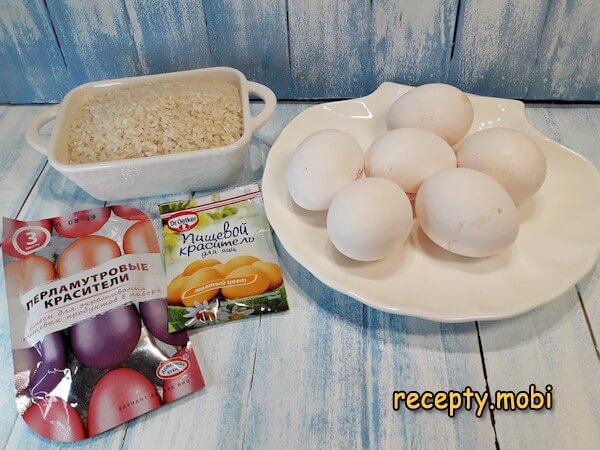
Prepare the ingredients. Always use white eggs – food colourings show up better on them, while brown ones give muted shades. You can take fewer colourings than eggs, as the colours mix easily to make new shades. Any ordinary long-grain rice will do, there is no need for expensive varieties – it is not eaten anyway.
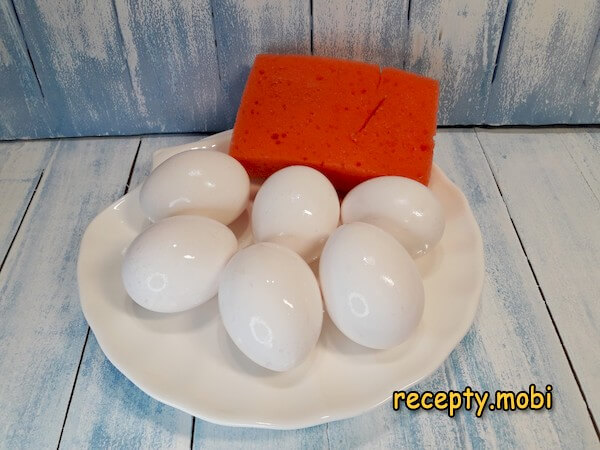
Wash the eggshells thoroughly with a sponge and baking soda for 1–2 minutes – this removes the greasy industrial coating that producers apply for longer storage. Without washing, the dye goes on unevenly and may come off easily. Pat the eggs dry with paper towel before boiling.
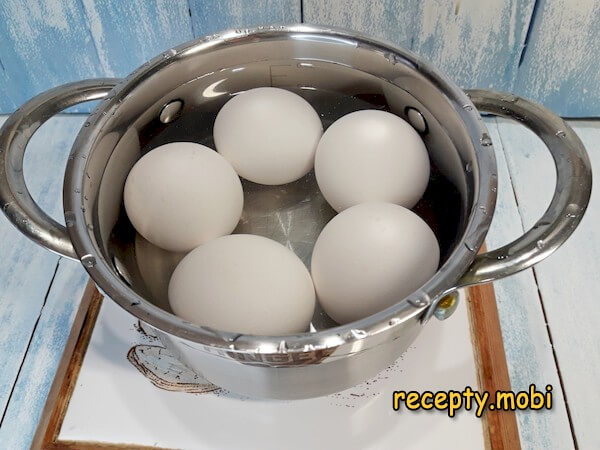
Place the eggs in a saucepan in a single layer and cover with cold water to a level 2 cm above them. Add 1 tsp of salt – salt creates osmotic pressure and reduces the risk of the shell cracking during boiling. Once the water boils, cook hard for 10 minutes over medium heat – this is enough for the yolk to set completely.
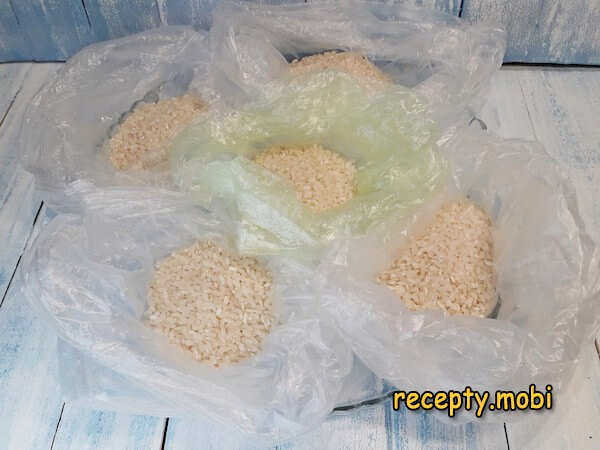
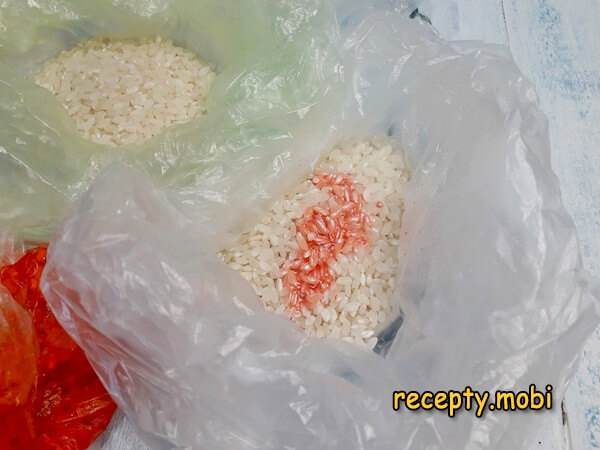
While the eggs are boiling, prepare the bags for dyeing: pour 50 g of rice into each of the 5–6 plastic bags. Arrange the bags on a cutting board or tray so as not to stain the worktop – food colouring sinks into surfaces instantly.
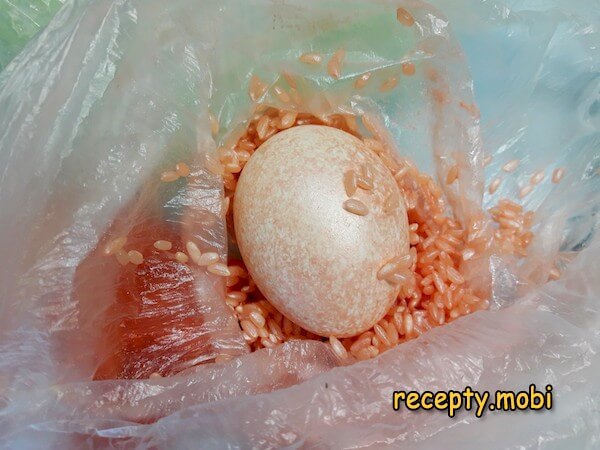
The eggs are done – do not take them out of the boiling water, they must stay hot. Pour 15–20 ml of diluted food colouring into the first bag of rice (follow the instructions on the colouring packaging – usually 2–3 drops per 20 ml of water). The brightness of the colour is controlled by the concentration of the colouring.
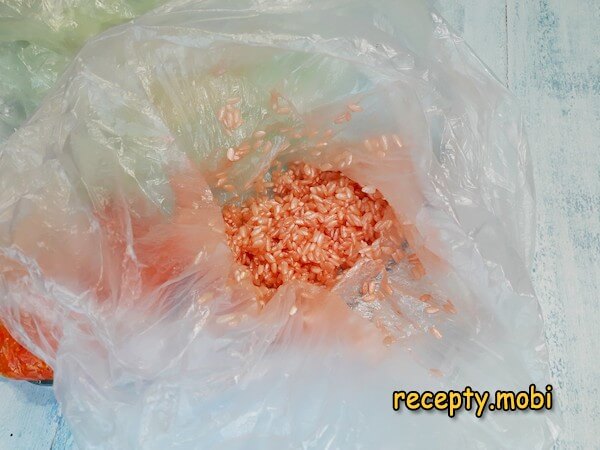
Pinch the top of the bag firmly in your hand and shake vigorously for 20–30 seconds so that the grains of rice are dyed evenly. The rice takes on a rich colour and becomes slightly damp – it is this moisture that gives the marble pattern on the eggshell.
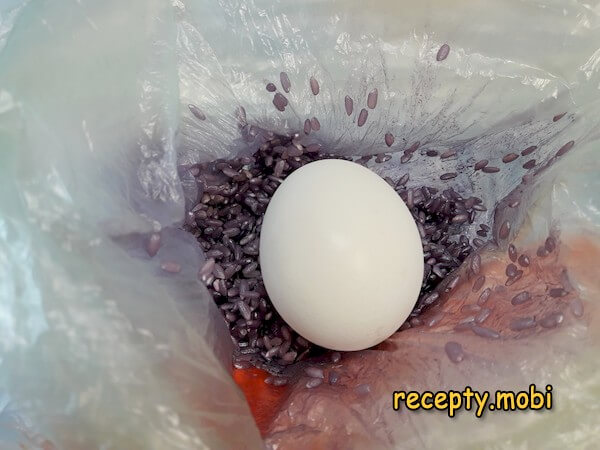
Put one hot egg (straight from the boiling water) inside the bag – it is the temperature that gives the effect of the dye setting instantly and the characteristic marble pattern. Pinch the bag tightly again and shake energetically for 10–15 seconds – the rice should roll evenly around the egg on all sides.
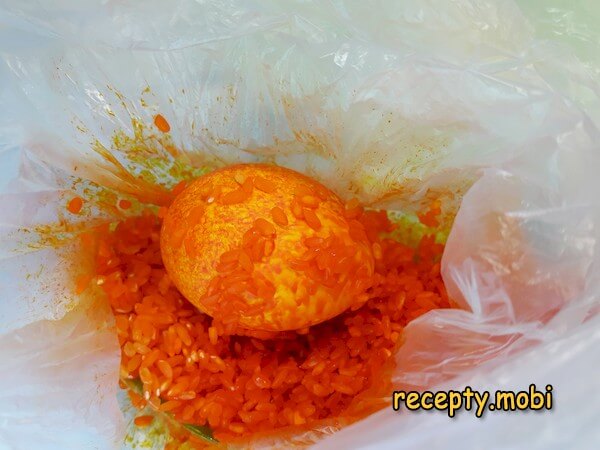
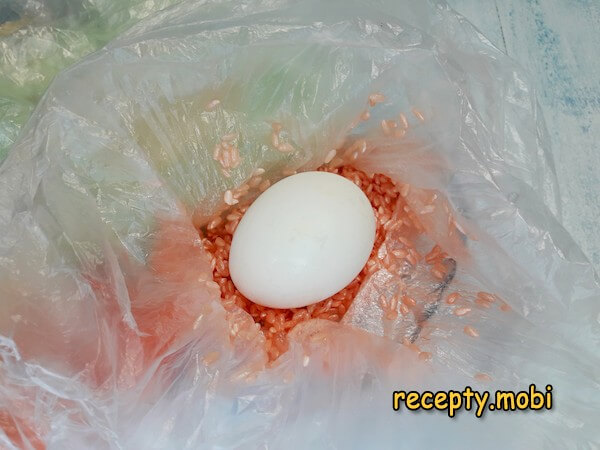
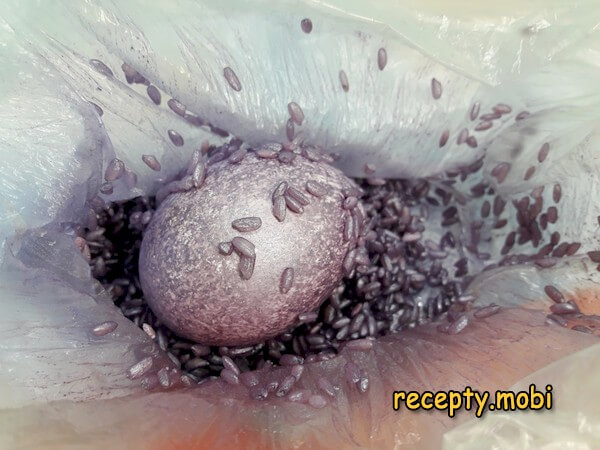
After a few seconds the egg is ready – it takes on a finely grained marble surface with lots of tiny dots and streaks. Carefully remove the stuck grains of rice with a napkin. Thanks to the high temperature of the egg, the dye sets instantly and does not smudge – this is the main secret of the technique.
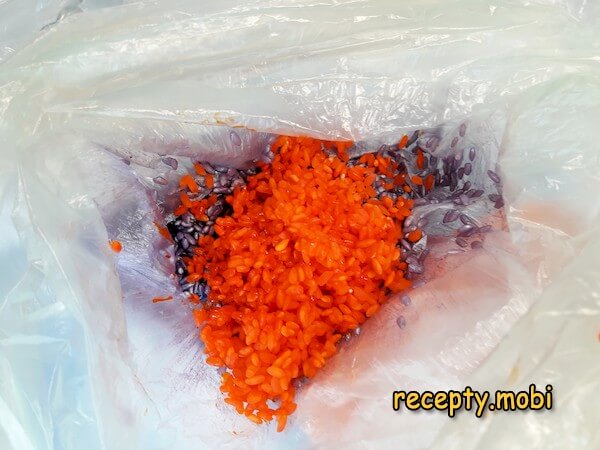
Do the same with the next egg and the orange colouring – repeat the process with each colour, using a separate bag. It is impossible to get identical eggs – the pattern is unique to each one.
Immerse the next hot egg in the purple-dyed rice and repeat the shaking. Each colour gives its own unique pattern – purple turns out especially dramatic on the white shell.
Give the shell a rich marbled colour structure by shaking actively – the longer you shake the bag, the richer and denser the pattern becomes. A medium-dense pattern is considered the most beautiful.
You can combine 2 colours together in one bag – for example, blue with yellow or red with blue – to get a completely new, unique shade. This is a creative home experiment that always gives an unexpectedly beautiful result.
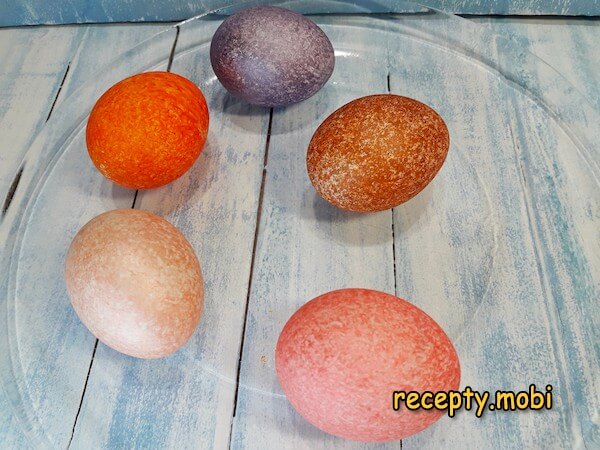
From four colourings I got five different shades thanks to mixing! Beautiful marble eggs will surprise and delight family and friends at the Easter table. Arrange the finished eggs in a basket with grass or on a nice dish.


Tips
- 1
Use only white eggs – food colourings show up brighter and with more contrast on them. On brown eggs the marble pattern is almost invisible and the colours come out muted.
- 2
The eggs must be hot from the boiling water – it is the temperature that gives the instant setting of the dye and the characteristic marble pattern. Cold eggs dye unevenly and smudge the colour.
- 3
Mix different colourings in the bags to get new, unique shades. A home trick: red + yellow = orange with a pattern, blue + red = purple, yellow + blue = green.
- 4
Work quickly – the eggs cool down within 3–5 minutes and the marble effect weakens. Prepare all the bags of rice and the colourings in advance so you do not lose time during the dyeing stage.
FAQ
Can I use natural dyes for marble eggs? +
Yes, you can use decoctions of beetroot (gives pink and burgundy), turmeric (bright yellow), onion skins (brown and orange), red cabbage (blue and purple) and spinach (green). However, the colours will be more muted and less stable than from food colourings. To intensify the shade, use concentrated decoctions (boil the vegetables for 30–40 minutes in a small amount of water) and add 1 tbsp of vinegar to fix the colour. Natural dyes are safe and ideal for use at home with children.
Why doesn't the dye go on the egg evenly? +
This is a characteristic feature of the marble technique – it is precisely the unevenness that creates the natural-stone effect. If you want a denser pattern, shake the bag longer (30–40 seconds) or use a more concentrated colouring. For a speckled effect add less moisture to the rice, for streaks add more. An even coating is given by ordinary dyeing in a hot dye solution without rice – that is a different technique, not the marble one. The result is always unique – that is the whole charm of the method.
How long do dyed Easter eggs keep? +
In the fridge, marble eggs keep for up to 7 days – food colourings are completely safe to eat and do not penetrate inside through an intact shell. At room temperature the time is reduced to 2–3 days – boiled eggs quickly lose freshness in the warmth. If an egg cracked during boiling or dyeing, use it within 24 hours – dye or bacteria can get in through the crack. For blessing in church, storage is standard – up to 3 days.
What to do if the eggs crack while boiling? +
Eggs that crack while boiling cannot be dyed in bags with rice – the dye will get inside through the crack and colour the white. Use such eggs for salads or snacks within the next 24 hours. To prevent cracking: take the eggs out of the fridge 30 minutes before boiling (a sharp change in temperature causes cracks), lower them into already warm water (not boiling), add salt to the water (it strengthens the shell) and cook over medium heat without a vigorous boil. These home tricks reduce the risk of cracking almost to zero.
- Comment
or post as a guest
Be the first to comment.


")
