
avg —
Rice Milk Kissel – Simple Gluten-Free Recipe
Instructions
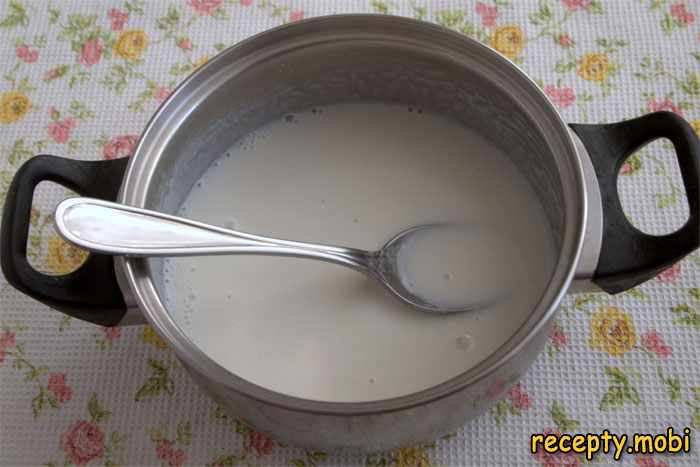
I pour fresh milk into a thick-bottomed saucepan – this is critically important for even heating and to prevent scorching. I use milk at room temperature or slightly chilled from the fridge.

I add the rice flour to the cold milk, having first sifted it through a fine sieve. Sifting is essential – it breaks up any lumps and makes the flour airy, so the kissel turns out perfectly smooth with no floury bits.

I whisk the mixture thoroughly until it's completely smooth – it's important to make sure not a single grain of flour is left at the bottom. I make circular movements and whisk for at least a minute so the flour disperses fully in the milk.
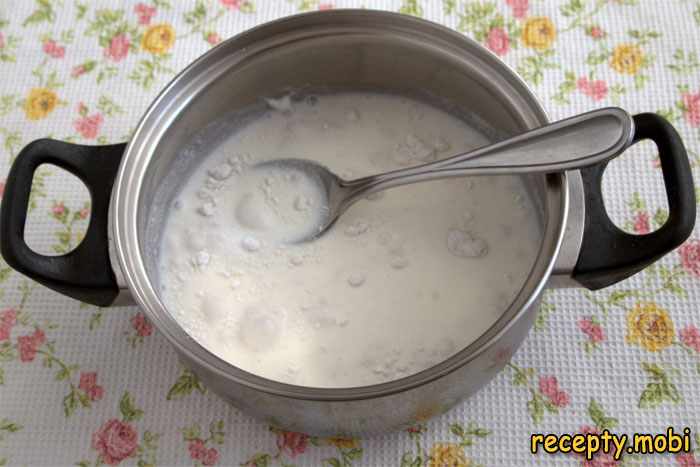
I place the saucepan over medium heat and cook the kissel for 10–12 minutes, stirring constantly with a wooden spatula or whisk. Constant stirring is the key moment: it stops a skin forming on the surface and protects the milk from scorching on the bottom. I keep the heat medium, not high.
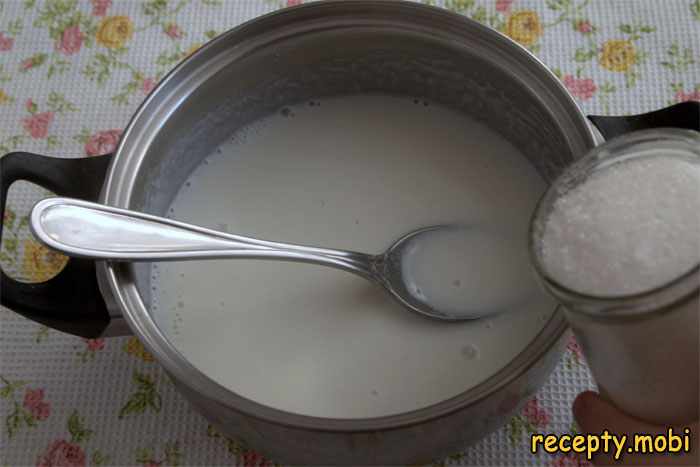
I add sugar to taste – I put in 1 tablespoon for moderate sweetness, but the amount can be adjusted. I carry on cooking for another 2–4 minutes until it reaches a creamy consistency. The mixture will start to thicken noticeably – rice flour swells quickly, so it's important not to overcook the kissel, or it will become too dense.
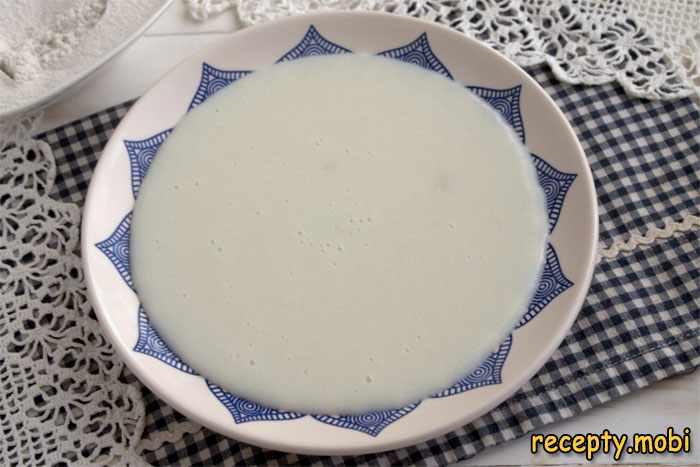
I take the kissel off the heat, pour it into moulds or dessert bowls and leave it to cool at room temperature. As it cools the kissel will thicken further – this is normal, that's how the gelling properties of rice starch work. I serve it chilled, dusted with cocoa or decorated with berries.


Tips
- 1
If you don't have rice flour, I make it at home: soak round-grain rice in cold water for 4–6 hours, dry it on a towel and grind it in a coffee grinder to a flour. Homemade flour comes out more fragrant and fresher.
- 2
For aroma I add a pinch of vanilla, ground cinnamon or turmeric during cooking. Turmeric gives a lovely golden tint and a slight piquancy, while cinnamon makes the flavour cosier.
- 3
You can adjust the consistency with the amount of flour: for a thick kissel I use 50 g of rice flour, for a runnier one – 30 g. I prefer a medium thickness at 40 g.
- 4
I serve the kissel chilled, dusted with cocoa, carob or ground nuts. You can add fresh berries, pieces of fruit or a spoonful of jam – it makes for a tasty and satisfying dessert.
FAQ
Can rice kissel be made without rice flour? +
Yes, I often make the flour myself from ordinary round-grain rice. I soak the rice in cold water for 4–6 hours, then dry it on a paper towel, grind it in a coffee grinder and sift it through a fine sieve. The result is good-quality homemade rice flour, which is even more fragrant than the shop-bought kind.
Is this recipe suitable for a gluten-free diet? +
Yes, rice flour is completely gluten-free, so this kissel is a great fit for people with coeliac disease or those who follow a gluten-free diet. I make it for relatives with a wheat intolerance – they love it.
Can the kissel be made sweeter or more aromatic? +
Of course! I adjust the amount of sugar to taste – from 1 to 3 tablespoons. For aroma I add vanilla, cinnamon, turmeric, cocoa or carob – they enrich the flavour and give the dessert a lovely colour. Sometimes I add honey instead of sugar after the kissel has cooled.
What consistency should the finished kissel have? +
Right after cooking the kissel resembles runny sour cream, but once it has cooled it thickens to the consistency of a soft pudding or thick cream. If the mixture turns out too runny, I simply cook it for another 2–3 minutes over medium heat.
Can rice kissel be served hot? +
You can, but I prefer to serve it chilled – that's when the flavour comes through best and the texture becomes firm and creamy. That said, in the cold season warm kissel is also very cosy and pleasant, especially with cinnamon.
- Comment
or post as a guest
Be the first to comment.


