
avg —
Zebra Pie on Kefir in the Oven
Instructions
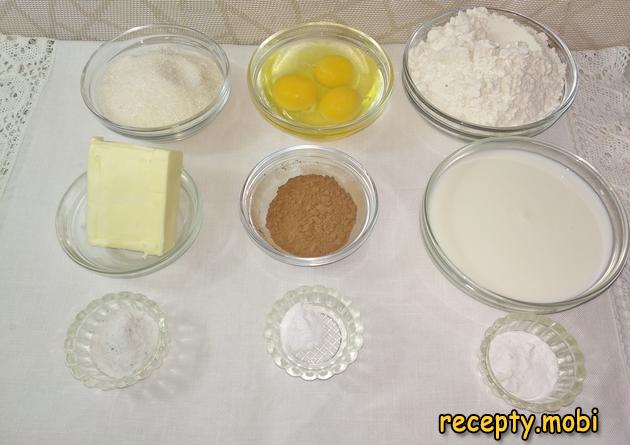
I get all the products ready – they must be at room temperature. Cold butter and kefir combine poorly with the eggs, the batter separates and the pie turns out "rubbery". I take the products out of the refrigerator 30–40 minutes before I start.
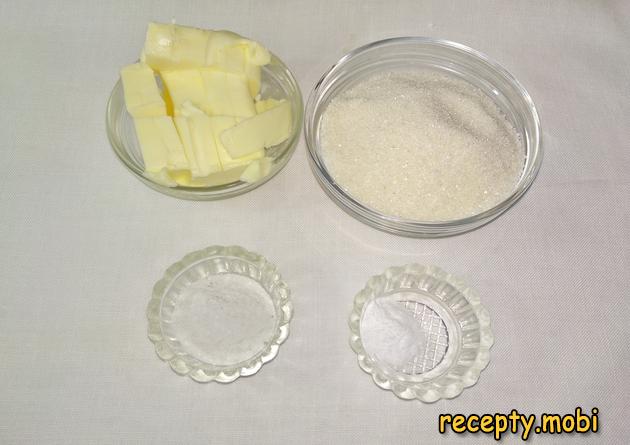
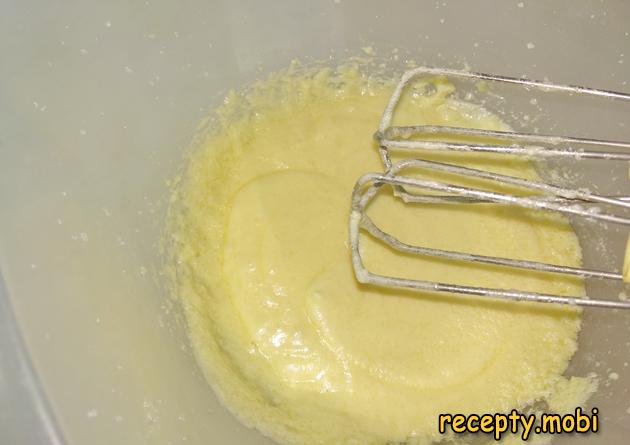
In a deep bowl I combine the sugar, soft butter, salt and vanillin. The butter must be soft – softened at room temperature, not melted. Melted butter would make the batter dense, while soft butter gives an airy structure.
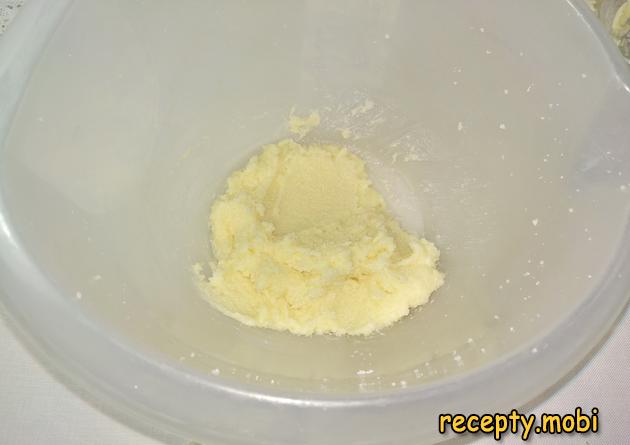
I beat it until smooth with a mixer on medium speed for 2–3 minutes. The mass should turn pale and fluffy – this means the sugar has partly dissolved and the butter has taken in air. Without this the pie will not rise properly.
I add the eggs one at a time, beating each one in for about 1 minute. Adding them one by one matters: if you tip in all 3 at once, the mass will separate and you get "scrambled eggs in batter". One at a time, each egg fully combines with the butter mass.
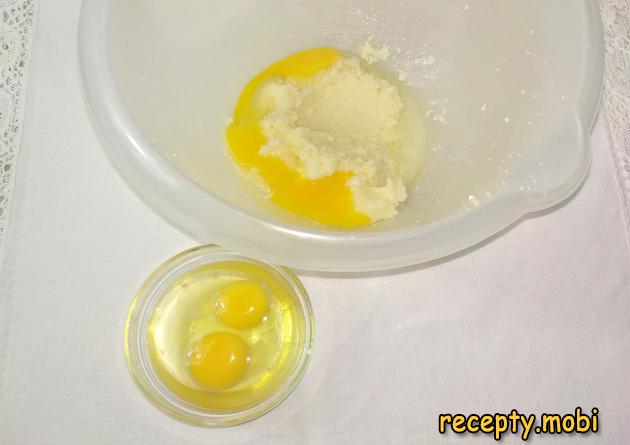
After the eggs are in, you get a smooth, uniform mass – similar to a cream. This is the right consistency – you can move on to the dry ingredients.
I sift the flour through a sieve – this way it takes in oxygen and the batter turns out fluffier. I add half of the sifted flour to the mass and beat with the mixer until smooth. I add the flour in 2 stages, alternating with the kefir – this gives a uniform batter without lumps.
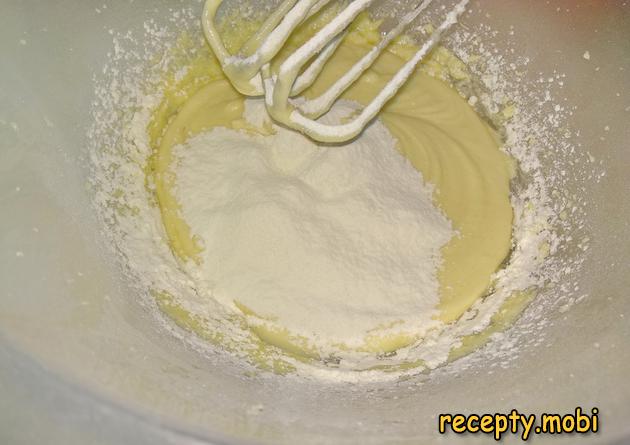
I add the soda to the kefir and stir thoroughly – kefir is acidic and slakes the soda by itself, so there is no need to slake it separately with vinegar. I pour half of the kefir with soda into the batter and keep beating with the mixer.
I add the remaining flour and beat, then pour in the second portion of kefir and beat again until smooth. Thanks to the alternating technique (flour–kefir–flour–kefir), no lumps form in the mass and the batter turns out smooth and moderately thick.

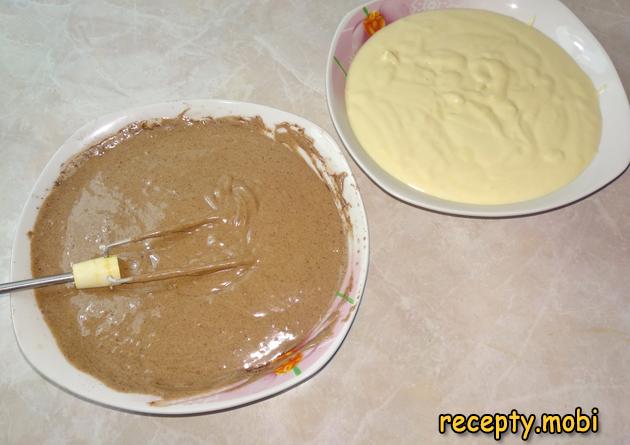
I divide the batter between two identical bowls – exactly in half. To one (the white part) I add nothing; into the second I add cocoa sifted through a sieve and mix thoroughly. Sifting the cocoa is essential – otherwise the dark part will have lumps that do not dissolve.
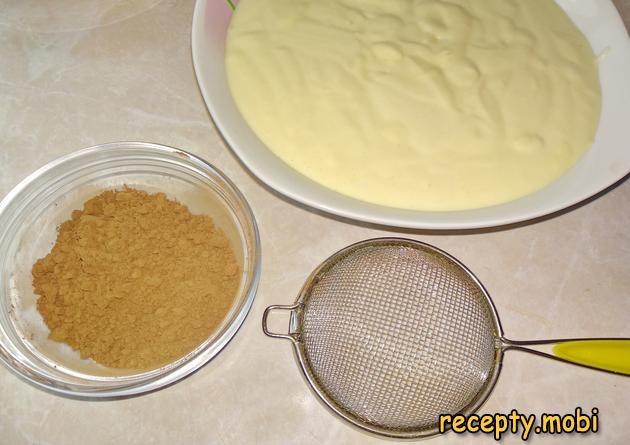
Both batters are ready – you can start shaping the pie. The two batters should be of the same consistency – if the dark one has become thicker, add a little kefir.
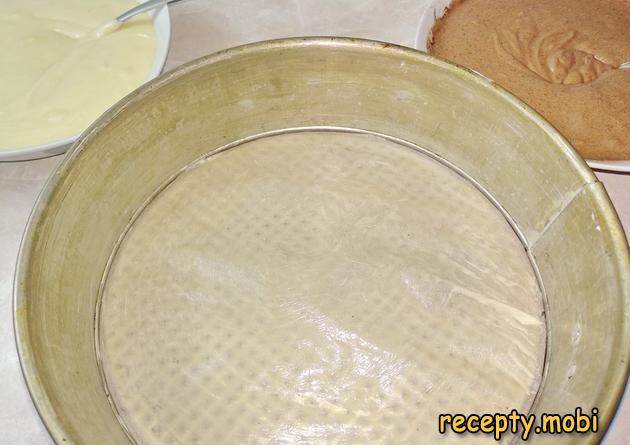
I take a mould 22 cm in diameter and line it with baking paper. I grease the bottom and sides with butter so the finished pie comes out easily. A smaller mould will give a taller pie, but the taller it is, the greater the risk that it cracks on top during baking.
Into the centre of the mould I place 2 spoons of white batter. It spreads slightly across the bottom. On top of the white I place 2 spoons of dark batter – into the same centre. Then 2 spoons of white in the centre again, then dark – and so I alternate until both batters are used up. The point is that each new portion "pushes" the previous one towards the edges, creating concentric circles of different colours. Visually you get alternating light and dark stripes. It is important to always pour strictly into the centre, without making blots.
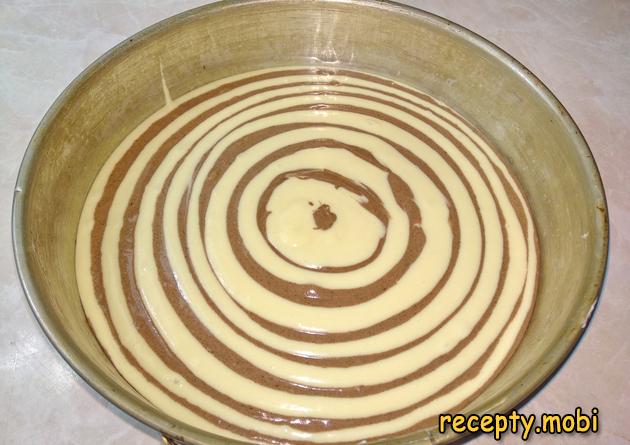
With a wooden skewer I draw a pattern on the surface – a few lines from the centre to the edges, or concentric circles. This makes the "zebra" pattern more expressive in cross-section.

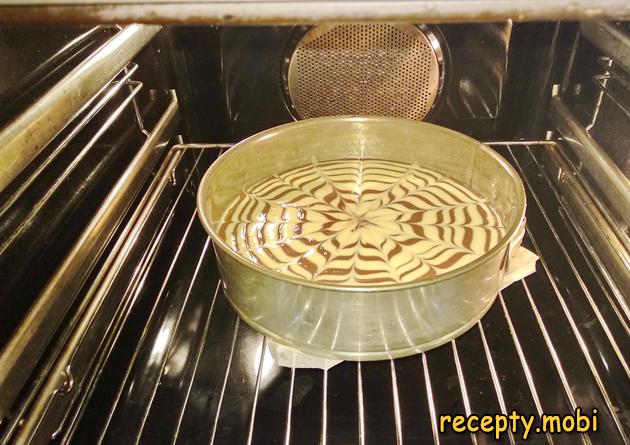
I preheat the oven to 170 °C and bake the Zebra Pie for 45–55 minutes. A temperature of 170 °C (no higher) lets the pie bake evenly inside without burning on top. A high temperature would form a crust before the centre is baked through.
After 50–55 minutes I check it is done with a wooden skewer – it should come out dry. I run a sharp knife around the sides, remove the mould and leave the cake to cool. You can decorate it with icing sugar or chocolate glaze – to taste.
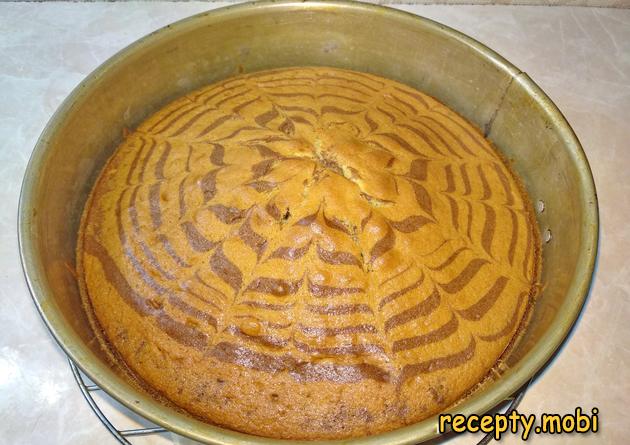
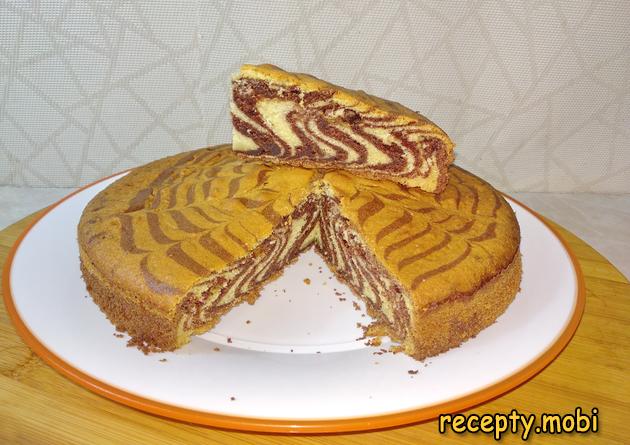
The Zebra Pie on kefir in the oven is ready! It looks beautiful even without decoration – the striped pattern speaks for itself. In cross-section it looks especially striking. I slice it and serve it with tea or coffee.


Tips
- 1
The products must be at room temperature – cold butter and kefir will make the batter separate and you get a "rubbery" pie. Take them out of the refrigerator 30–40 minutes ahead.
- 2
Place the batter strictly into the centre of the mould – each new spoonful pushes the previous one out, forming the characteristic "zebra" pattern. If you pour it in different spots, you get random blotches.
- 3
Do not open the oven for the first 30 minutes – a sharp change in temperature will make the pie sink. The same principle applies to other kinds of baking on kefir.
- 4
The two batters should be of the same consistency. If the dark one is thicker (cocoa absorbs moisture) – add 1–2 tbsp of kefir until it matches the white one.
Video
FAQ
What can replace kefir in the batter? +
Kefir is an acidic fermented-milk product; it slakes the soda by itself and gives lightness. You can replace it with unsweetened natural yoghurt (220 ml), soured milk, sour cream (thinned 1:1 with milk to the right consistency), or ryazhenka (220 ml). All these products are acidic and work like kefir. Ordinary milk will not do – it has no acidity, you would have to slake the soda separately with vinegar, and the pie's structure would become denser. Without acid the pie will not rise.
Why might the pie not turn out striped? +
A typical mistake is a different consistency of the dark and light batters. Cocoa absorbs more liquid, and the dark batter can become thicker. Then it does not spread but "plops" in the centre, and the pattern comes out unclear. The solution: add 1–2 tbsp of kefir to the dark batter until it is the same thickness as the light one. The second reason is placing the batter not in the centre but all over the mould – you get blotches rather than circles.
How long does Zebra Pie keep? +
The pie keeps for 3–4 days at room temperature under cling film or a clean towel. In the refrigerator – up to 6–7 days, but it may become a little dry. Before serving I recommend warming it for 10 seconds in the microwave – it will "revive" and become softer. You can freeze it whole or in portions for 1 month – after thawing at room temperature (2–3 hours) the texture fully recovers.
Can I add anything else to the batter? +
The classic "Zebra" is not overloaded with anything – that is its advantage. But you can add 1–2 tsp of lemon or orange zest to the light part – for a citrus aroma. The dark part suits ground nuts (2 tbsp – almonds, hazelnuts, walnuts), pieces of chocolate, dried fruit. The main thing is not to overdo it: too many add-ins will overpower the characteristic "Zebra" flavour and make the pattern harder to form. Simplicity is the key to a successful pie.
- Comment
or post as a guest
Be the first to comment.
")


