
avg —
Chess Cake on Kefir – Simple Recipe in the Oven
Instructions
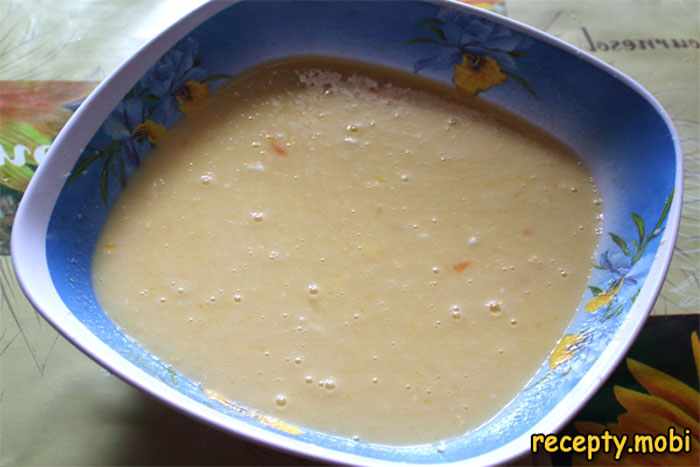
In a deep bowl I combine room-temperature kefir, the eggs and the sugar – cold kefir straight from the fridge gives an uneven batter, so I take it out 20–30 minutes in advance. I beat it with a mixer on low speed for 2–3 minutes until the sugar has completely dissolved – the crystals should not be felt when rubbed between the fingers. The kefir reacts with the baking powder and creates air bubbles that make the pie fluffy and light. If you use yogurt instead of kefir, choose one without additives and with a fat content of at least 2.5%.
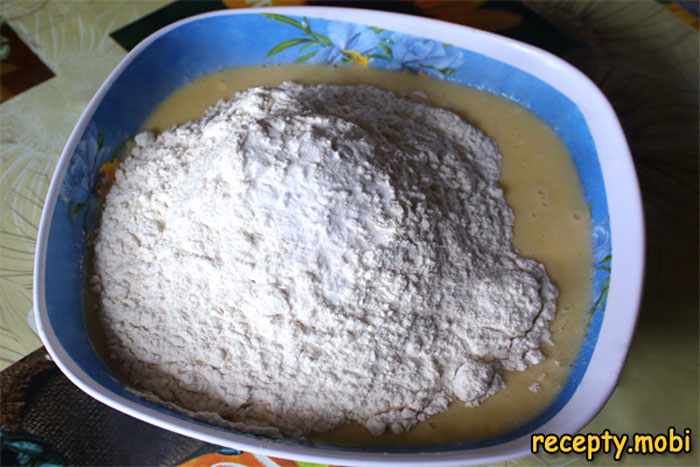
I sift the flour together with the baking powder through a fine sieve straight into the bowl with the liquid base – sifting aerates the flour and breaks up any lumps, which is critically important for a smooth batter. I add the flour in 3–4 additions, thoroughly mixing each time with a silicone spatula in a folding motion from the bottom up. The finished batter should be smooth, without lumps, with a consistency resembling thick sour cream. Do not mix for too long – over-mixing "activates" the gluten and the pie will turn out rubbery.
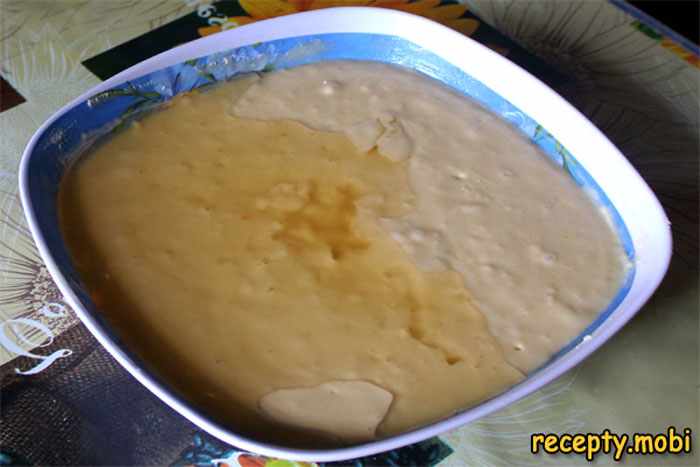
I melt the butter in a water bath or in the microwave on minimum power – the butter should be liquid but not hot, otherwise it will "cook" the eggs in the batter. The ideal temperature of the butter is around 40–45 °C. I pour the butter into the batter in a thin stream, stirring continuously – this ensures the fat is distributed evenly throughout the mixture. Butter gives the pie a delicate creamy flavour and a moist texture; without it the bake will be dry and crumbly.
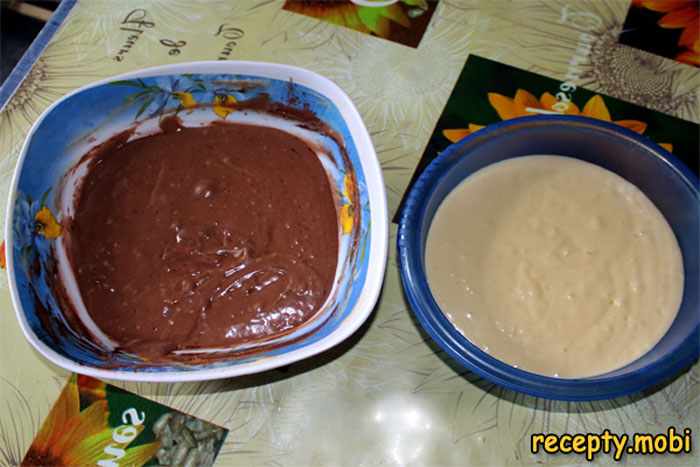
I divide the batter exactly into two parts – I weigh them on kitchen scales for accuracy, about 500 g each. To one part I add 2 tablespoons of cocoa powder and stir until an even chocolate colour without any light streaks. Into the other part I pour ½ teaspoon of vanilla extract – it gives a characteristic aroma and a pleasant creamy tint. Both parts should be of the same consistency – if the chocolate one came out thicker, add a tablespoon of kefir.
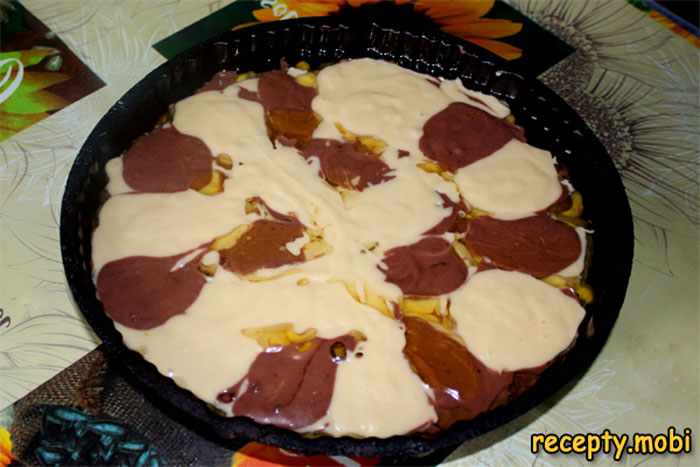
I grease a round tin 21–22 cm in diameter with olive oil and lightly dust it with flour, shaking off the excess – this creates a non-stick layer. I spoon in the batter, alternating the colours in a chequerboard order: the first row – vanilla, chocolate, vanilla; the second row – chocolate, vanilla, chocolate. I place the spoonfuls of batter carefully into the centre of the previous ones without smearing them – the batter spreads on its own and creates the borders. It is important to add an equal amount of each colour so that the pattern on the cut is symmetrical.
I preheat the oven in advance to 180 °C – this is critically important, the pie should start rising as soon as it goes into the oven. I place the tin on the middle level and bake for 30–35 minutes until the top is golden-brown. For the first 25 minutes I do not open the door, otherwise the pie will collapse from the change in temperature. I check for doneness with a wooden toothpick in the centre of the pie – it should come out completely dry, with no traces of raw batter.
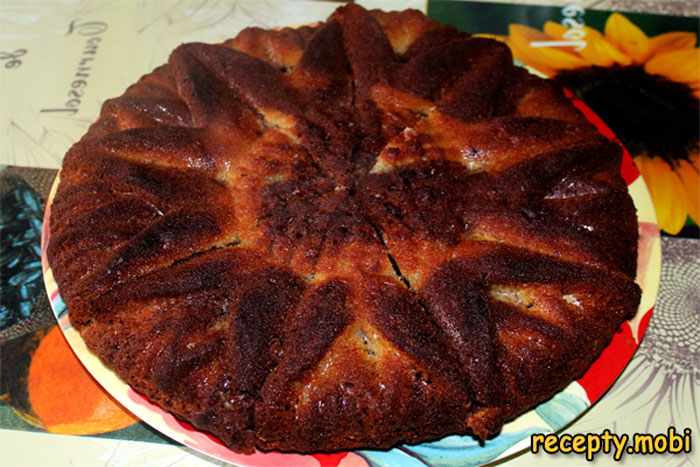
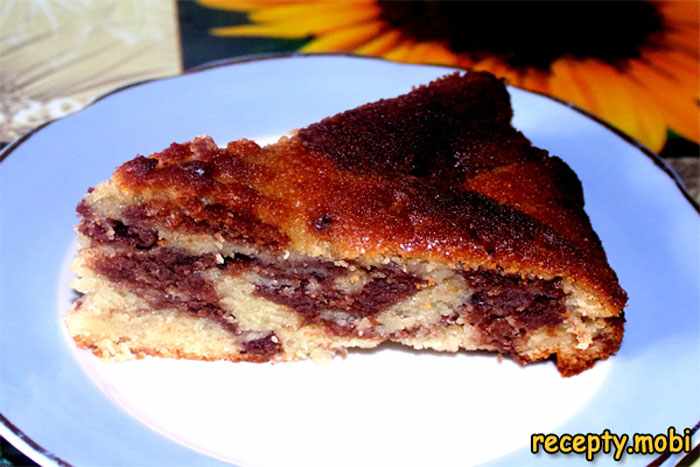
I take the pie out of the oven and leave it in the tin for 10–15 minutes – removing the hot pie abruptly can cause it to break, as the crumb is still soft. Then I carefully turn it out onto a wire rack and let it cool completely before slicing. To serve, you can drizzle it with melted chocolate, dust it with icing sugar or serve it with whipped cream. I cut it with a sharp knife dipped in water – this gives a neat cut that shows off the chequerboard pattern beautifully!


Tips
- 1
Do not use sunflower oil with a pronounced smell – it can spoil the flavour of the bake; it is better to take refined olive oil or plain odourless vegetable oil.
- 2
Kefir can be replaced with plain natural yogurt without additives or with soured milk – the texture of the pie will stay just as airy, and this homemade recipe works just as well with fresh whey.
- 3
If you have no baking powder, use baking soda slaked with vinegar: for 1 teaspoon of soda – one tablespoon of 9% vinegar, and the pie will rise just as well.
- 4
For a richer chocolate colour, increase the amount of cocoa to 3 tablespoons, but add another spoonful of sugar to offset the bitterness.
FAQ
Can the Chessboard pie be made without cocoa? +
Yes, but then the pie will lose its characteristic chequerboard pattern. As a substitute you can use carob or a little instant coffee to create a dark shade. You can also make one part with poppy seeds – this gives an interesting black-and-white pattern, and such a homemade pie will look original.
How long does the finished Chessboard pie keep? +
The pie keeps well for up to 3 days in a closed container at room temperature. Before serving, you can warm it up slightly in the microwave for 15–20 seconds or in the oven at 150 °C for 5 minutes – this makes it soft and fragrant again. In the fridge the bake will keep for up to 5 days, but it must be warmed through before serving.
Can I use a silicone mould? +
Yes, a silicone mould is perfect for this pie. It does not need to be greased – the bake comes away from the sides easily once fully cooled. The main thing is to place the silicone mould on a metal baking tray for stability in the oven.
Why did the Chessboard pie sink after baking? +
The main reason is a sharp change in temperature: the oven door was opened too early, or the pie was taken out immediately after baking. Another reason is an excess of liquid in the batter or too little baking powder. To avoid this, follow the proportions step by step and do not open the oven for the first 25 minutes, then let the finished pie stand in the tin for 10–15 minutes so the crumb can stabilise.
- Comment
or post as a guest
Be the first to comment.


