
avg —
Pumpkin Cheesecake
Instructions
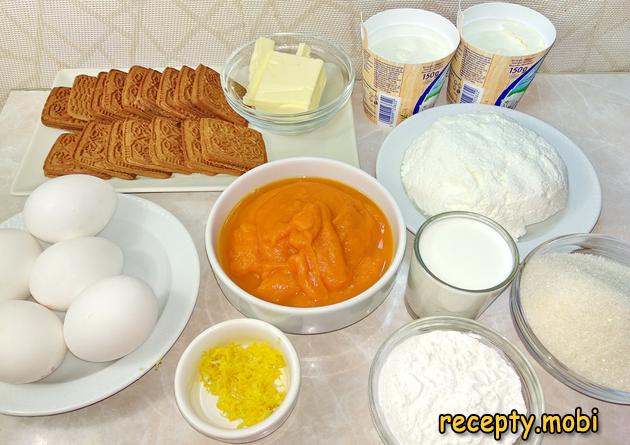
I prepare the products from the list for the pumpkin cheesecake. Having the whole set ready at once matters for a large recipe, where the ingredients are added in a strict order.
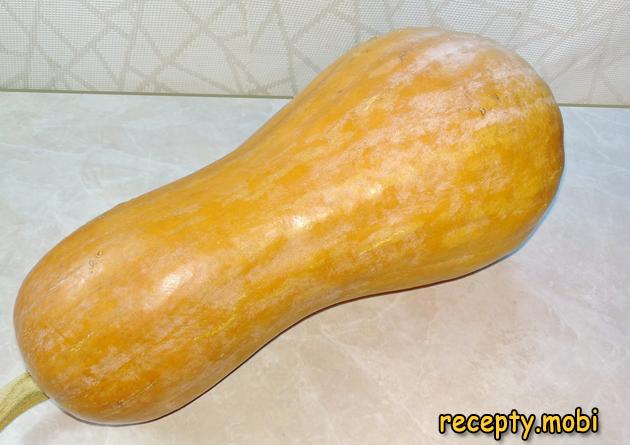
For desserts it is better to take pineapple-type pumpkin varieties – they are sweet, without a pronounced "grassy" pumpkin aroma. Pineapple varieties have dense flesh of a rich orange colour.
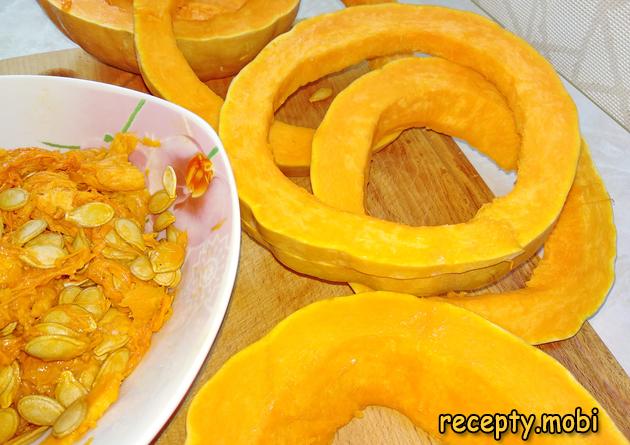
I cut the pumpkin into two parts, clean out the inside (seeds and fibres) and slice it into rings. This makes it much easier to peel – the surface of each ring is convenient for removing the skin.
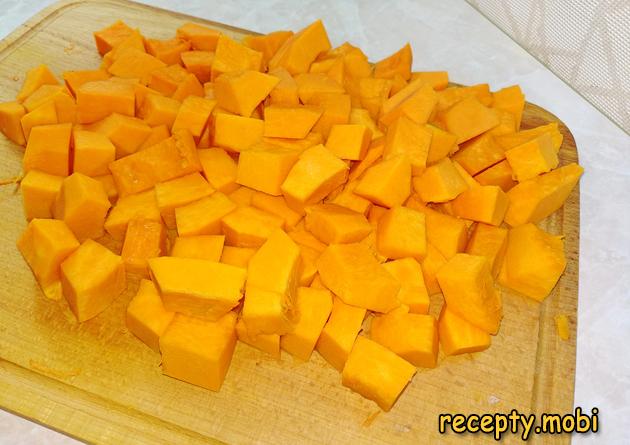
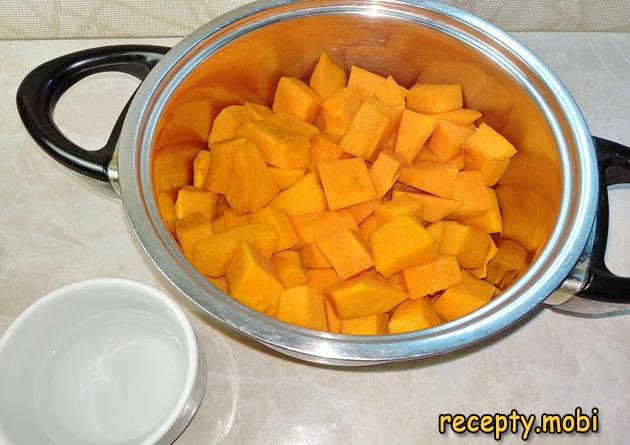
I cut the peeled pumpkin into small pieces of arbitrary shape. The size is not critical – the pumpkin will be stewed and blended into a puree.
I transfer the pumpkin to a saucepan and pour in a little water – just enough to cover the bottom of the dish. The less water, the faster it evaporates and the thicker the texture will be.
I stew the pumpkin for 20 minutes under the lid over medium heat. In that time the pieces become soft and ready for pureeing.
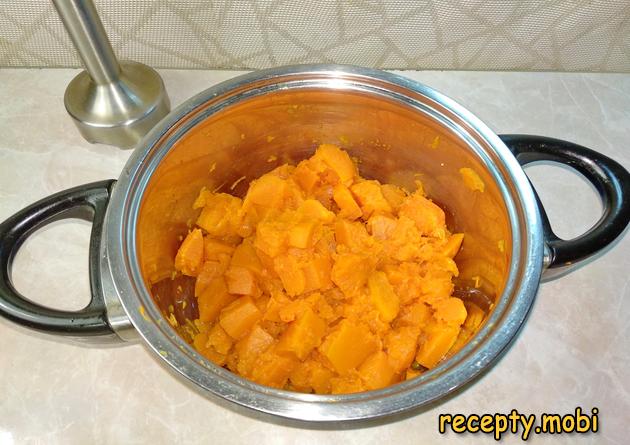
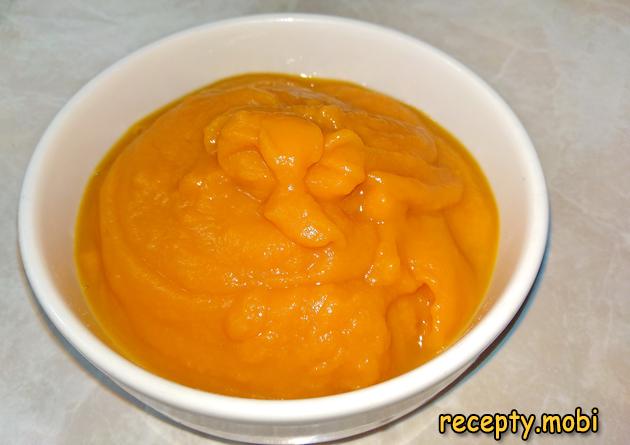
I blend the pumpkin with a blender into a smooth puree – this is the base of the cheesecake's flavour and colour. The puree should be smooth, without fibres.
I make homemade cream cheese. For this I put the kefir in the freezer overnight. It is a surprising but working method – frozen kefir separates.
In the morning I cut open the pack and transfer the ice-kefir into a colander lined with cheesecloth. I wait until all the whey drains and the cheese firms up – usually 4–6 hours.
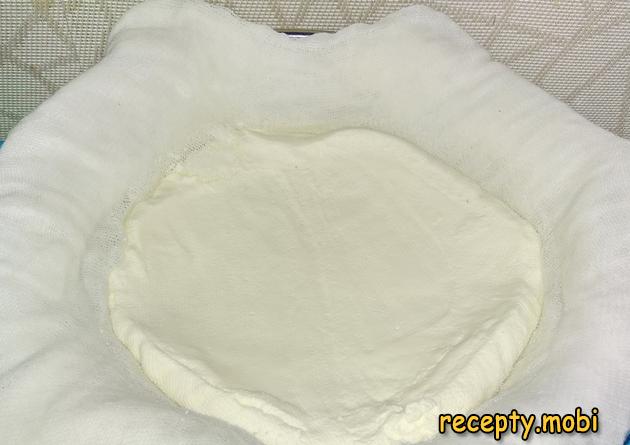
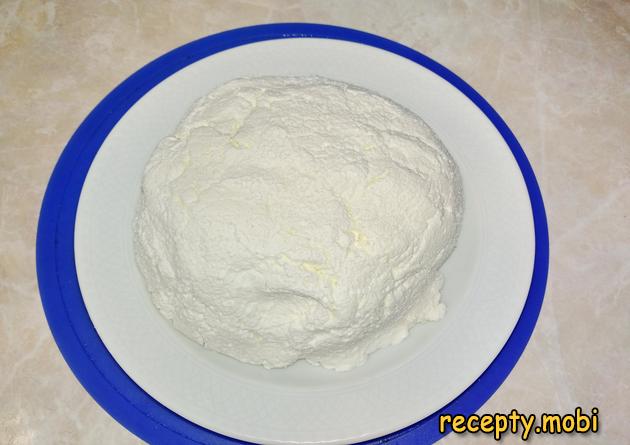
The homemade cream cheese is ready. Both the cheese and the pumpkin puree need to be prepared the day before – this saves time on the baking day.
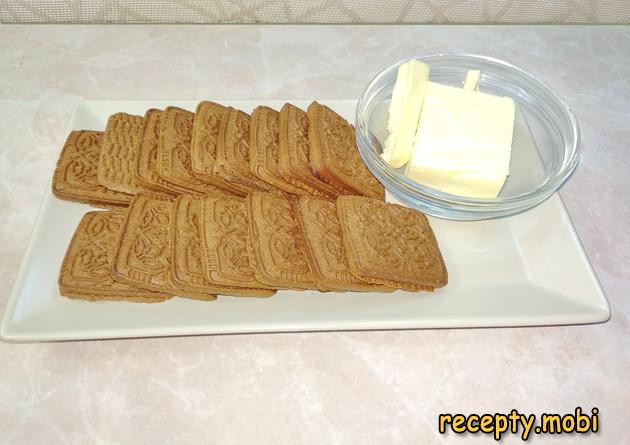
I prepare the products for the cheesecake base – chocolate cookies and butter.
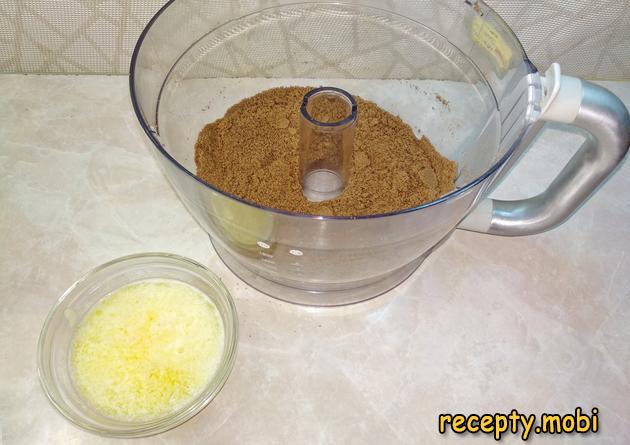
I crush the cookies into crumbs with a blender. I melt the butter in a water bath or in the microwave – so that it does not come to a boil.
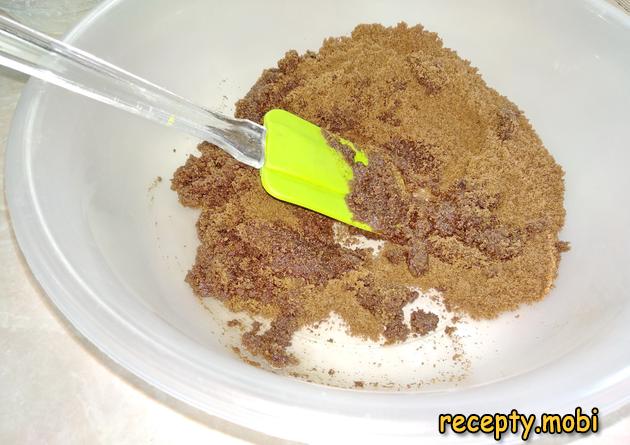
I mix the ingredients to the state of "wet sand". The butter binds the crumbs – when squeezed in the hand it should hold its shape, but crumble apart easily.
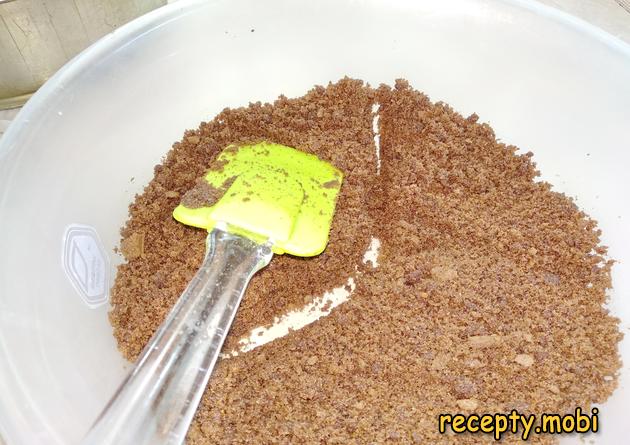
I divide the crumbs into 1/3 and 2/3 – the larger part for the bottom, the smaller for the sides (or the other way round, depending on the tin).
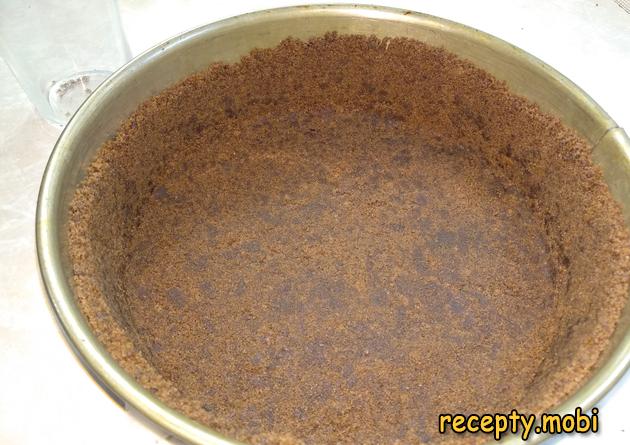
From the larger part I form the sides of the cheesecake – I press the crumbs against the walls of the springform tin.
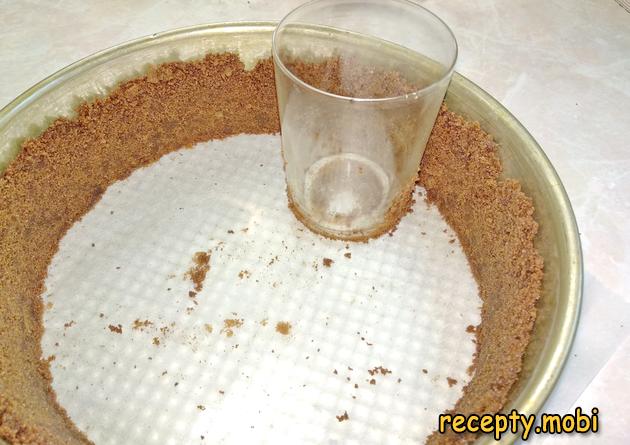
From the remaining crumbs I prepare the bottom. It is convenient to compact the crumbs with a smooth glass – it gives an even, dense "surface". I preheat the oven to 170 °C and put the tin with the base to bake for 7 minutes – this will "set" the base before the filling.
I transfer the cream cheese, cream and sugar into a deep bowl and blend with a blender until smooth.
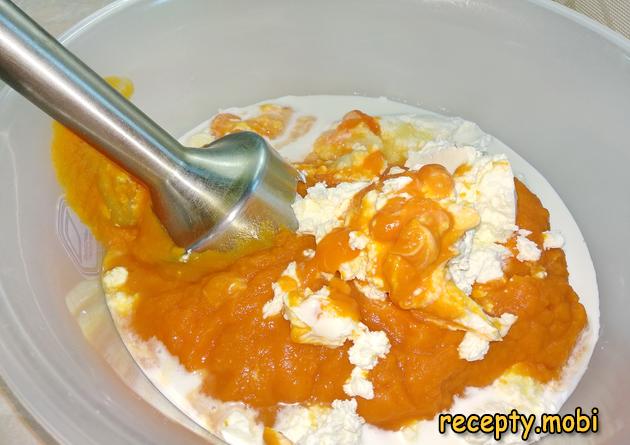
I add the zest and the starch and blend again. The zest gives a citrus aroma, the starch stabilises the structure.

To the smooth mass I add the eggs and stir with a hand whisk. The blender must NOT be used any more – for a cheesecake it is not recommended to whip the eggs into a foam. Air bubbles would give a "holey" structure.
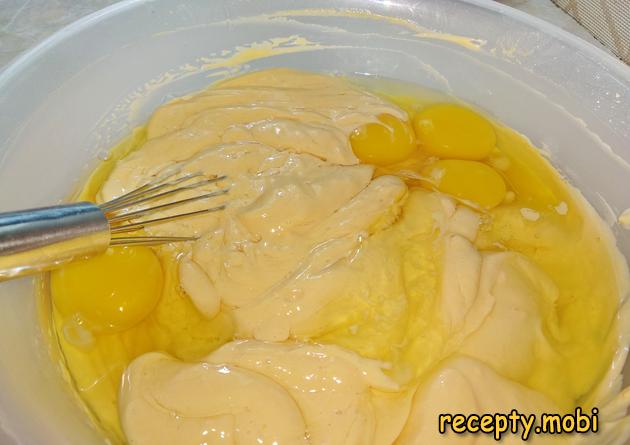
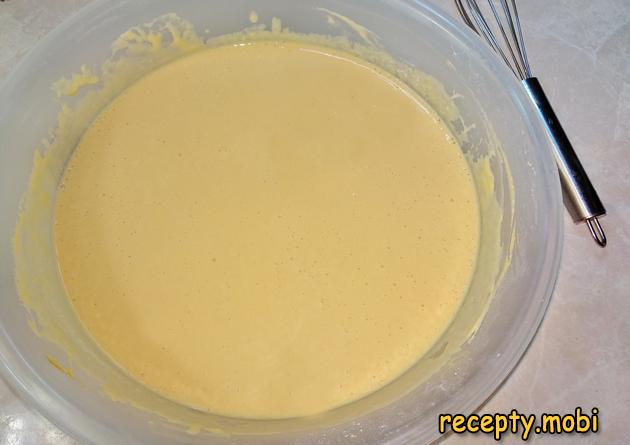
The result is a smooth mass without bubbles – exactly what is needed for a cheesecake.
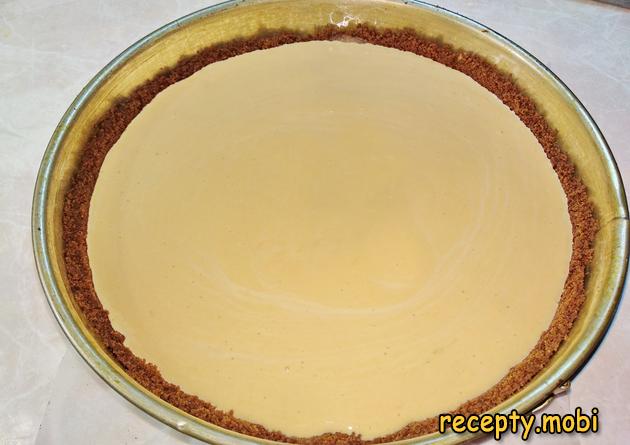
I pour the cheese filling into the tin with the base. I level the surface with a spatula.
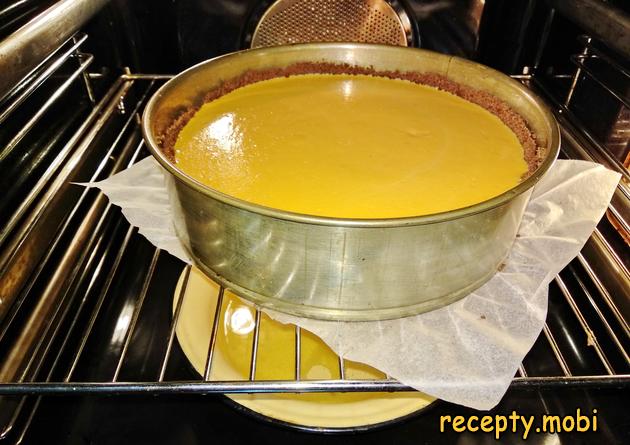
I preheat the oven to 100 °C. On the bottom of the oven I place a container with very hot water – this will create a humid environment so the cheesecake does not crack. I set the cheesecake on the middle rack. I bake for 2.5–3 hours. The cake should cool in the oven with the door ajar, then, once chilled, I put it in the refrigerator for a few hours.
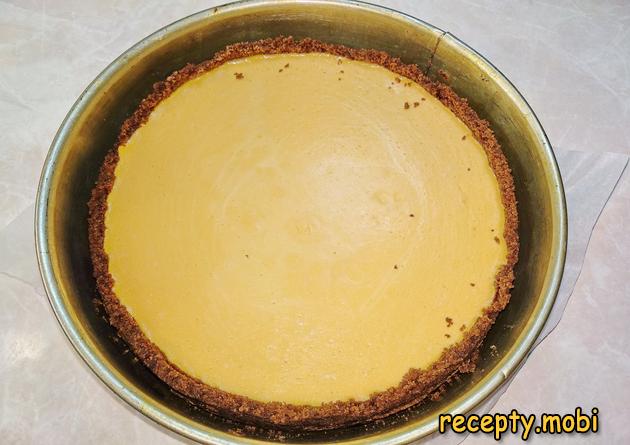
The sides of the bake have come away nicely from the walls of the tin – a sign that the cheesecake has baked and cooled properly.
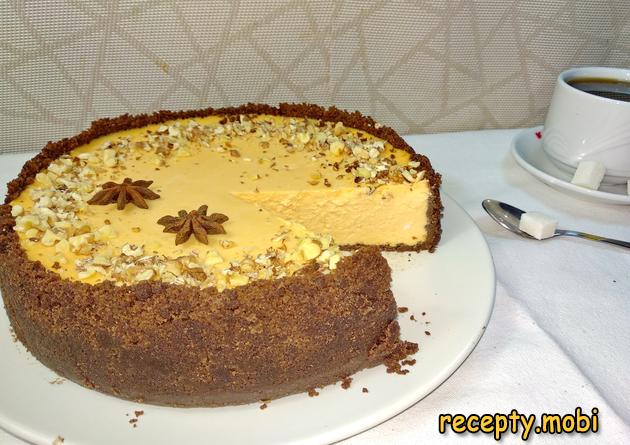
I take the pumpkin cheesecake out of the tin and transfer it to a dish. I decorate it with fried walnuts to my taste.

In the cross-section you can see how smooth the structure turned out. I brew some fragrant tea and call everyone to the table.


Tips
- 1
Choose pineapple-type pumpkin varieties – they are sweet and without a "grassy" aroma. A fodder pumpkin will give the finished dessert an unpleasant taste.
- 2
Stir in the eggs with a WHISK, not a blender – a cheesecake needs a smooth mass WITHOUT air bubbles. A blender would saturate the mass with air, and the structure would turn out "holey".
- 3
A container of hot water on the bottom of the oven is the "secret" to a smooth top without cracks. The humid environment prevents the surface from drying out quickly. A similar principle is used in other "delicate" desserts.
- 4
The cheesecake MUST cool in the switched-off oven with the door ajar – a sharp change in temperature will cause cracks on the surface.
Video
FAQ
Can homemade cream cheese be replaced with shop-bought? +
Yes, ready-made cream cheese (Philadelphia, Almette, Hochland curd cheese) is an excellent substitute if there is no time for the homemade version. The proportion is the same – 600 g of ready-made cheese. The taste will be a little different: shop-bought is more "neutral", while the homemade one from kefir has a soured-milk note. For the classic New York version, Philadelphia cream cheese is ideal. For a Russian interpretation – 18% curd cheese rubbed through a sieve, or a 1:1 mix of curd cheese with cream cheese. The main thing is density and a creamy texture.
What can replace pumpkin puree? +
Pumpkin is a "seasonal" product (autumn–winter), but it can be replaced: with butternut squash (sweet, tender), canned pumpkin puree (which simplifies the recipe), sweet potato (yam) puree (a similar texture), or carrot puree. Each substitution will give its own taste: sweet potato is more "candy-like", carrot is less sweet. Without any addition, you simply get an ordinary vanilla cheesecake. The main thing is that the puree should be thick, not watery. A runny puree would make the cheesecake filling "mushy".
Why might a cheesecake crack? +
There are three main reasons for cracks: (1) too high a baking temperature – it should be exactly 100 °C; (2) the lack of a humid environment (no water on the bottom of the oven); (3) rapid cooling (taken straight out of the hot oven into the cold). For a perfect result: low temperature, a steam bath, slow cooling in the oven. Small cracks can be "hidden" under the decoration – nuts, fruit, whipped cream. This does not spoil the taste, only the look.
How long does pumpkin cheesecake keep? +
In the refrigerator under cling film – 4–5 days. On the second or third day the taste is even better – the components fully soak into one another. It can be frozen in portions in airtight containers for 1 month, defrosting it in the refrigerator for 8–10 hours. It is best to cut the cheesecake with a hot wet knife (dip it in hot water before each cut) – you get neat, even pieces. Serve it chilled – a warm cheesecake loses the "creaminess" of its texture.
- Comment
or post as a guest
Be the first to comment.


