
avg —
Japanese Pancakes
Instructions
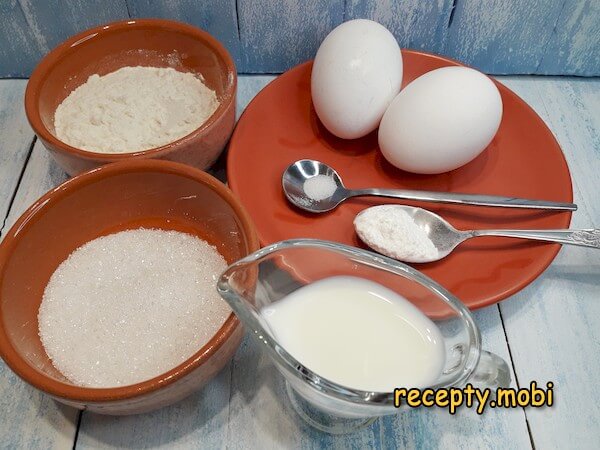
I get the ingredients ready. Instead of two large eggs you can take 3 small ones – what matters is the total mass, not the number.
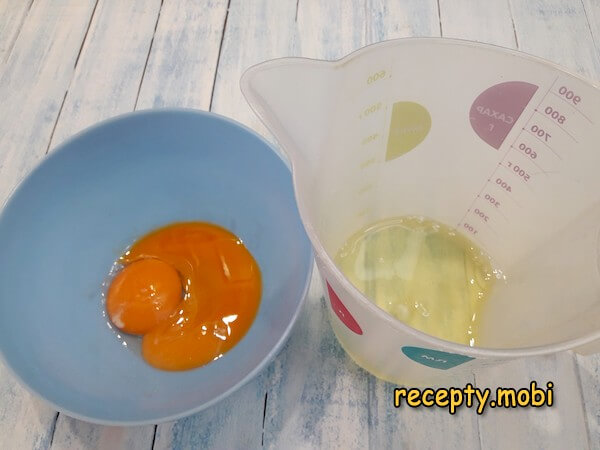
I separate the whites from the yolks straight away – it is whipping the whites separately and then combining them with the yolks that gives Japanese pancakes their characteristic "cloud-like" texture.
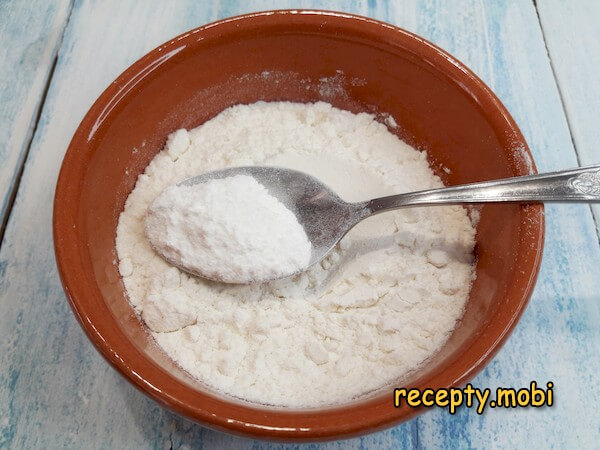
I mix the flour with the baking powder so the leavening is spread throughout and the pancakes rise evenly. A local lump of baking powder would make one side fluffy and the other flat.
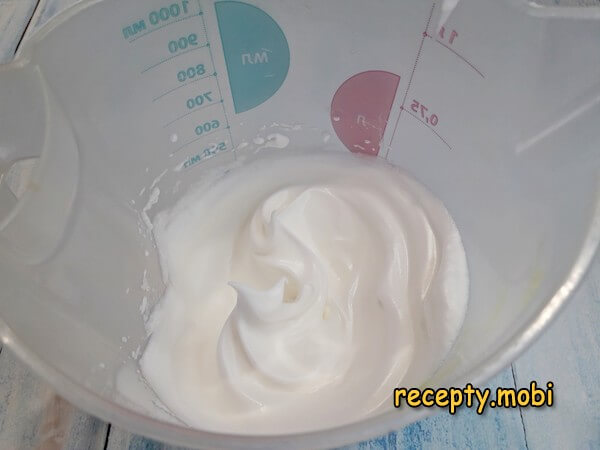
I whip the whites with a pinch of salt to soft peaks – the salt helps the whites set into structure faster and hold their air bubbles.
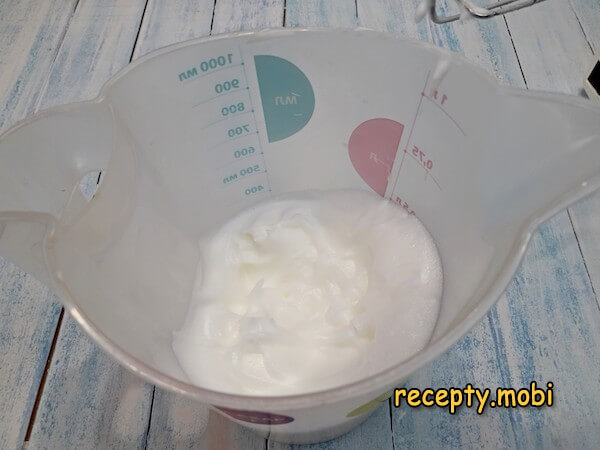
Next I start adding the sugar gradually without switching off the mixer. I move up to maximum speed and bring the whites to a firm, stable consistency – firm enough that an upturned bowl would hold the meringue without it falling out.
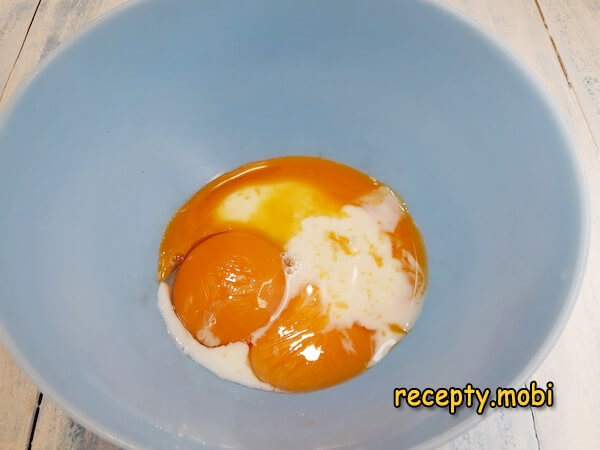
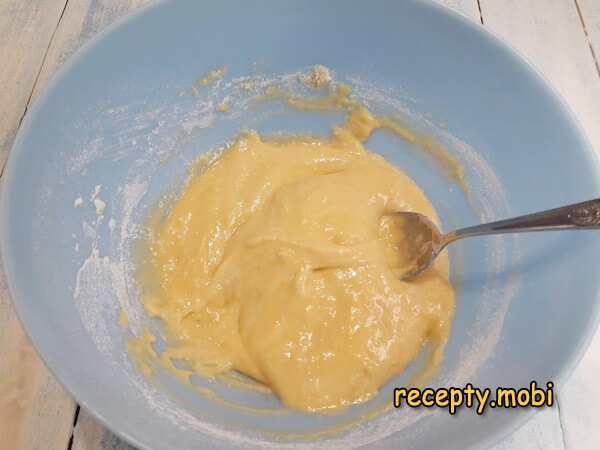
I pour the milk into the bowl with the yolks – the yolks take in milk better than a whole egg and give a uniform base.
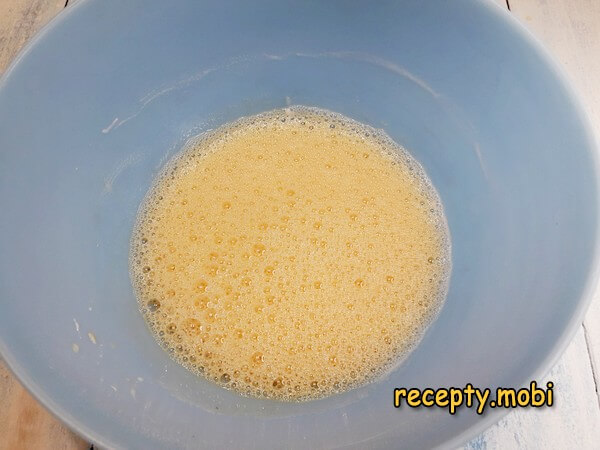
I whisk the mixture well – the yolks should dissolve completely into the milk with no visible clots.
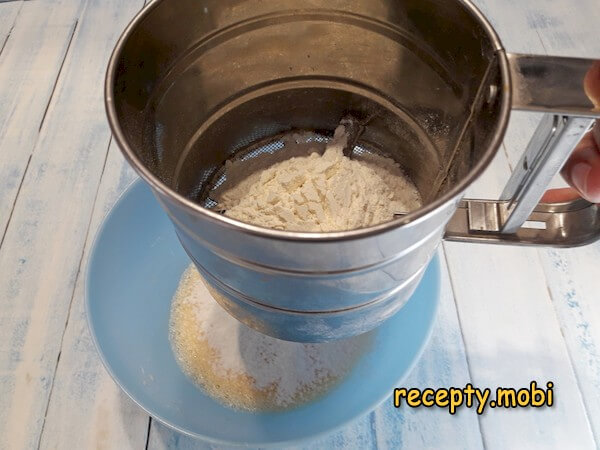
I add the flour, making sure to pass it through a sieve – sifting saturates the flour with air and prevents lumps in the finished batter.
I mix it into the liquid mixture simply with a spoon, so no dry lumps remain. A mixer must not be used – it would break up the structure to come.
Next I add a third of the whipped whites to the batter – specifically in parts, so the first portion "adapts" the liquid batter to the airy meringue without killing it straight away.
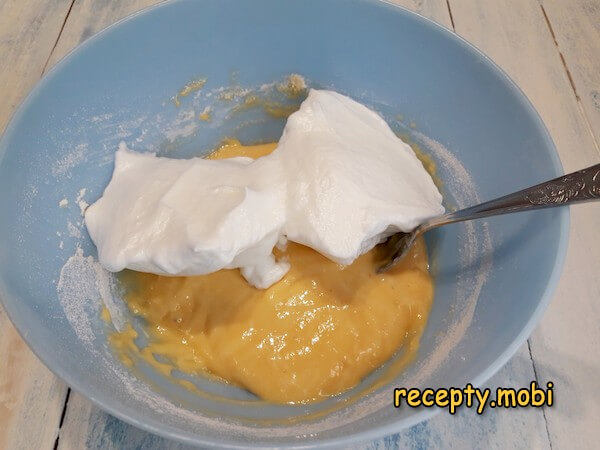
I stir everything with the same spoon – at this stage you can mix actively, because there is still only a little meringue.
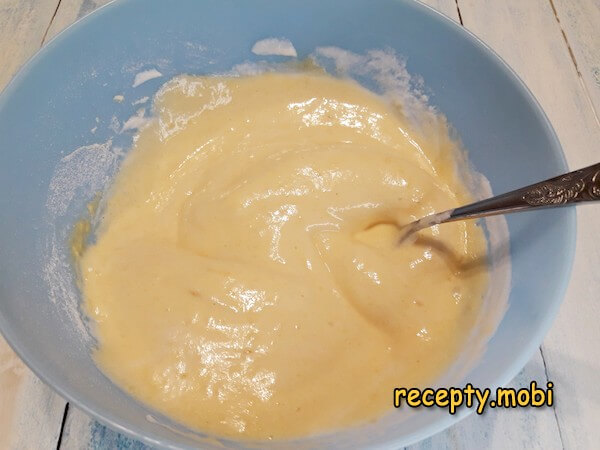
When the mixture becomes uniform, I add the remaining whites – the main mass of meringue, which is what gives the pancakes their height.
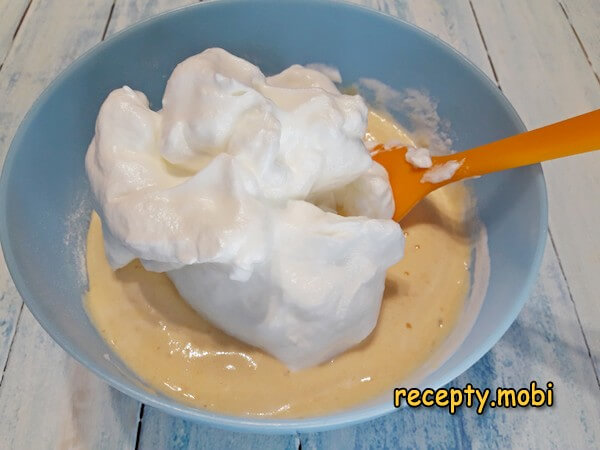
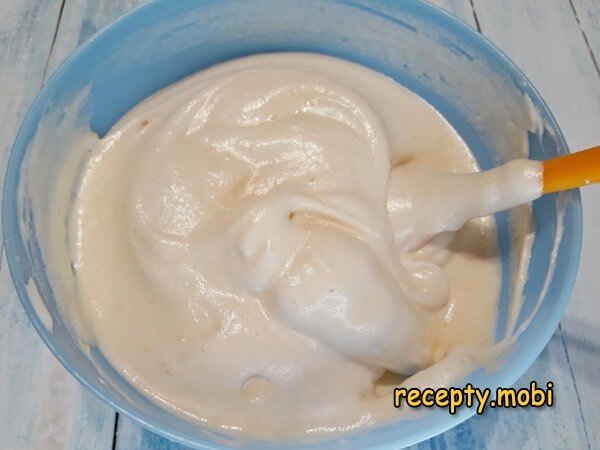
Now I need to fold them into the mixture in the most careful way, using a spatula with slow folding movements from the bottom up – the goal is to preserve as much of the volume of air bubbles as possible. Vigorous movements will kill the fluffiness, and the Japanese pancakes will not turn out.
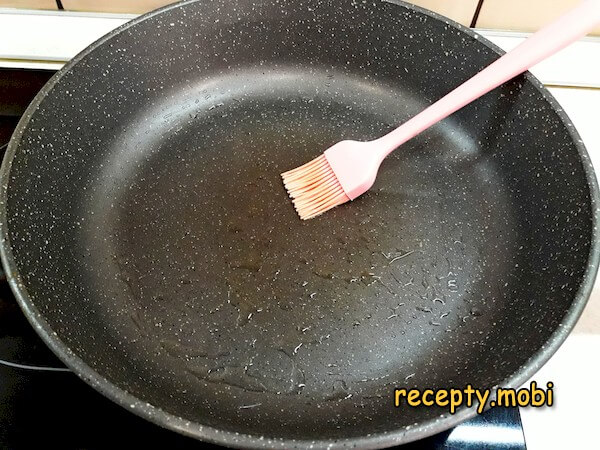
I heat the pan over moderate heat, below medium. I grease the bottom with a small amount of vegetable oil – high heat and a lot of oil would give a browned crust, but the pancakes would not cook through inside.
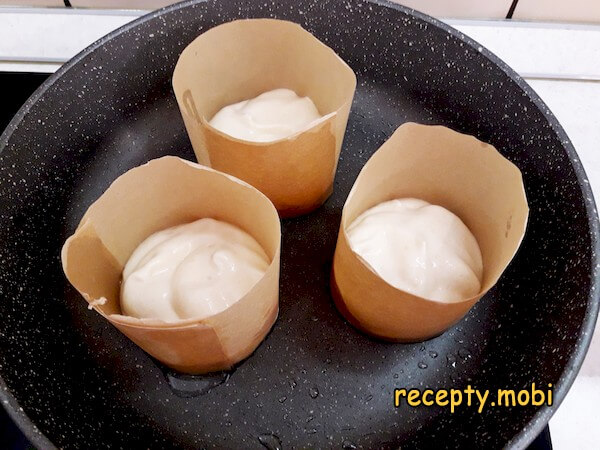
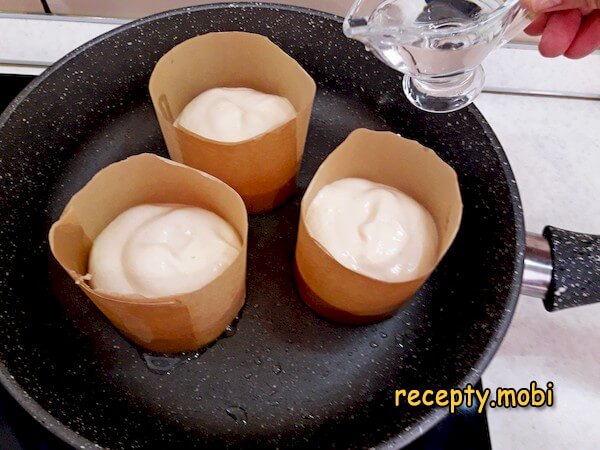
The pancakes can simply be placed in the pan, but to give them the same round shape it is best to cut strips of parchment 4–5 centimetres wide. I join them into a ring, fixing the edges with vegetable oil. I set the paper cylinders in the pan – it is they that give Japanese pancakes their characteristic "tower" shape.

I spoon 1 tablespoon of batter into each one – no more, or the pancake will not have time to rise evenly.
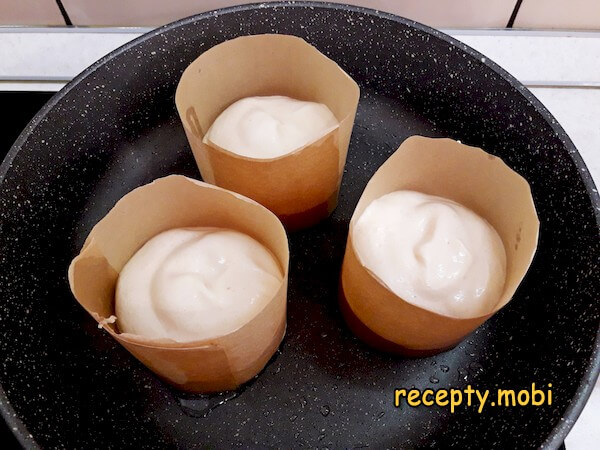
After literally 10 seconds I add another 1–1.5 tablespoons of batter to the moulds – this double filling with an interval gives the characteristic "three-layer" rise.
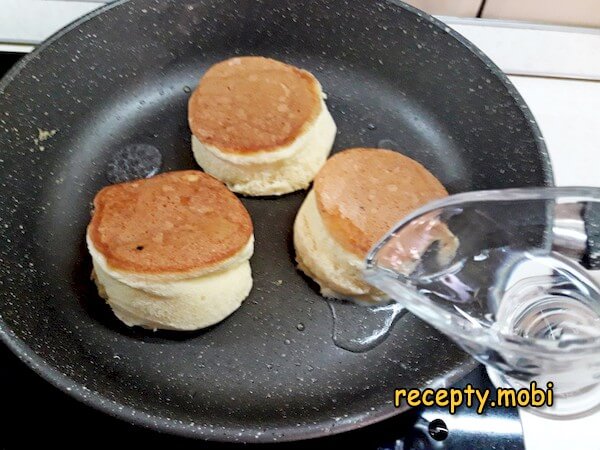
I pour two teaspoons of plain water (no more) into the pan to create steam – it is the steam, not frying, that makes Japanese pancakes tender.
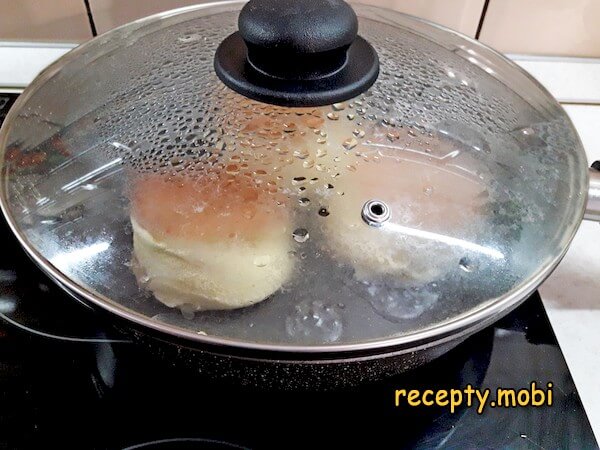
And I cover with the lid right away – the steam inside the pan replaces the oven.
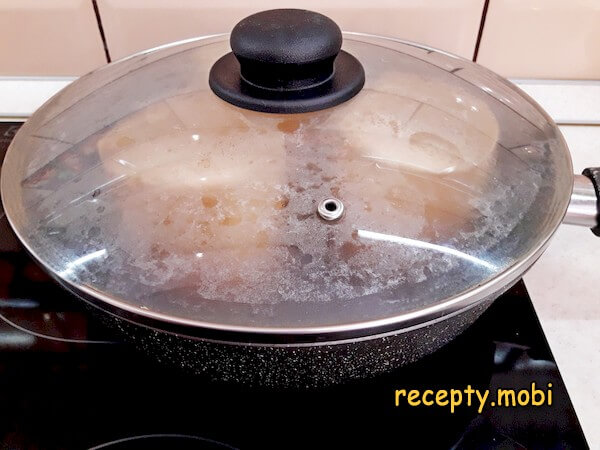
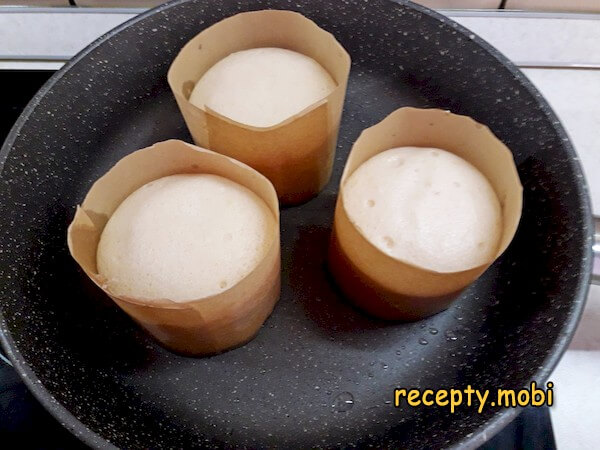
After 5 minutes the pancakes have risen well and the bottom side is cooked through – I check carefully, without opening the lid often, otherwise the steam escapes and the rise stops.
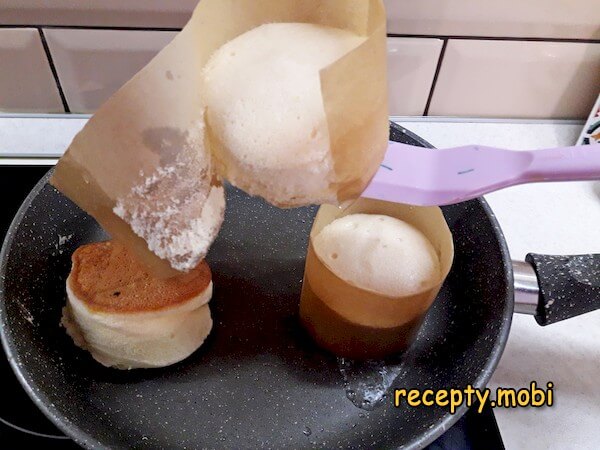
They need to be carefully lifted with a spatula, the strip of parchment detached, and turned over onto the other side. After it is detached, the parchment can be used for the next batch.
I add a couple of teaspoons of water to the pan again – a second portion of steam to cook the second side.
I cover everything with the lid and bake for another 4 minutes – the second side takes a little less time, because it is already warming through from inside.
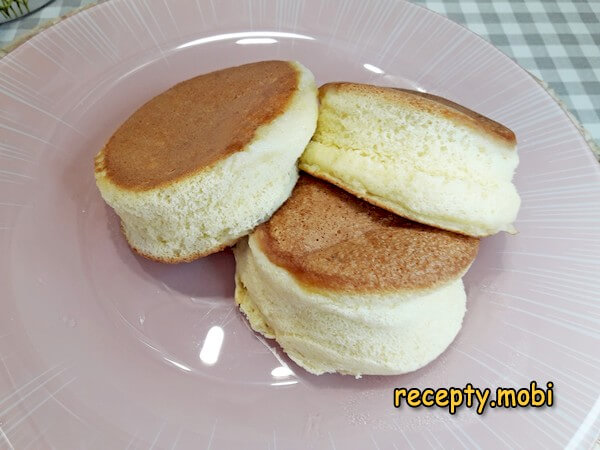
I transfer the finished pancakes to a plate, wipe the pan with a paper towel and repeat the whole process again to make three more pancakes from the remaining batter.I dust the freshly baked Japanese pancakes with powdered sugar, decorate them with berries and serve for breakfast. There is nothing to compare these fritters with – they are like both a sponge cake and a soufflé, but this wonderful taste cannot be described in words. To feel the full charm of this unusual dessert, you simply have to try it.


Tips
- 1
MERINGUE IN PARTS – the "secret" to fluffiness. Add all the whipped whites at once and the meringue settles, so the pancakes come out flat. One third for "adaptation" plus the rest added with folding movements keeps the airiness intact.
- 2
PARCHMENT RINGS – the "secret" to the shape. Without a mould the pancakes spread into flat cakes. Rings of parchment 4–5 cm high hold the batter upright, so the finished pancakes have the characteristic "tower" shape. The same trick works in American pancakes with milk.
- 3
STEAM UNDER THE LID – the "secret" to tenderness. Dry frying gives browned fritters with a coarse crust. Steam from a teaspoon of water under the lid means the pancakes bake as if in an oven and stay soft and fluffy.
- 4
DOUBLE FILLING OF THE BATTER – the "secret" to the "three-layer" rise. Add all the batter at once and you get a single solid layer. First 1 spoonful, then after 10 seconds another 1.5 spoonfuls – this forms the characteristic multi-layered fluffiness. The same principle is used in banana pancakes with milk.
FAQ
Can baking powder be replaced with baking soda? +
You can, but the effect is slightly different. Substitution: 0.3 tsp of baking soda + 0.15 tsp of citric acid instead of 0.5 tsp of baking powder. Slake the soda with vinegar or lemon juice in the mixture itself, not in advance – that way the CO2 stays in the batter. Alternatives: cream of tartar with soda 1:2 (premium, gives a finer fluffiness), aluminium-free baking powder (premium, with no metallic aftertaste). Do not use: plain baking soda without acid – the batter will have an alkaline aftertaste and the Japanese pancakes will lose their characteristic tenderness. The best result comes precisely with baking powder.
How long do the finished Japanese pancakes keep? +
In the fridge in a tightly sealed container – up to 1 day without losing their fluffiness. On the second day they lose volume and become denser and drier – no longer "Japanese". There is no point putting them in the freezer – after thawing the structure is completely destroyed. They are best served straight away, piping hot, dusted with powdered sugar or drizzled with syrup. If you need to keep them hot while baking the batch – I hold the finished ones on a plate under foil over a warm little pot of water. Freshly baked is the "star" option, and they are the reason this recipe is worth trying.
What to serve Japanese pancakes with? +
The classic is with powdered sugar and fresh berries (strawberries, raspberries, blueberries). Premium options: with maple syrup, honey, cream syrup, a scoop of vanilla ice cream, whipped cream. Japanese serving: with miso butter or matcha syrup, with a mochi ball. With drinks: black or green tea, a coffee latte, cocoa, warm milk. Children's version: with chocolate syrup and sprinkles. For breakfast or with late-evening tea – it works for anything. They are not served with alcohol – this sweet, delicate dessert is not for a dinner party.
What to do if the pancakes deflate after being taken off the heat? +
This is a typical problem – the structure of air bubbles weakens as they cool. Prevention: 1) open the lid less during baking (loss of steam = loss of rise), 2) serve straight to the table without letting them cool, 3) check the firmness of the whipped whites – soft peaks give a deflating texture, you need stable ones. If the pancakes have already deflated on the plate – sadly, that result cannot be undone. Prevention is the only way. The exact weighing also has a strong effect: 40 g of flour to 2 eggs is the basic proportion, and deviations change the result considerably.
- Comment
or post as a guest
Be the first to comment.


