
avg —
Khychyns with cheese and potatoes
Instructions
I lay out the products on the work surface. All the ingredients should be at ROOM TEMPERATURE – I take the kefir out of the fridge 1–2 hours in advance. Cold kefir will not activate the soda in the dough. I always sift the flour (320 g) through a fine sieve, which enriches it with air for an elastic dough.
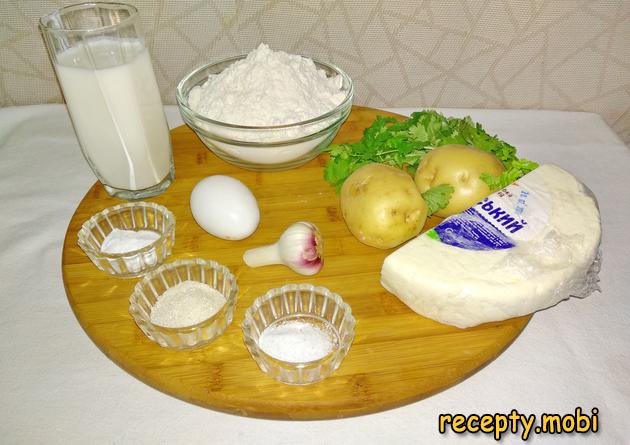
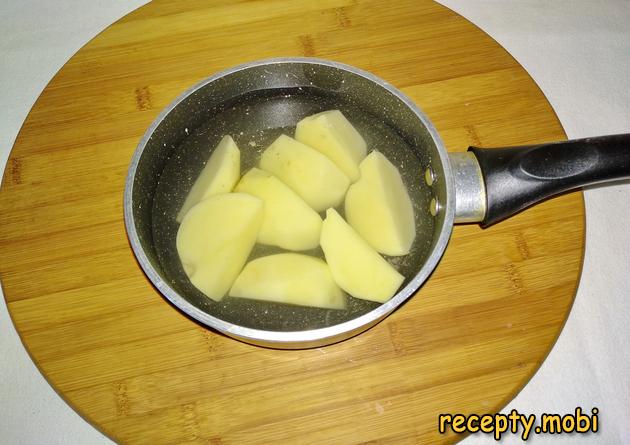
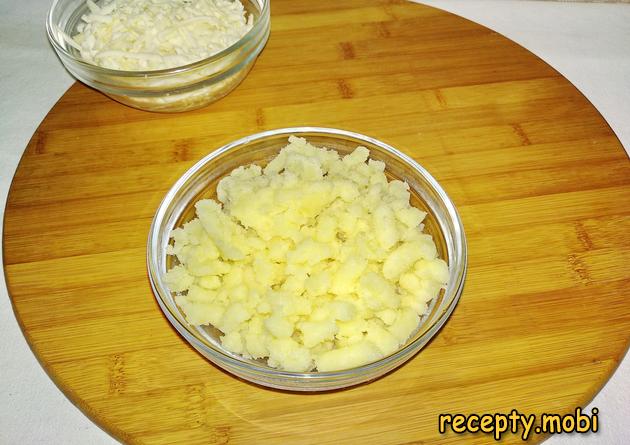
In parallel, I prepare the filling. I peel the potatoes (250 g), cut them into four parts and boil them in lightly salted water for 15–20 minutes until completely soft. I drain the water and leave the potatoes in the pot to "evaporate" excess moisture for 1–2 minutes over the lowest heat. I mash them into a purée with a masher – not a blender, which would give a "gluey" mass.
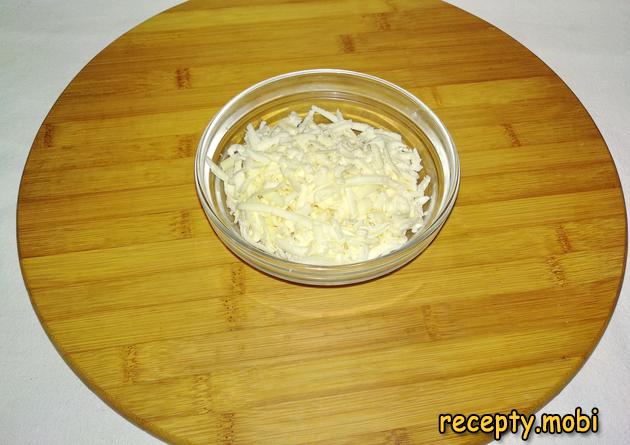
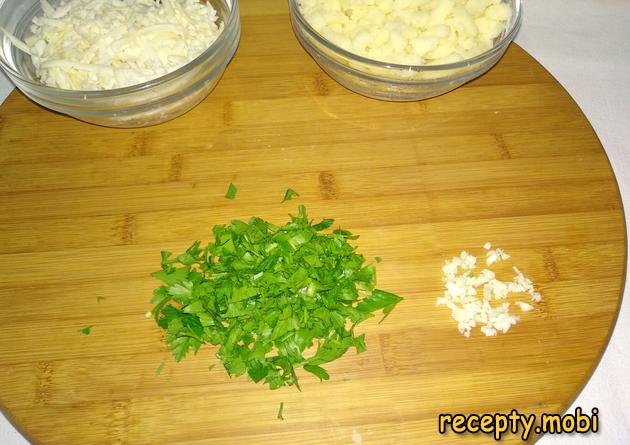
I grate the Adyghe cheese or suluguni (250 g) on the coarse side of a grater. Adyghe cheese is soft and tender (the classic "lowland" option), while suluguni is more "stretchy" and salty (the mountain option). You can use a 50/50 mix for an interesting texture. Inexpensive brynza will work as a substitute.
I wash the parsley (½ bunch) thoroughly and chop it finely. I peel the garlic (1 clove) and grate it on a fine grater or pass it through a press. These two ingredients give the filling its characteristic "Caucasian" aroma. I mash the boiled potatoes thoroughly with a potato masher.
I chop the fresh parsley and the clove of garlic finely with a sharp knife.
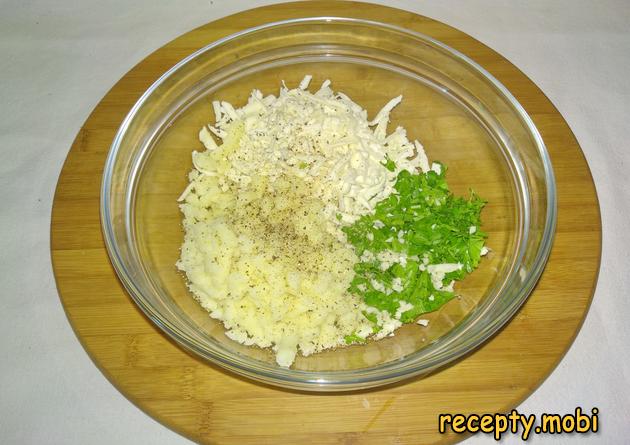
In a large bowl for the filling I combine the mashed potatoes, grated cheese, chopped herbs and garlic. I add salt and pepper to taste (Adyghe cheese is already salty, so taste it first).
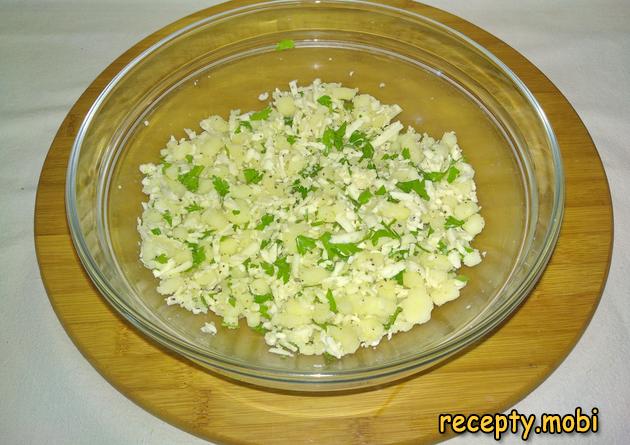
I mix everything together thoroughly by hand until smooth. The finished filling is dense and holds its shape when squeezed into a ball. I cover the bowl with a lid and set it aside.
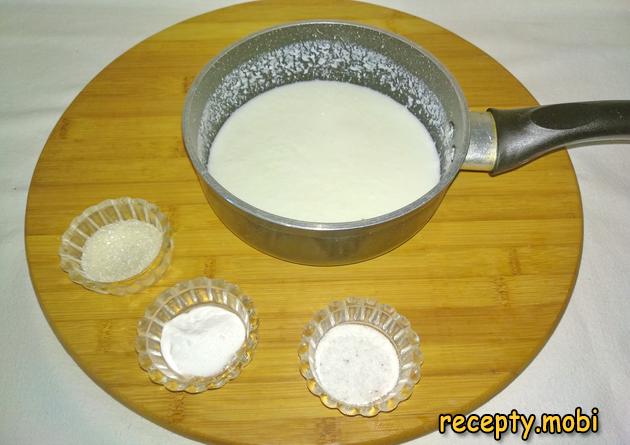
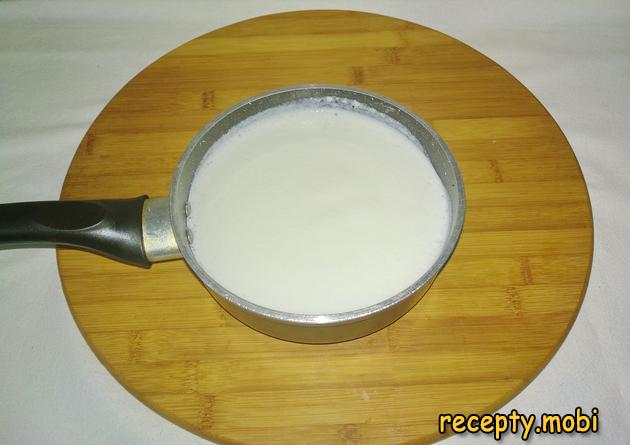
I begin preparing the dough (15 minutes of active work). If the kefir is not yet at room temperature, pour it into a saucepan and warm it slightly on the stove until it is warm, 30–35°C (NOT hot). To the warm kefir I add the sugar (1 tsp), salt (½ tsp) and soda (½ tsp). I mix it thoroughly with a whisk.
The kefir and the soda will react almost immediately – characteristic bubbles will appear on the surface and it will start to "fizz". This is the "secret" to airy dough for khychyns: the reaction of kefir with soda releases carbon dioxide, which makes the dough fluffy.
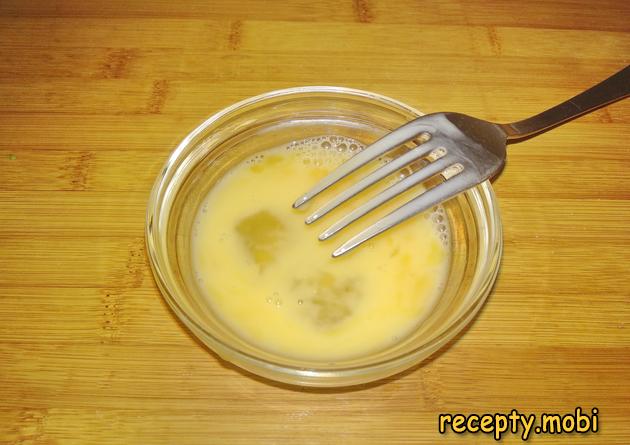
In a separate small bowl I beat 1 egg with an ordinary fork until smooth, for 30 seconds – there is no need to make a fluffy foam, it is enough to combine the yolk with the white.
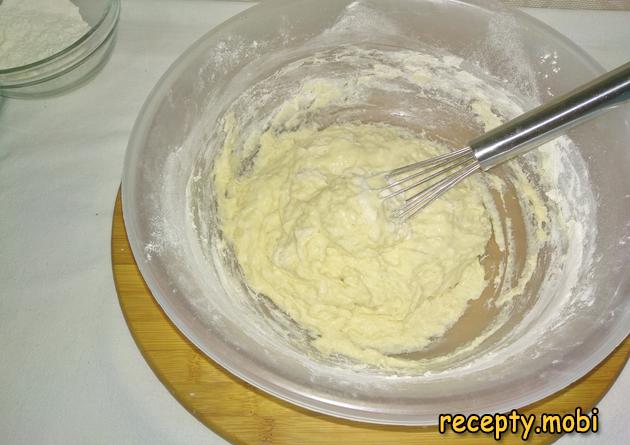
I add the beaten egg to the kefir mixture and mix it in. Then I gradually begin to incorporate the sifted flour into the kefir-and-egg mass.
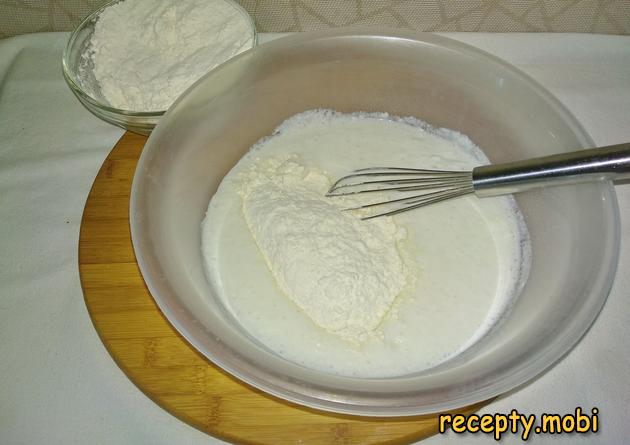
I add the flour in 2–3 gradual stages, mixing it in thoroughly with a whisk after each portion until smooth.
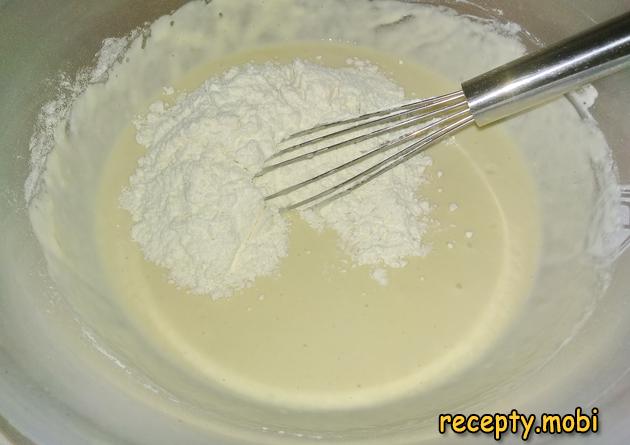
When it becomes difficult to mix the dough in the bowl (the dough is dense), I move it onto the floured work surface.
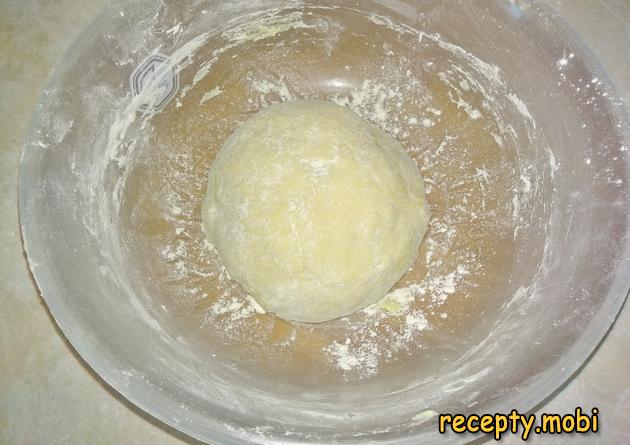
I knead the dough by hand for 5–7 minutes until I get a soft, elastic ball. The dough should not stick to your hands but should still stay soft. Do not "clog" the dough with flour, or it will be tough and the khychyns will turn out "rubbery". I put the finished dough back into the bowl, cover it with cling film or a towel, and leave it to "rest" for 30 minutes at room temperature.
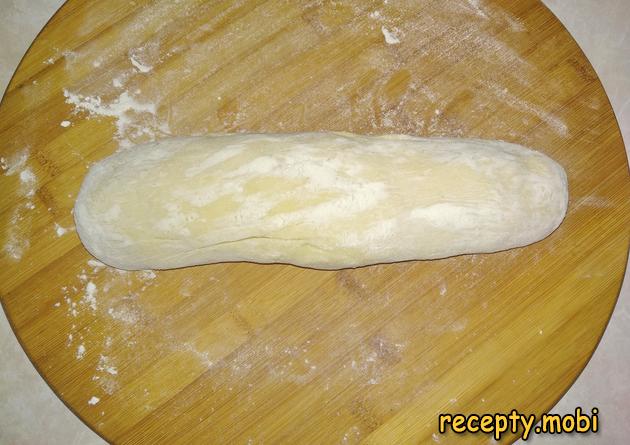
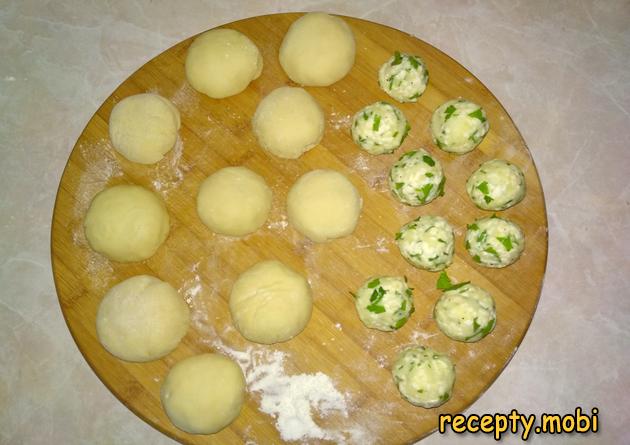
After 30 minutes I take out the "rested" dough and roll it into a long log 4 cm in diameter. I divide it into 10 equal parts of 50 g each (use kitchen scales).
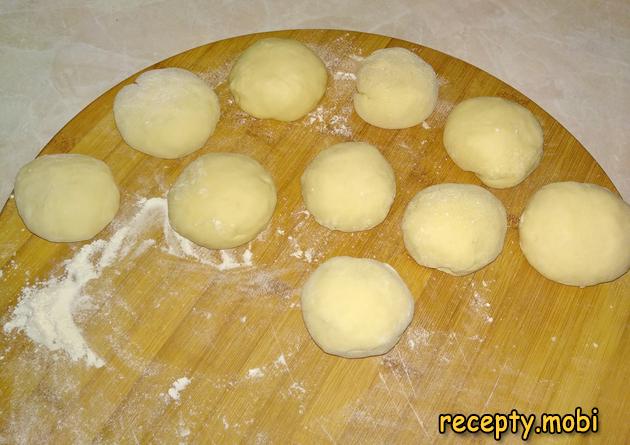
From each part I form a ball by hand. I cover the pieces with a towel so the dough does not dry out.
In the same way I divide the finished filling into 10 equal balls of 50 g each. The dough and the filling should be the SAME WEIGHT – the "gold standard" of proper khychyns with plenty of filling.
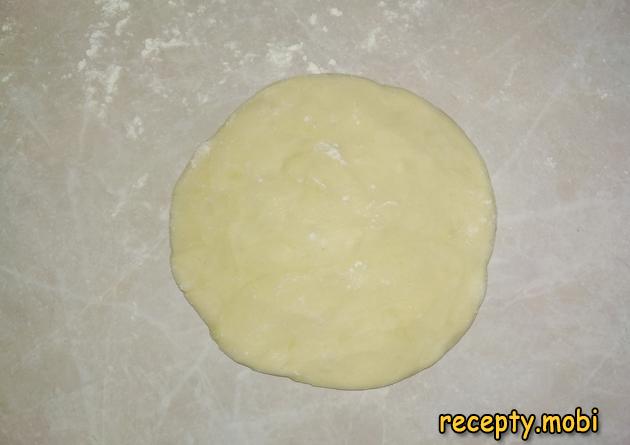
I dust the work surface lightly with flour, take one dough piece and shape it into a circle 12–15 cm in diameter WITH MY HANDS (without a rolling pin). I try to stretch the edges out more, while the centre should be slightly thicker – to make it easier to wrap the filling.
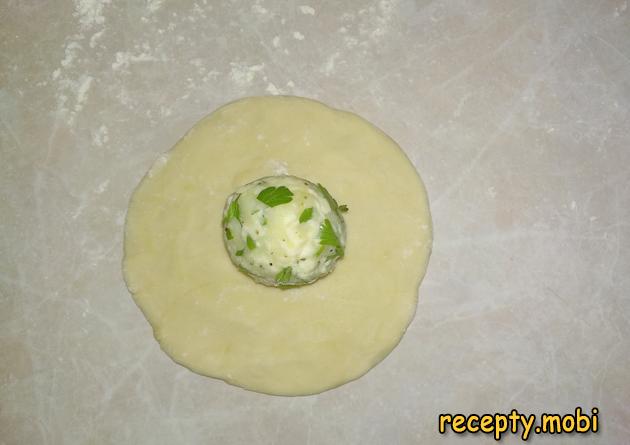
I place a ball of filling in the centre of the round dough piece.
I use the dough to wrap around the ball of filling – gathering the edges of the dough up over the filling to form a "pouch" with a seam on top. I pinch the edges of the dough together tightly over the filling, leaving no gaps.
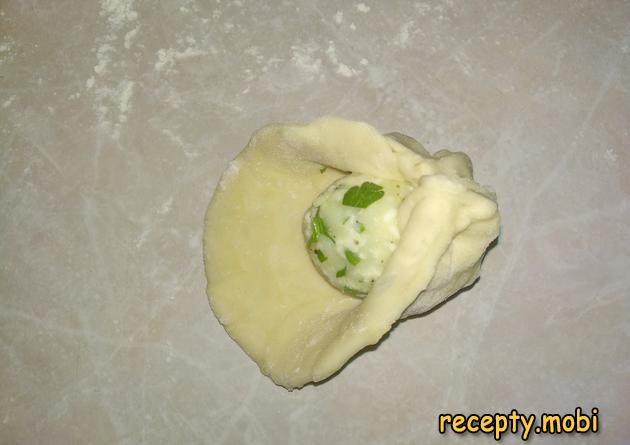
I form the sealed dough into a "pouch" shape.
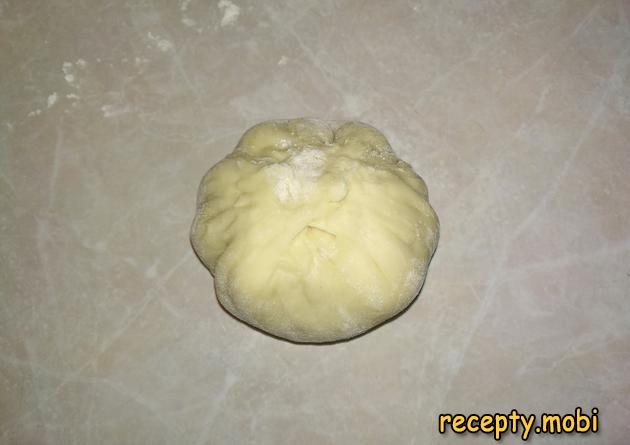
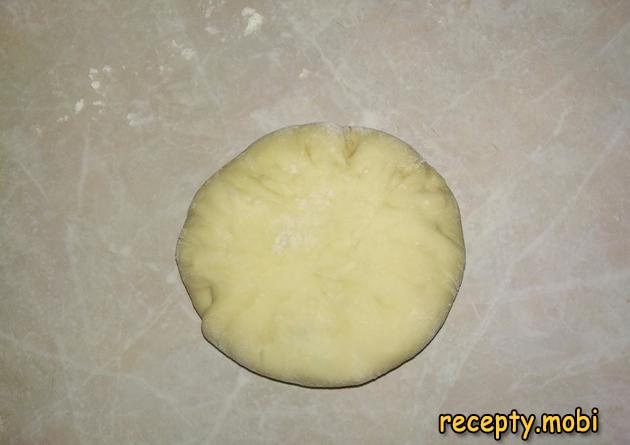
I press the formed piece gently into a round flatbread with my hands. I do the same with all the other pieces. I dust the board generously with flour and place all the pieces SEAM SIDE DOWN, then cover them with a towel so the dough does not dry out.
I take the pieces one at a time onto the floured surface and carefully roll each one out with a rolling pin into a thin flatbread 18–20 cm in diameter and 3–5 mm thick. The dough stretches well together with the filling inside.

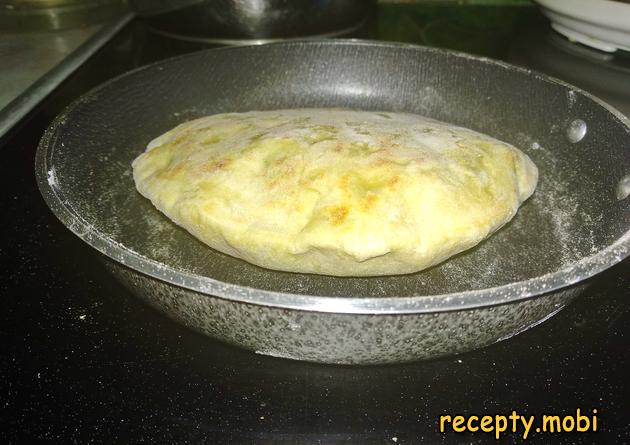
I heat a dry frying pan (WITHOUT oil!) well over medium heat for 3 minutes. The pan should be very hot.
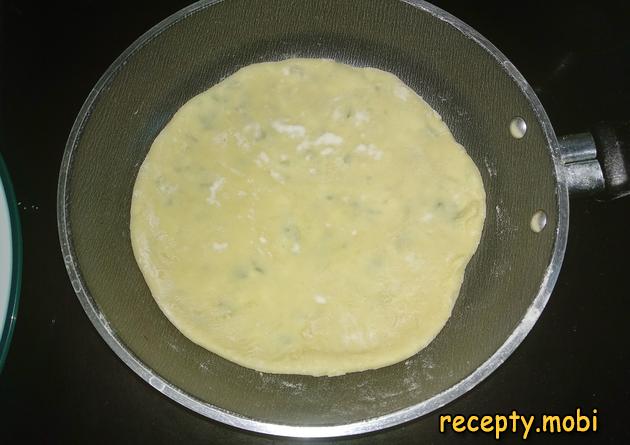
I put the khychyn on the dry pan and bake it for 1–2 minutes until golden brown on the bottom. I carefully flip it over and bake the other side for another 1–2 minutes.
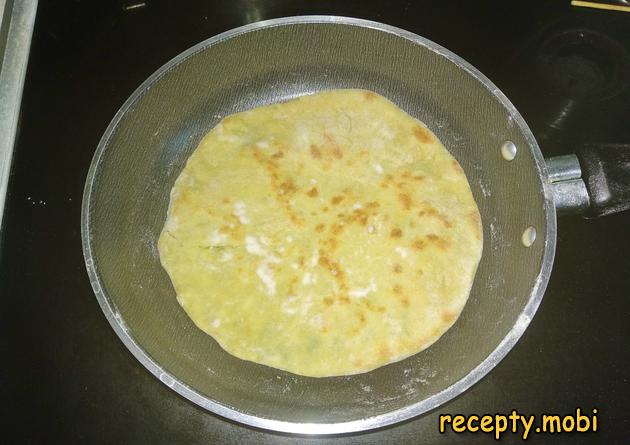
During frying the flatbread may puff up like a balloon, which is completely normal. If it puffs up, pierce it with a sharp skewer to release the steam.
I stack the finished khychyns on a plate. CRITICAL STEP: I brush each hot khychyn generously with a piece of butter (50 g of butter for the whole batch). The butter "soaks" into the dough and makes the khychyn incredibly tender – the "secret" of Karachay cuisine.
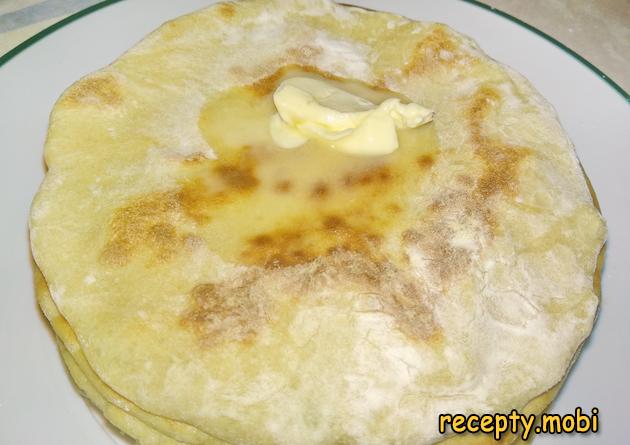
Here are the golden-browned flatbreads that turned out in the end on the serving plate.
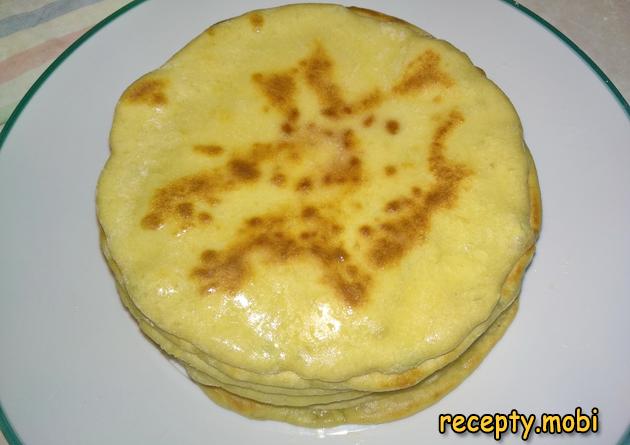
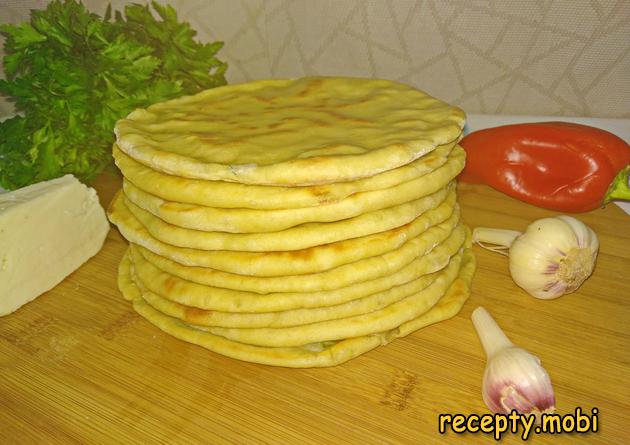
The khychyns with cheese and potatoes are ready! I serve them hot with soup or for breakfast with ayran or sour cream, and call everyone to come for lunch.


Tips
- 1
Keep the proportion DOUGH : FILLING = 1:1 BY WEIGHT – the "secret" of proper Karachay khychyns with plenty of filling.
- 2
Fry on a DRY pan WITHOUT oil – this is the "classic" of mountain Caucasian cuisine.
- 3
Brush the hot khychyns with butter straight away – it "soaks" into the dough and makes them incredibly tender. I bake Imeretian khachapuri on a similar principle.
- 4
Stretch the dough WITH YOUR HANDS, without a rolling pin, at the "pouch"-shaping stage – this gives the elasticity khychyns need.
FAQ
What other fillings are there for khychyns? +
The classic Karachay-Balkar options are: potato + cheese (our recipe), potato + curd cheese + herbs (a "lean" version), minced meat with onion + spices (more often beef), cheese + herbs (parsley, coriander, dill) for a "summer" version, beet tops or spring onion with cheese, and pumpkin with cheese (an autumn version). Modern adaptations include mushrooms with onion (for vegans and lean eating), spinach with cheese (as in spanakopita), chicken with cheese, and smoked meat. Each filling has its own character. Potato + cheese is the "classic" for an everyday khychyn.
What can replace Adyghe cheese in the filling? +
Suitable options are: suluguni (more "stretchy" and salty, a Georgian classic), brynza (salty Bulgarian/Greek, a close analogue), feta (Greek, rinse a little to remove salt), halloumi (Cypriot, holds its shape), young Ossetian cheese (if you can find it, the "authentic" Caucasian choice), young mozzarella (for tenderness), and Imeretian cheese (Georgian). The main condition is that the cheese should be a brined or curd cheese, not a "hard" one like Parmesan or Gouda. Adyghe cheese is the "universal" classic for most Caucasian dishes thanks to its tender texture and its availability in shops.
How long do the finished khychyns keep? +
Finished khychyns are best eaten on the day they are made – they are tastiest hot from the pan. They keep in the fridge for up to 3 days in a tightly closed wrapper or cling film – before serving, reheat them in a dry pan for 1 minute on each side, or in the oven for 3–5 minutes at 150°C. Do not reheat them in the microwave, as they will go soggy. You can freeze the finished khychyns for 1 month in airtight bags with parchment between them – before serving, defrost them at room temperature for 30 minutes and warm them in a pan. Dough without filling can also be frozen for 1 month.
What to serve khychyns with? +
They are ideal with Caucasian soups and hot dishes: Georgian kharcho, Uzbek lagman, shurpa, chorba, borscht. For breakfast – with ayran (the classic Karachay drink), 20% sour cream, kefir, or warm milk. For starters – pickled vegetables (cucumbers, tomatoes), pickled onion with herbs, garlic sauce (matsoni with garlic), or Georgian adjika. With tea – black tea with lemon or green tea with jasmine. For a family lunch or dinner with kharcho soup, this makes a "proper" Caucasian menu. For lunch at the dacha – with shashlik and grilled vegetables.
- Comment
or post as a guest
Be the first to comment.


