
avg —
Easter Krafins – step-by-step recipe with photos
Instructions
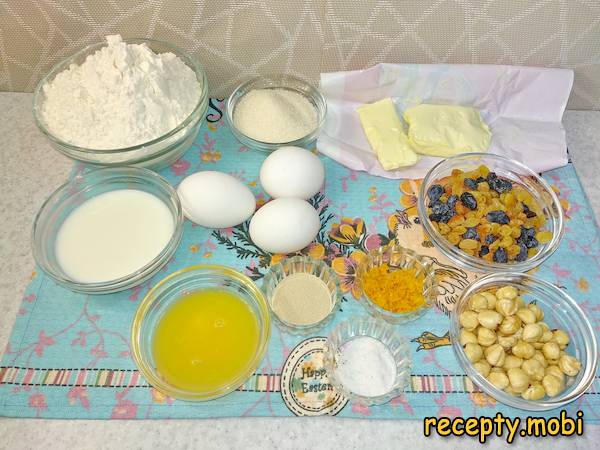
Take all the ingredients out of the refrigerator in advance and let them warm up to room temperature (about 1 hour). This is the "secret" of a good yeast dough – cold products "kill" the activity of the yeast.
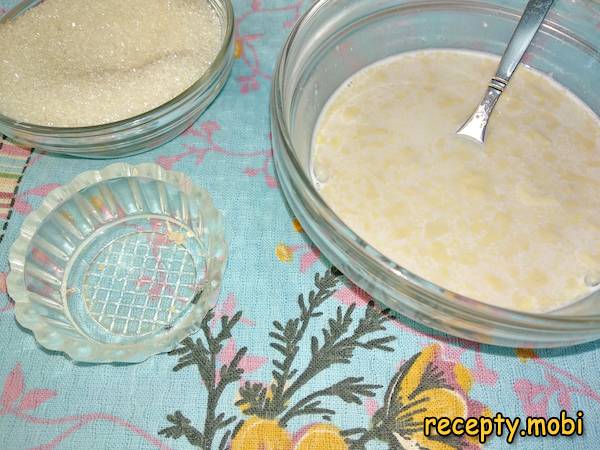
Add 1 teaspoon of sugar and the dry yeast to slightly warm milk. Stir and let it stand for 5–10 minutes until a characteristic "cap" appears – this is the signal that the yeast is alive.
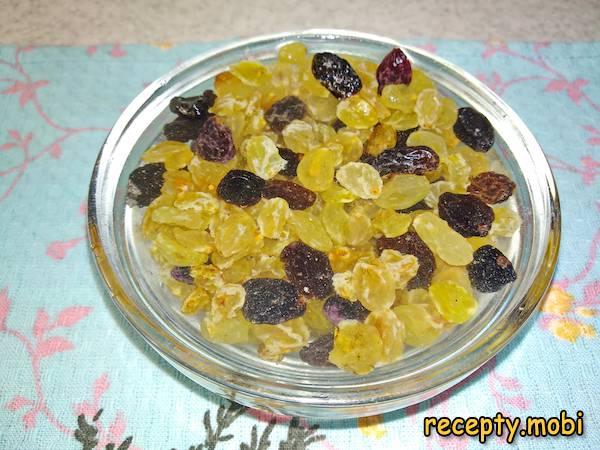
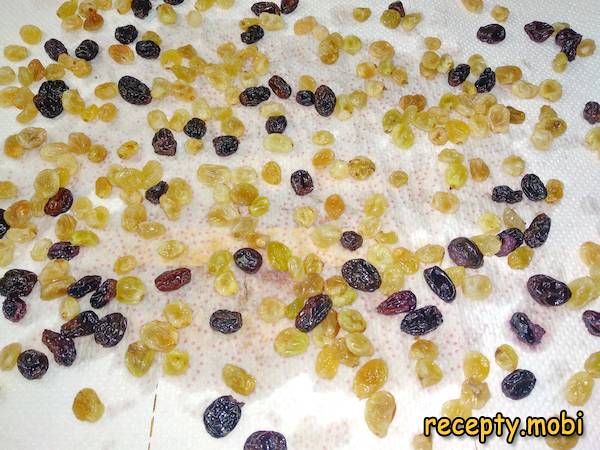
Pour boiling water over the raisins for 15 minutes, then dry them on a paper towel. Steamed raisins will be juicier and more tender in the finished bake.
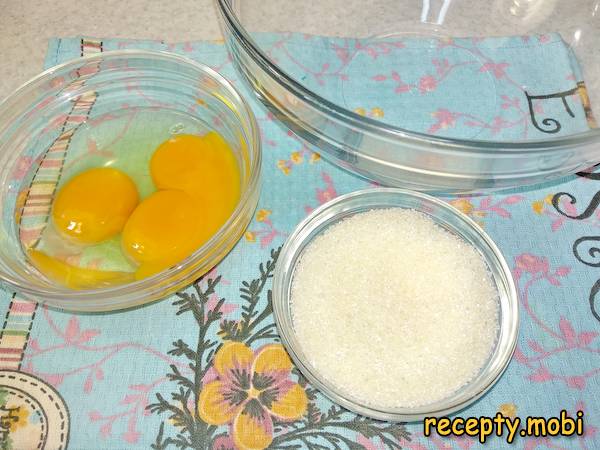
In a separate bowl, crack 1 egg and add 2 yolks. The whites from the two remaining eggs are not used.
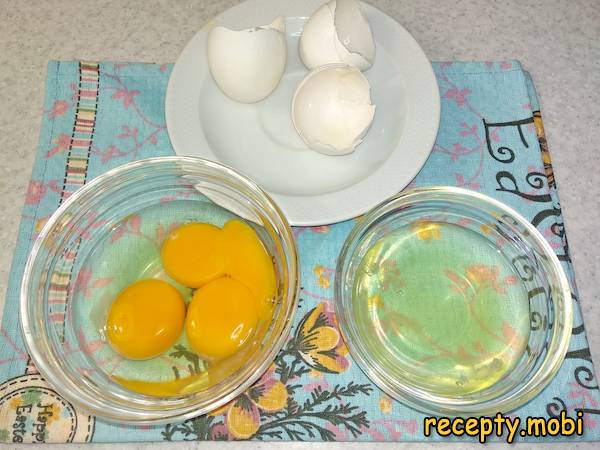
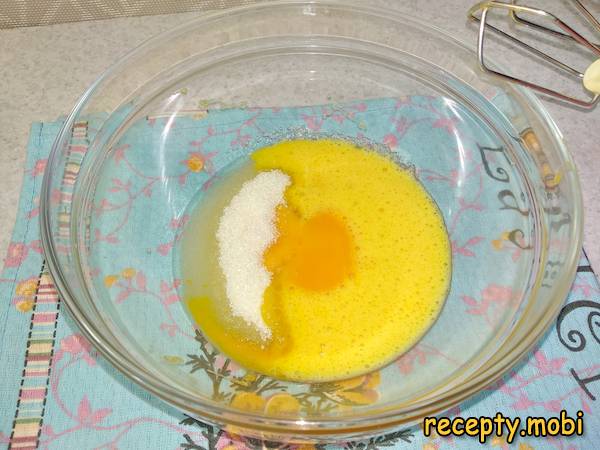
Transfer the eggs and yolks to a bowl and add the remaining sugar.
Whip the mixture with a mixer for about 5 minutes until it is fluffy and pale – this will give the finished dough its airiness.
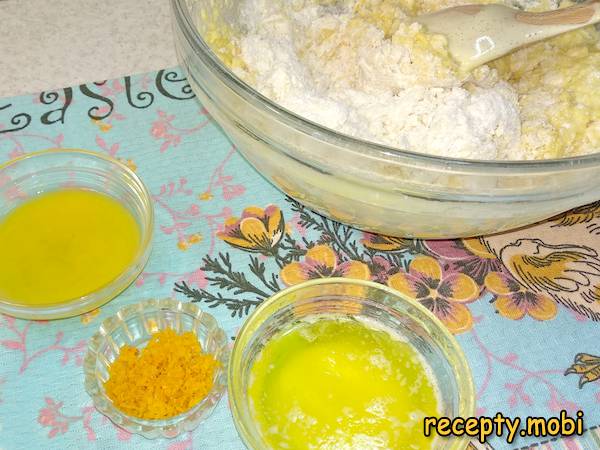
Sift the flour into a large bowl, add the salt and stir. Then add the risen yeast mixture (the sponge).
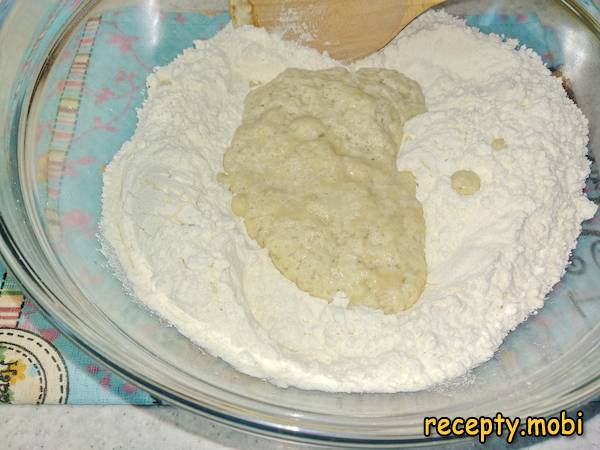
Pour in the whipped eggs with sugar and start kneading the dough with a spoon.
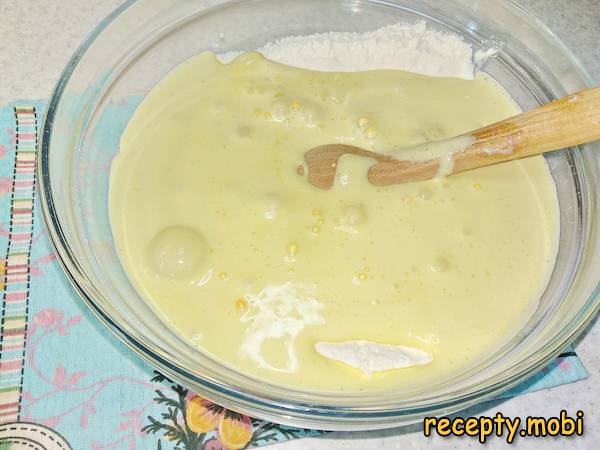
Melt 40 g of butter and add it to the dough together with the orange juice. Add the orange zest at this stage or later together with the filling.
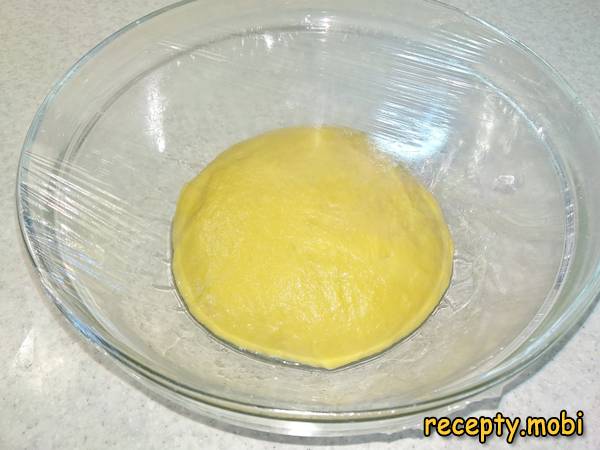
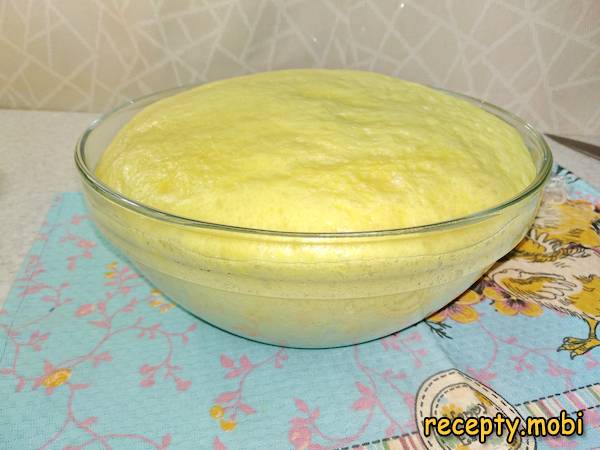
Knead the dough by hand for about 10 minutes. Transfer it to a bowl, cover with plastic wrap and leave it to rise in a warm place for 1–1.5 hours.
Dry the raisins by laying them out on a paper towel. Dry raisins blend into the dough better.
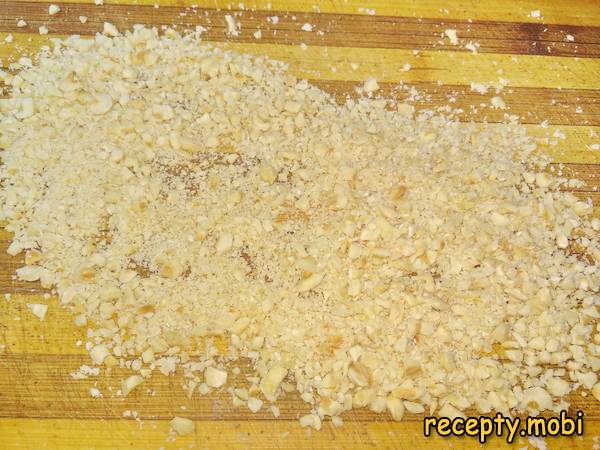
Toast the nuts in a dry frying pan until golden – this is the "secret" to releasing their aroma.
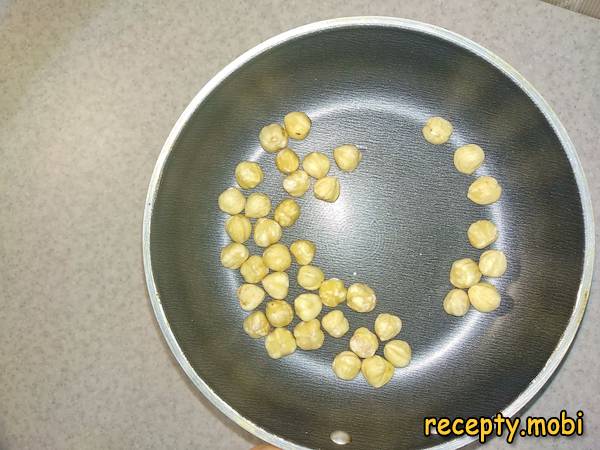
Finely chop the toasted nuts with a knife. Pieces that are too large can tear the dough during shaping.
The risen dough will have increased in volume by 2–2.5 times. Turn it out onto the work surface.
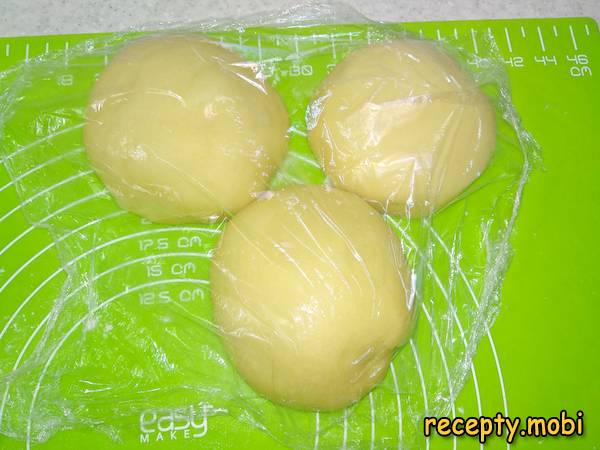
Divide the dough into 3 parts – according to the number of moulds.
Roll each part into a ball, cover with plastic wrap and let them rest for 10–15 minutes. This "rest" makes the dough more pliable for rolling out.
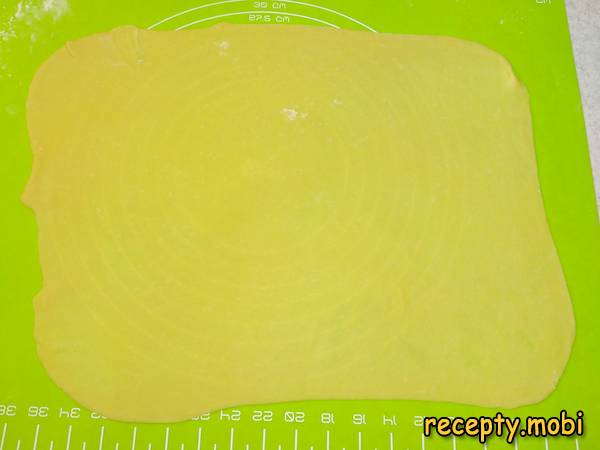
Roll out one part of the dough into a thin rectangle on a lightly floured surface.
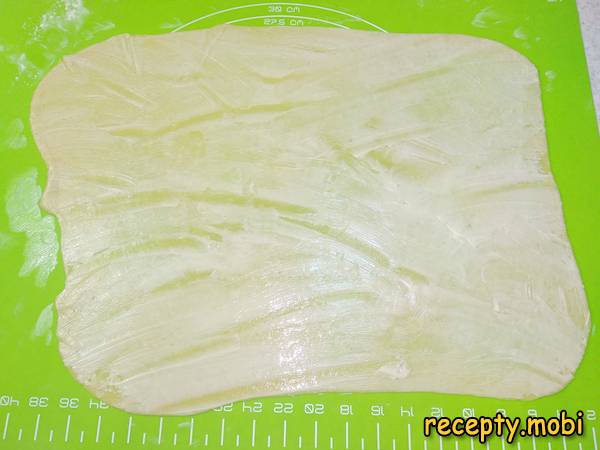
Take one third of the remaining soft butter and spread it evenly over the surface.
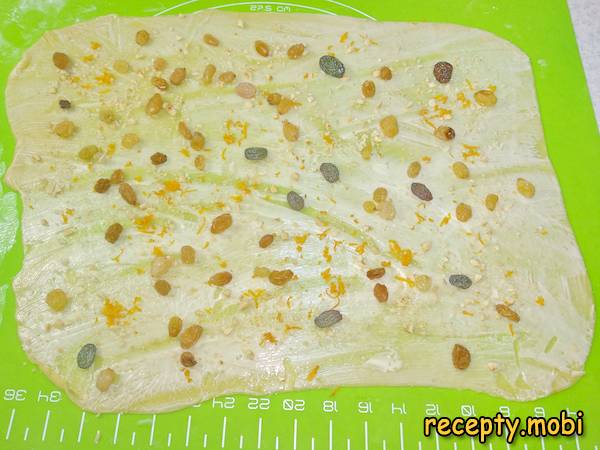
Sprinkle the top with nuts, raisins and zest.
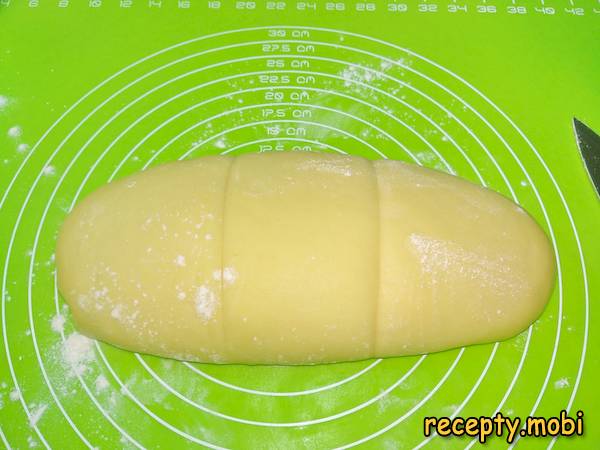
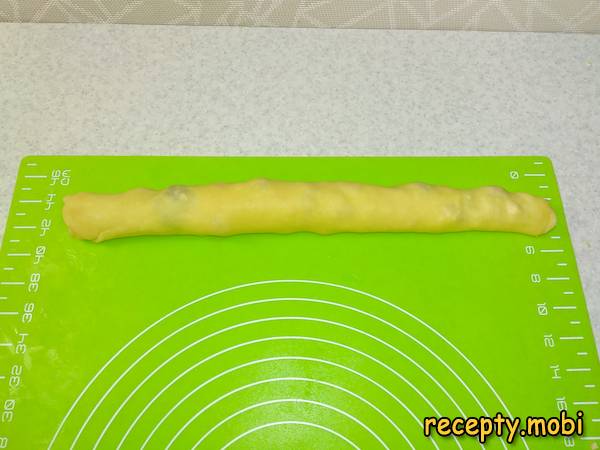
Carefully roll the sheet into a tight log. Leave it to rest under plastic wrap so the dough does not dry out. Repeat with the remaining parts.
Cut the first log lengthwise with a sharp knife, leaving about 3–4 cm uncut at the end. This is important – the piece will not fall apart during shaping.
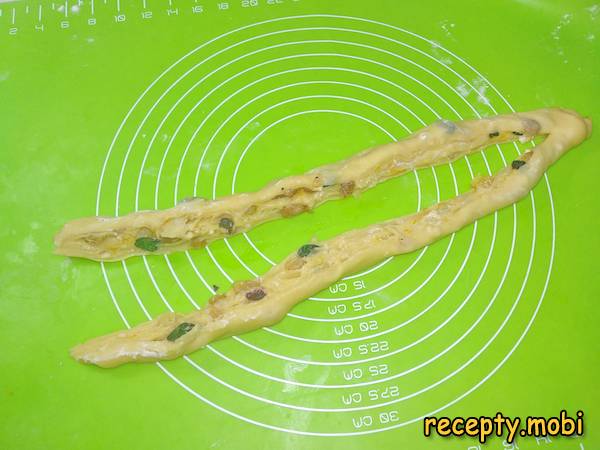
Twist one of the halves of the log, trying to keep the cut side facing outward – this way all the layers of dough and filling are beautifully visible.
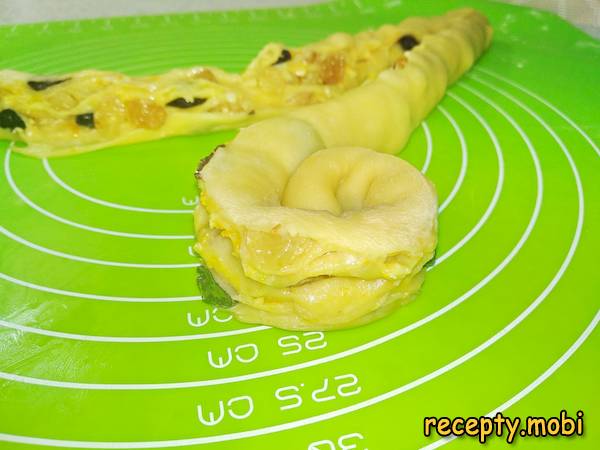
Roll the shaped part into a tight "snail" – this will be the bottom part of the kraffin. Carefully place the uncut section (3–4 cm) on top.
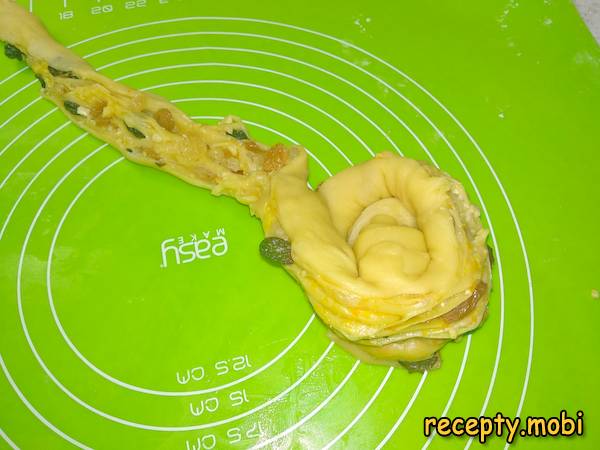
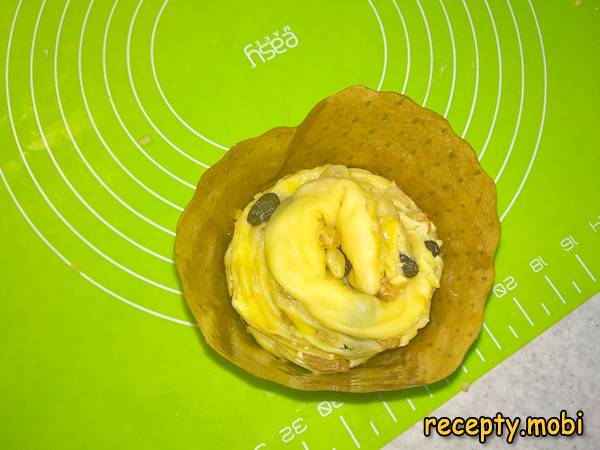
Wrap the second half of the log around in a circle, forming the walls. You get a "well"; tuck the free end inside, filling the centre. The layers and filling should be clearly visible.
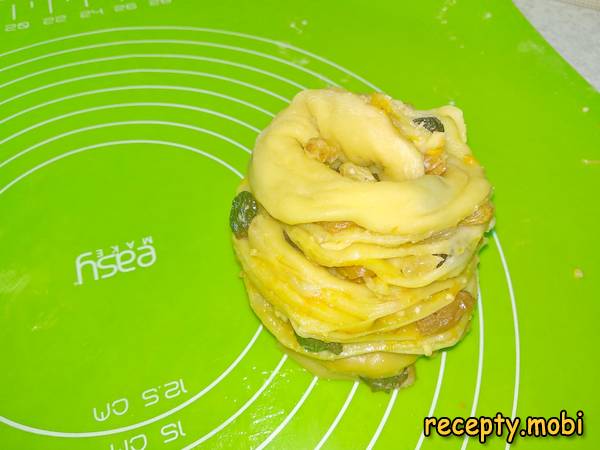
Carefully place the formed kraffin into the mould. If the mould is metal or silicone, it can be greased with vegetable oil.
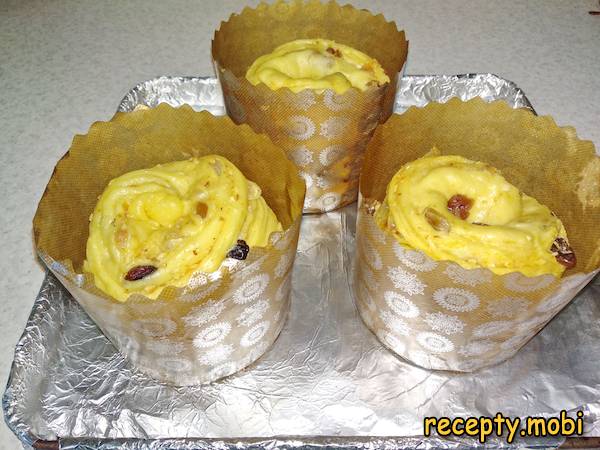
Cover the moulds with the dough with plastic wrap and leave them in a warm place for 30–40 minutes – the dough should increase in volume.
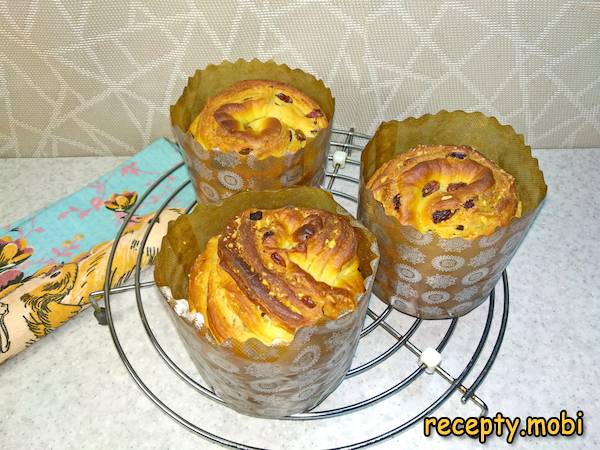
Bake in a preheated oven: first 10 minutes at 190 °C, then reduce to 180 °C and bake for another 30 minutes. To stop the top from burning, cover the mould with foil. Remove the finished kuliches from the moulds and cool completely on a wire rack. Before serving, decorate with powdered sugar.


Tips
- 1
All the ingredients MUST be at room temperature – cold ones "kill" the activity of the yeast and the dough will not rise.
- 2
Check the yeast by its "cap" after 5–10 minutes – no froth means old yeast, so replace it.
- 3
Keeping the cut side of the log on the outside when twisting is the "secret" to the beautiful visible layers in the finished kraffin. I use a similar principle in other layered yeast bakes.
- 4
Cover the top with foil in the oven if it browns too quickly – this will save the kuliches from burning.
Video
FAQ
Can I replace dry yeast with fresh yeast? +
Yes, use 18 g of fresh yeast instead of 6 g of dry yeast. Fresh yeast gives a slightly more "lively" flavour, while dry yeast is more convenient (it can be stored for a long time). Fresh yeast should be creamy in colour, without dark spots and without a strong "alcoholic" smell. Activate fresh yeast in warm milk the same way as dry – with sugar for 5–10 minutes until a "cap" forms. If there is no cap, the yeast is not active.
What nuts are best to use? +
Walnuts, hazelnuts and almonds are suitable – to taste. Walnuts are a classic for rich baking and give a "Russian-European" flavour. Hazelnuts are more aromatic, for an "Italian" touch. Almonds are delicate and elegant. You can mix them – 25 g of each. Lightly toast the nuts before adding them – the "secret" to releasing their aroma.
Can I use other dried fruits? +
Yes, add dried apricots, candied fruits or dried cherries – to taste. Dried apricots add an "orange" note, candied fruits add bright colourful pieces, and dried cherries add a touch of tartness. The main thing is the total weight of 100 g (the same as the raisins). You can make the "classic" version with raisins alone or experiment with mixtures. Always pour boiling water over the dried fruit for 15 minutes before using.
How long does a kraffin keep? +
It keeps for 3–4 days in an airtight container at room temperature. On the 2nd–3rd day the flavour is brighter – the aromas spread even better. You can freeze it for 1–2 months in plastic wrap – defrost in the wrap at room temperature for 3–4 hours. Before serving, warm it slightly in the oven (3–5 minutes at 100 °C) – this refreshes the flavour and aroma. Dust with powdered sugar only just before serving – it will be absorbed into the kraffin during long storage.
- Comment
or post as a guest
Be the first to comment.


