
avg —
Cottage Cheese Easter Cake
Instructions
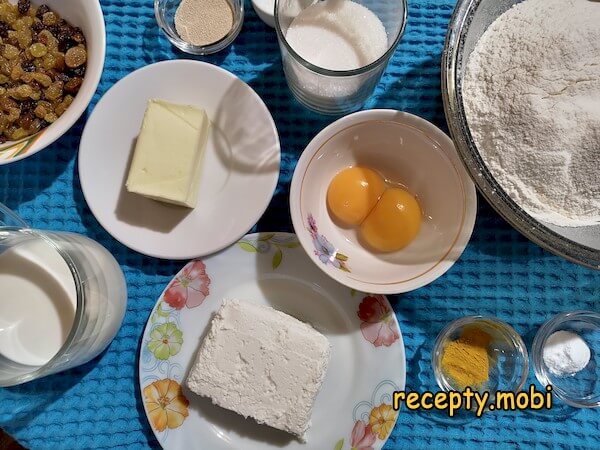
I prepare all the ingredients in advance, bringing them to room temperature 1–2 hours beforehand – cold products slow down the work of the yeast. I rinse the raisins (80 g) thoroughly under hot water, removing stems and debris – good raisins should be soft, with no mould or sour smell.
I pour boiling water over the rinsed raisins for 15 minutes and leave them until the water cools completely – this way they steam through, become juicy and will not draw moisture out of the dough. After steaming, the raisins swell to about 1.5 times their size.

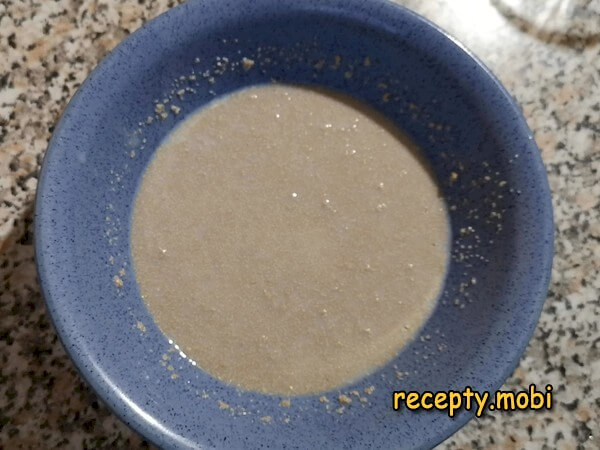
I put the dry yeast (8 g) into a deep container, pour in half of the warm milk (about 75 ml, temperature 38 °C) and add 2 tablespoons of sugar – the sugar will speed up the activation of the yeast. I stir until completely dissolved, cover with a towel and leave in a warm place for 10–15 minutes. A fluffy foam should appear on the surface – if there is none, the yeast is not fresh.
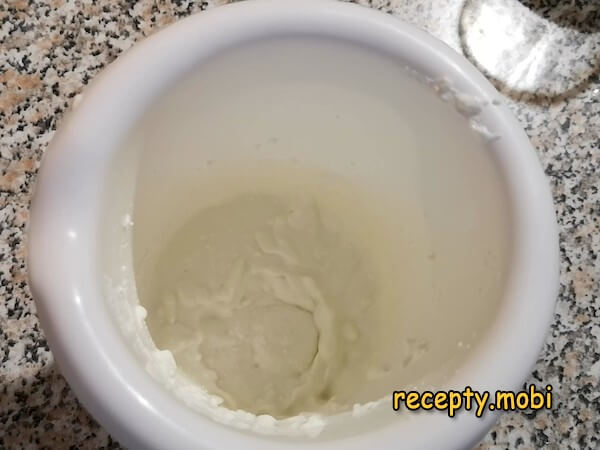
I pour 2 tablespoons of warmed milk over the cottage cheese (120 g) and blend it with an immersion blender until completely smooth – lumps of cottage cheese would give the cake an uneven structure. I use cottage cheese of any fat content, but 5–9% is ideal for the balance of flavour and texture. Fat-free cottage cheese makes the cake a little dry, while very fatty cottage cheese makes it too dense.
I beat 2 egg yolks with the remaining sugar (60 g) until they form a light, foamy mass, then add the vanillin (1 g), salt (3 g), turmeric (1/2 tsp) for a golden colour and the melted butter (80 g) at room temperature. I mix well – the mass should become smooth, yellowish and fragrant.

I pour the cottage cheese mass into the container with the activated yeast starter and mix thoroughly – the cottage cheese should be evenly distributed through the yeast base. The consistency will be like thick yoghurt.
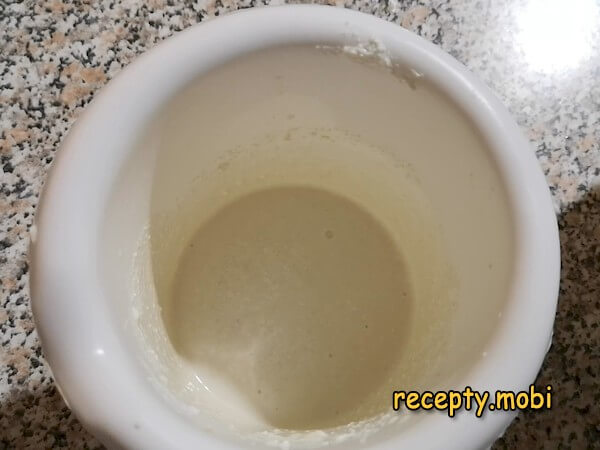
I add the cottage cheese-yeast mixture to the egg-and-butter mass and whisk thoroughly until smooth – all the liquid components should combine into a single emulsion. The mass will become fluffy and yellowish, with the aroma of vanilla and butter.

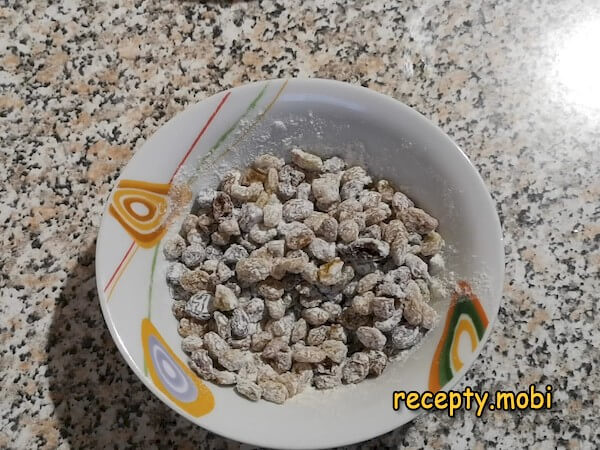
I drain the water from the steamed raisins through a sieve and pat them dry on a paper towel. I add 1 tablespoon of flour from the total amount and stir – the flour will create a protective coating that keeps the raisins from sinking to the bottom of the cake during baking.
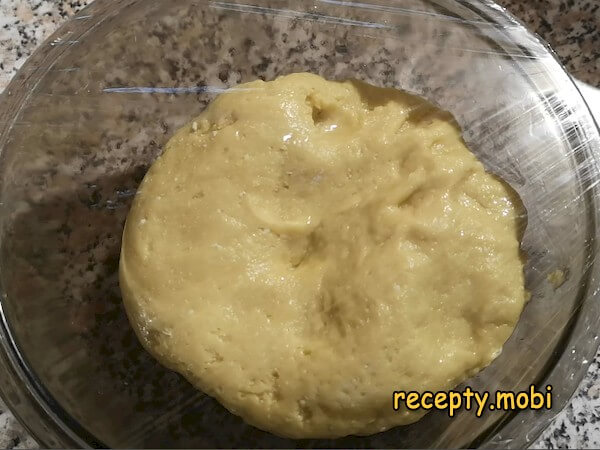
I add the sifted flour (400 g) in small 50 g portions to the liquid mixture, kneading first with a spoon and then by hand greased with vegetable oil – the oil prevents the dough from sticking. I knead for 4–5 minutes until smooth and uniform. I transfer it to a greased container, cover with cling film and leave for 1 hour in a warm place – the dough will double in size.
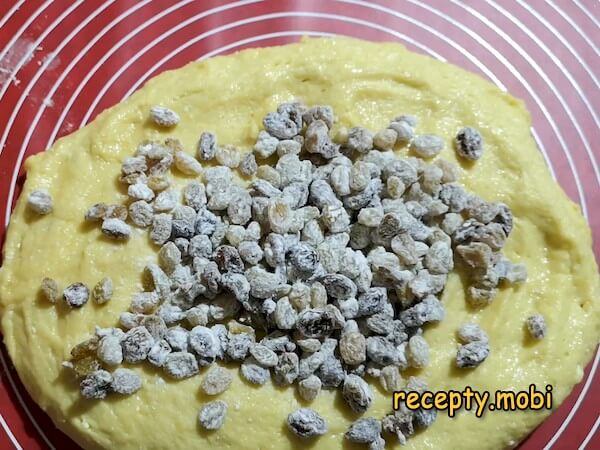
I turn the risen dough out onto an oiled work surface and place the flour-coated raisins on top of it – it is better to spread the raisins evenly over the whole surface of the dough.
I work the raisins into the dough with gentle movements, trying not to crush the berries – I fold the dough like an envelope, press it down with my palm, then fold again. This way the raisins are distributed evenly without tearing the dough.

I divide the dough between the cake moulds, filling them to 1/3 of their height – leaving room for it to rise during baking. I put them in a warm place away from draughts (by the radiator or in a switched-off oven), cover with a towel and leave for 1.5 hours to prove – the dough should rise to the rim of the mould.

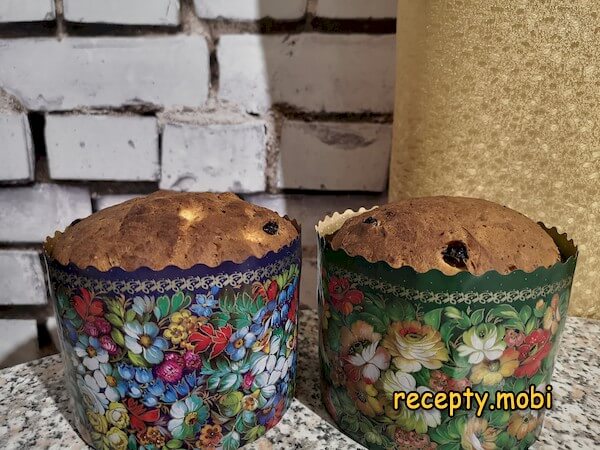
After 1.5 hours the dough rises to the rim of the moulds – a sign that you can start baking. If it has risen less, leave it for another 20–30 minutes, but do not over-prove it – over-proved dough can collapse when it goes into the oven.

I move the moulds onto a baking sheet and put them into an oven preheated to 170–180 °C for 30 minutes. For the first 20 minutes I do not open the oven – a sharp change in temperature would make the cake collapse. I check it is done with a wooden skewer in the centre – it should come out dry, with no traces of raw dough.

I take the finished cakes out of the oven and leave them in the moulds for 10 minutes, then carefully remove them and lay them on their side on a soft towel to cool completely – this keeps the top from sinking. I let them cool for at least 2 hours before glazing.
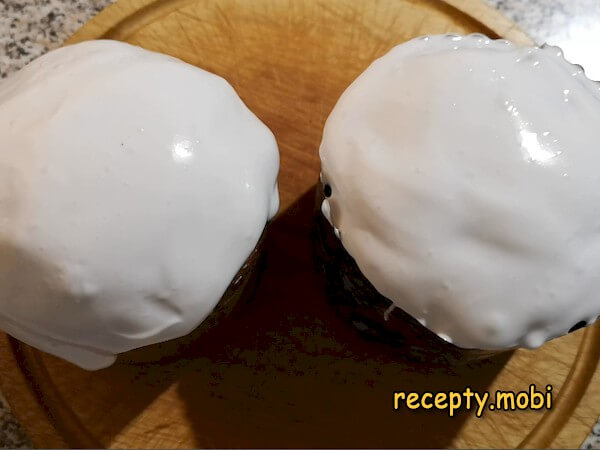
I coat the fully cooled cakes with protein glaze (1 egg white + 100 g icing sugar + 1 tsp lemon juice, beaten into a thick white mass) or with ready-made gelatine glaze – the latter does not crumble when sliced. I apply the glaze in an even layer over the top of the cake, letting it run down the sides a little.
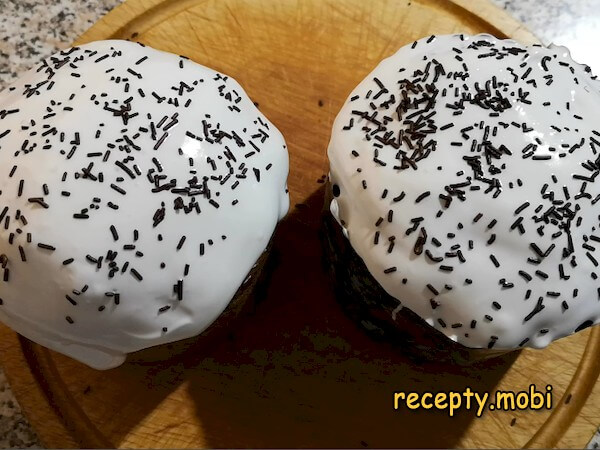
While the glaze is still wet, I sprinkle on bright confectionery topping, desiccated coconut or grated chocolate – the decoration will stick firmly. I work quickly: protein glaze starts to set after 1–2 minutes.
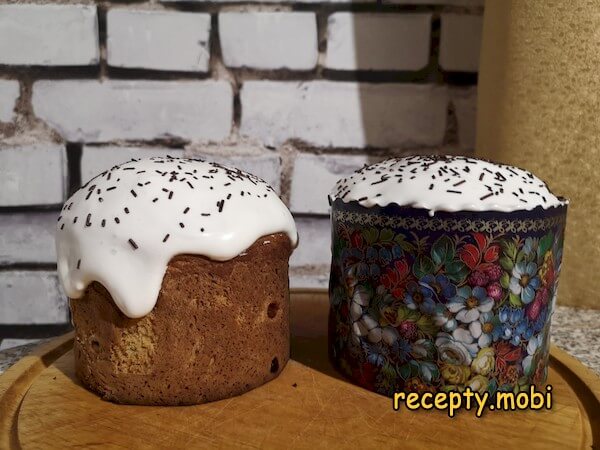
The homemade cottage cheese Easter cake is ready! I leave it at room temperature for 12 hours so the glaze sets completely and becomes crisp. Wishing you a bright Easter!


Tips
- 1
You can use cottage cheese of any fat content for the cake, but 5–9% gives the best result – a fattier cheese makes the crumb more tender and fragrant. Be sure to blend it until smooth, otherwise lumps will remain in the dough.
- 2
Turmeric (1/2 tsp) gives the cake its distinctive golden colour and a light, spicy aroma – without it the cake will be pale. You can replace it with 2–3 threads of real saffron soaked in warm milk for 10 minutes.
- 3
Always coat the raisins in flour – without this the berries will sink to the bottom of the cake during proving and baking. This simple homemade trick works for raisins, candied fruit and nuts alike.
- 4
Homemade cottage cheese cakes stay fresh much longer than classic rich ones – thanks to the cottage cheese they do not go stale for 5–7 days. Store them in cling film at room temperature.
FAQ
Can I use grainy cottage cheese for the cake? +
Yes, but be sure to rub it through a sieve twice or blend it with an immersion blender until absolutely smooth – grains of cottage cheese in the dough will give an uneven crumb structure and may burn in the oven. The best option is soft, paste-like cottage cheese, ready to use without any extra processing. It spreads evenly through the dough and gives a silky texture. Sweetened cottage cheese mass with additives is not suitable – the sugar and flavourings will upset the balance of the recipe.
Why did the cottage cheese cake crack on top? +
The main reasons are: too high an oven temperature (bake at 170 °C, no higher than 180 °C); insufficient proving (the dough did not rise fully and keeps growing inside, tearing the crust); an over-dried top (place a bowl of water in the oven or cover the cake with foil for the first 20 minutes). Another cause is too much flour: the dough is too dense and does not stretch as it expands. Light cracks are normal and even add to the cake's homemade charm.
How long do cottage cheese Easter cakes keep? +
In cling film or an airtight bag at room temperature the cakes stay fresh for up to 7 days thanks to the cottage cheese, which retains moisture in the crumb. In the fridge the shelf life increases to 10 days, but the crumb may firm up slightly – warm it in the microwave for 15–20 seconds before serving and it will become soft again. I do not recommend freezing cottage cheese cakes – when defrosted the cottage cheese can separate and the texture will suffer.
What can replace the egg yolks in a cottage cheese cake? +
You can use 1 whole egg instead of 2 yolks – the cake will be a little less yellow and lighter in structure. For a leaner version, replace the yolks with 4 tablespoons of banana puree or 2 tablespoons of sour cream – the flavour will change, but the texture will stay soft. Do not throw away the egg whites left from the yolks – use them to make protein glaze (100 g icing sugar + 1 tsp lemon juice + beat into a fluffy mass). This is the classic homemade glaze for the cake.
- Comment
or post as a guest
Be the first to comment.


