
avg —
Chiffon Cake
Instructions
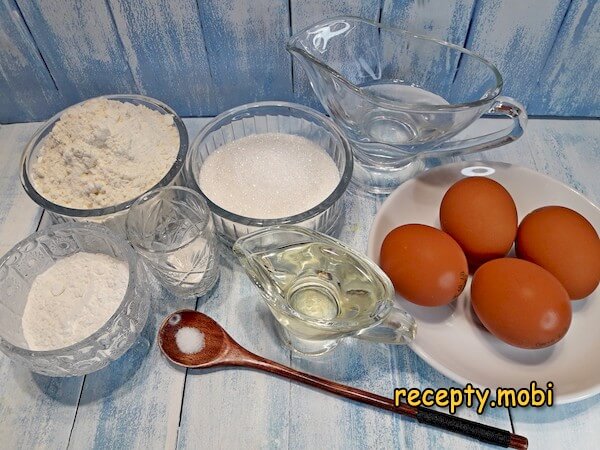
I prepare the ingredients for the chiffon sponge. Corn starch is the better choice – it is lighter and doesn't carry the slight off-aroma that potato starch can introduce, so the finished crumb keeps a clean vanilla-and-egg scent with no extraneous notes.
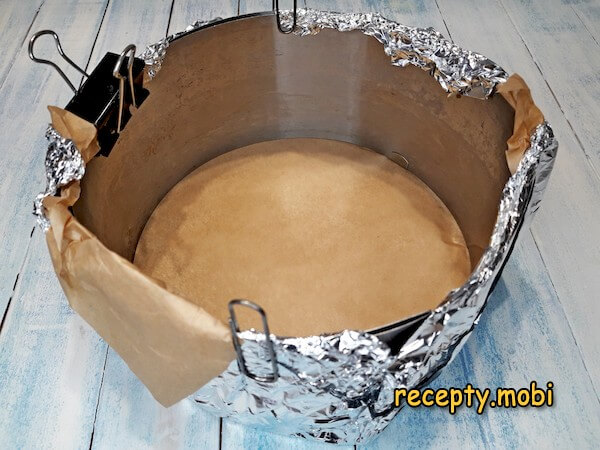
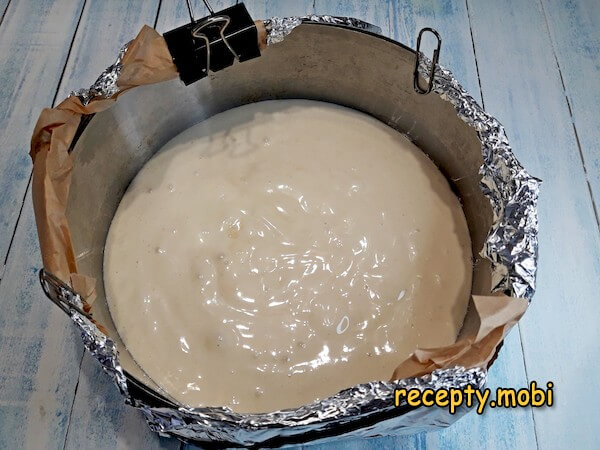
I bake this tender sponge in a not-too-hot oven – I set the temperature to 170 °C with both top and bottom heat and no convection. I line the bottom of the springform ring with parchment and additionally reinforce it, together with the sides, with foil – the batter is thin and can leak without this seal.
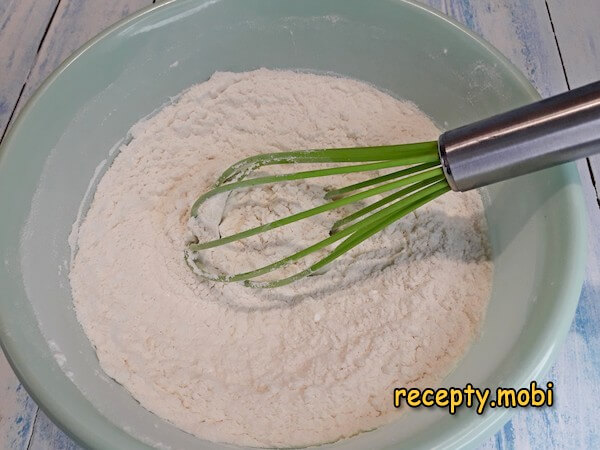
In a separate bowl, I whisk the flour, baking powder, and starch together so the dry ingredients are distributed evenly and won't leave lumps of leavening when sifted into the batter.
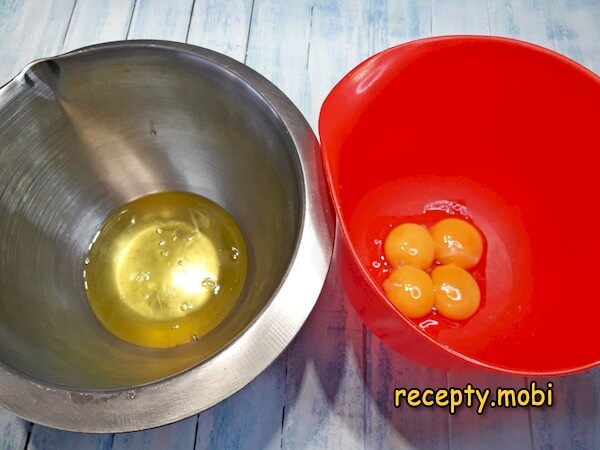
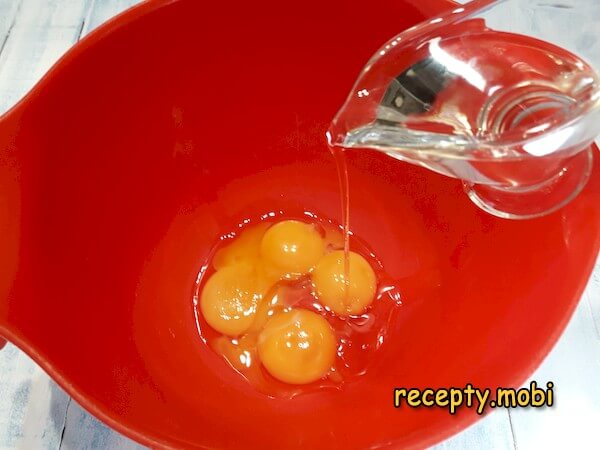
I separate the whites and yolks into different bowls. I separate the yolks carefully – not a drop of yolk should get into the whites, or they won't whip to stiff peaks because of the fat.
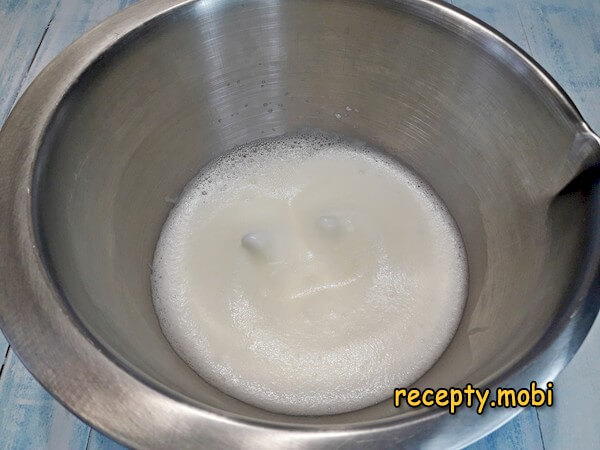
I whip the whites with a pinch of salt to a soft foam. The salt is not for flavour – it stabilises the protein structure and helps reach the peaks faster. The bowl and whisk must be strictly dry and grease-free.
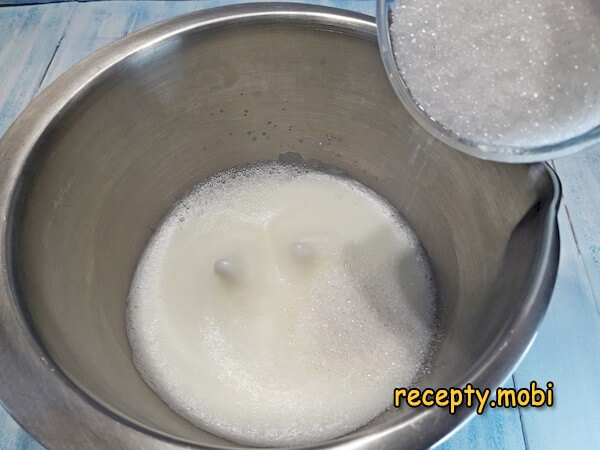
I add the sugar in several additions and keep the mixer running at high speed. Adding the sugar gradually gives the crystals time to dissolve, so the meringue turns out smooth and glossy with no grittiness on the teeth.
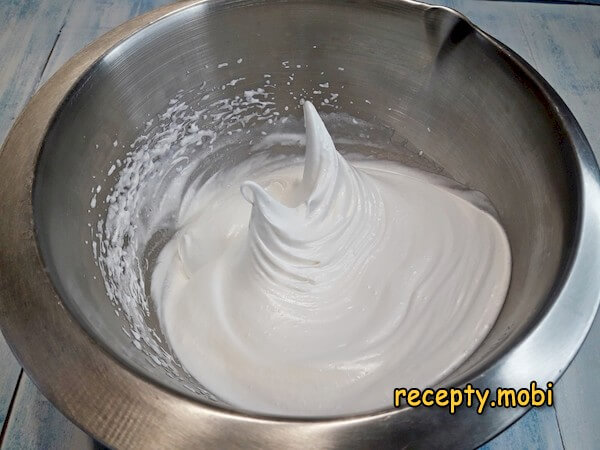
After about 5-7 minutes the whites firm up to stiff peaks. I check by turning the bowl over – correctly whipped whites won't shift even a millimetre and form a sharp little beak on the whisk.
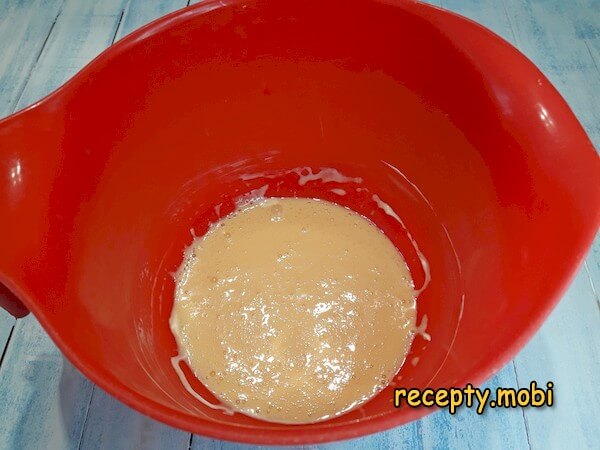
I add the vegetable oil to the yolks – it is the oil, not butter, that gives chiffon sponge its characteristic moist, fluffy texture even after cooling.
I whisk the mixture thoroughly – the yolks should combine completely with the oil into a uniform, pale-yellow emulsion with no visible streaks of fat.
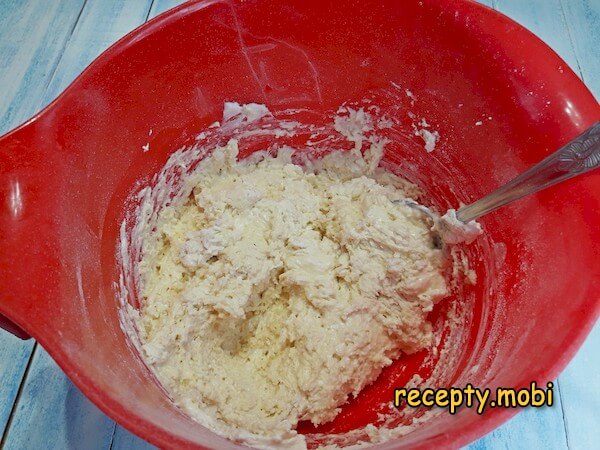
I add one-third of the whipped whites and combine everything with the mixer on low speed – this portion is "sacrificial", it loosens the dense yolk mixture and prepares it for the gentle folding of the main part of the meringue.

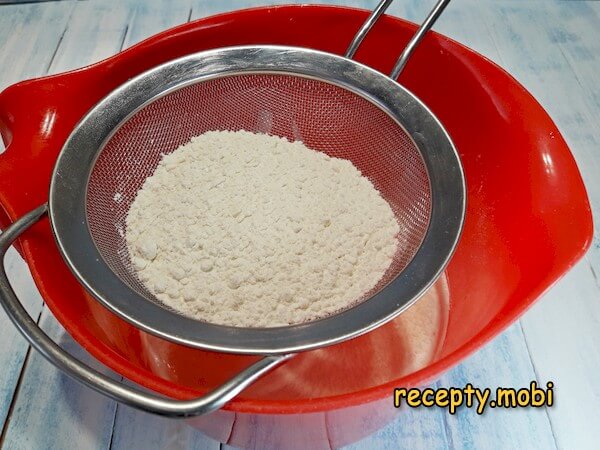
I sift the flour mixture into the resulting mass through a fine sieve. Sifting enriches the flour with oxygen – in the finished sponge this gives extra porosity and a tender crumb.
I mix with a spoon, folding from the bottom up – vigorous mixing would destroy the air bubbles in the batter, and the goal is to keep as many of the air pores as possible.
I bring the measured amount of water to a boil in the microwave or on the stove and pour it into the batter. This is the recipe's "secret" step – the hot water gelatinises some of the starch and sets the structure of the batter even before baking.
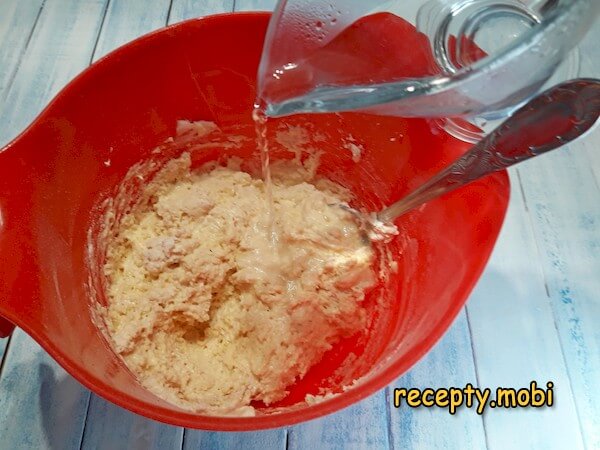
I distribute the boiling water through the whole batter with careful stirring movements – it matters to do this quickly, while the water is still hot and working on the structure.
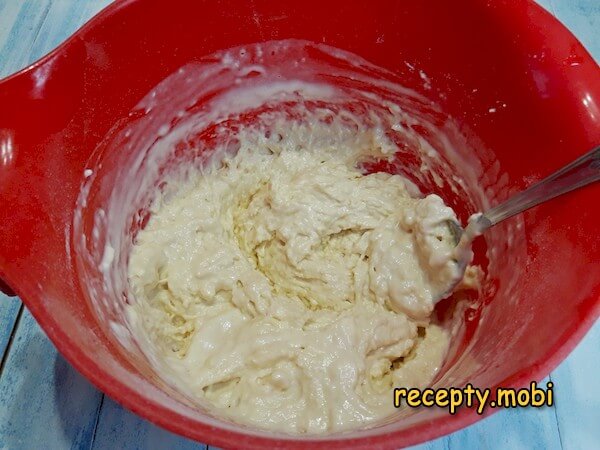
I add the remaining whites in two batches and mix the mass with a spatula, making careful folding movements to keep as many of the air bubbles as possible – they are held in the whipped whites. The result is a fluffy batter that flows off the spatula lazily in a thick ribbon.

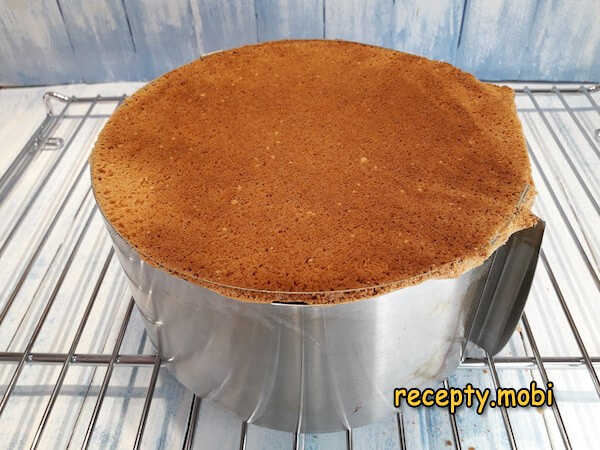
I pour the batter into the pan and set it on the middle oven rack. I tap the pan on the table once or twice to burst any large air pockets that formed by chance, otherwise the sponge will bake with holes.
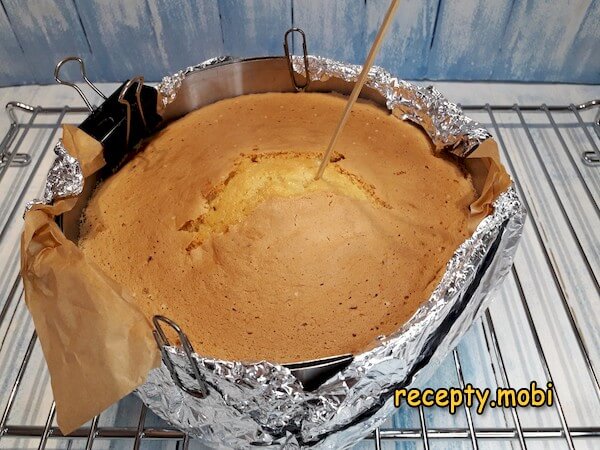
The approximate baking time is 35 minutes. I check the sponge for doneness with a wooden skewer – after a deep poke it should come out dry. I leave the sponge in the oven for another 5 minutes with the door slightly open – this prevents "sinking" from an abrupt change in temperature.
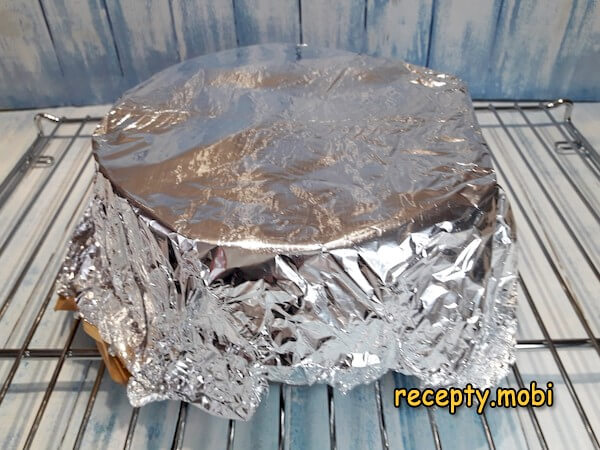
Next I turn the pan upside down onto a cooling rack – this is an essential step for chiffon sponge, it holds the structure and stops the crumb from sinking under its own weight as it cools.
After 10 minutes I remove the foil and parchment – by now the damp parchment has given up its excess moisture and peels away easily from the surface of the sponge.
After another 10 minutes I run a sharp long knife around the edge of the pan, releasing the sponge from the surface. I take the pan off – the tall, porous sponge is ready for its final cooling.
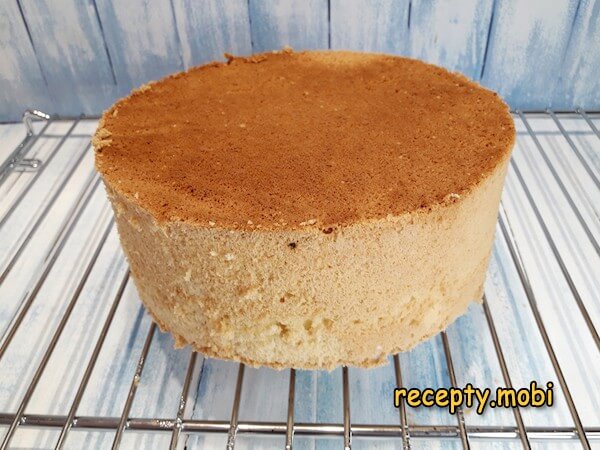
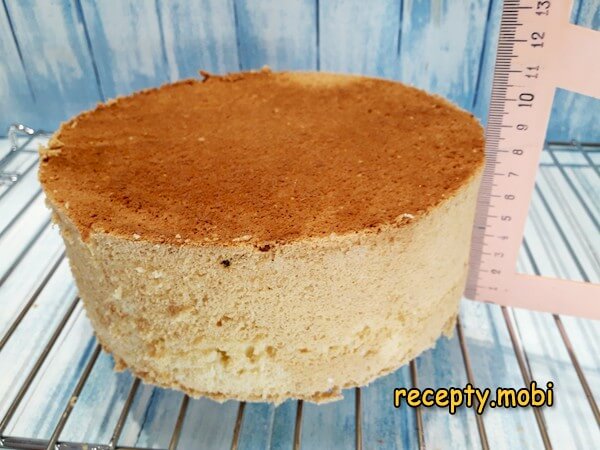
I leave the sponge to cool to room temperature. Its final height is 8 centimetres – a tall sponge like this is convenient to divide into 3 to 5 thin layers for a cake.
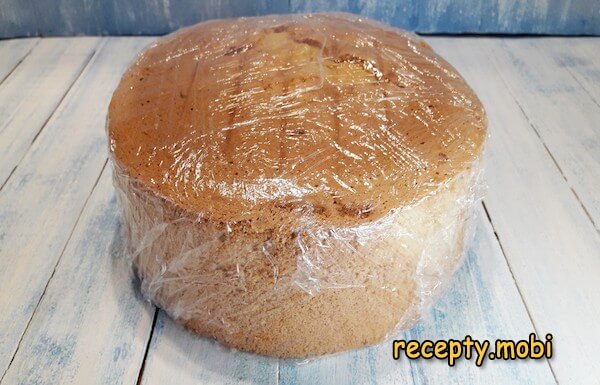
Now I wrap the tall sponge in plastic film and put it in the fridge for at least 2 hours. After this the sponge becomes even more moist and is easier to divide into the number of layers you need, with even, crumb-free cuts.If you like, the chiffon sponge can be cut not only into 3 layers but into 4 or 5, depending on the cake you have in mind. The moist layers go straight under the cream – they need no soaking in any syrup. This recipe can fairly be called "problem-free" – it always turns out, and it never fails.


Tips
- 1
CORN STARCH – the "secret" to a neutral aroma. Potato starch gives a slight "floury" note and weighs down the crumb. Corn starch is neutral in smell and lighter, so the finished sponge stays fragrant and fluffy. The same approach works in Angel Cake, where nothing should overpower the aroma of the meringue.
- 2
BOILING WATER IN THE BATTER – the "secret" to a moist texture. The hot water gelatinises the starch and sets the porous structure of the batter even before the oven. Without this step the sponge comes out dry and crumbly; with it, the crumb is tender, moist, and needs no soaking.
- 3
COOLING UPSIDE DOWN – the "secret" against sinking. Chiffon sponge cools only in the inverted pan – this way gravity works against shrinkage and holds the porous structure. On the rack, still in the pan, the sponge stays a steady 8 cm tall and doesn't fall.
- 4
ADDING ZEST – the "secret" to aroma. It is easy to make a fragrant version based on this recipe – following the principle of orange sponge, I add the zest of one orange or lemon to the batter. The citrus aroma opens up in the hot crumb and stays after cooling.
FAQ
How is chiffon sponge different from a classic one? +
A classic sponge is made of three ingredients – eggs, sugar, and flour – and the texture turns out airy but rather dry, requiring obligatory soaking in syrup before assembling the cake. Chiffon also has vegetable oil, water, baking powder, and starch – it is exactly these components that make the crumb moist, dense, and fluffy at the same time. A chiffon sponge needs no soaking and holds its shape more reliably after being cut into thin layers.
Why does chiffon sponge sink after the oven? +
The main cause is abrupt cooling or taking it out of the pan too soon. Chiffon sponge must be cooled in the inverted pan on a rack for at least 30 minutes – gravity works against shrinkage and holds the porous structure. The second cause is an un-preheated oven or opening the door during the first 25 minutes of baking; the change in temperature makes the air bubbles collapse. The third is poorly whipped whites that haven't reached stiff peaks.
Can I replace the vegetable oil with butter? +
I don't recommend it – it is the vegetable oil that gives chiffon sponge its signature texture. Butter contains milk proteins and water, and on cooling it hardens, so the crumb becomes dense and heavy and loses its porosity. Vegetable oil stays liquid at any temperature, so the crumb keeps its tenderness and moisture even straight from the fridge. If you really want a buttery aroma, you can melt a little butter and add it together with the vegetable oil in a one-to-three ratio.
How do I cut a tall sponge into even layers? +
The most convenient tools are a long smooth knife or a special cake-levelling wire. I chill the sponge in the fridge for 2 hours in film beforehand – the moist crumb firms up and cuts evenly without crumbs. I make marks with toothpicks around the perimeter at the required height – they serve as guides. I cut with shallow movements, turning the sponge on the board around its axis. From an 8 cm sponge you get 3 to 5 even layers, depending on what you have in mind.
- Comment
or post as a guest
Be the first to comment.


