
avg —
Sponge Cookies in the Oven
Instructions
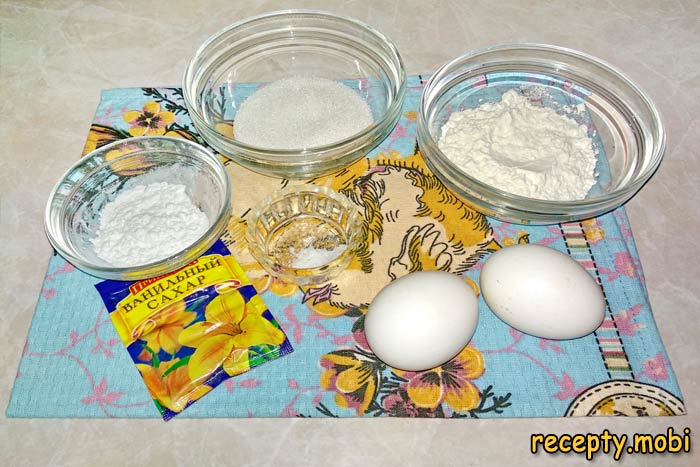
I switch the oven on to 180°C to preheat – it takes 10–15 minutes to heat through fully. I lay out the products on the work surface: the eggs must be at room temperature (warm eggs whip better), along with sifted flour, starch, sugar and salt. Take the eggs out of the fridge 30–60 minutes before cooking so they warm up.
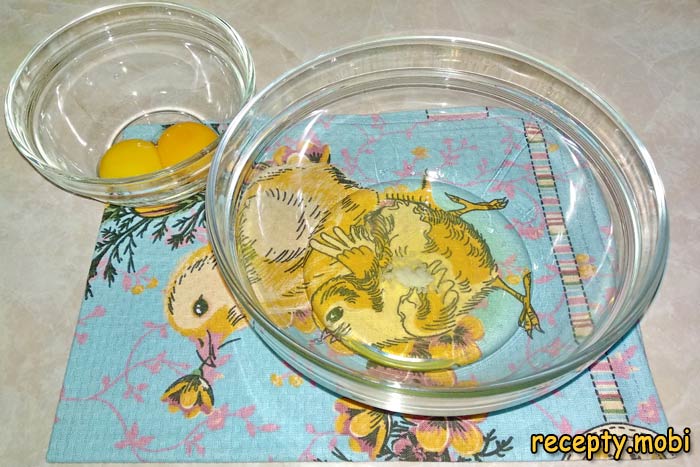
I carefully separate the eggs into whites and yolks: the whites go into a clean, dry, grease-free bowl, the yolks into a separate one. The slightest drop of yolk or fat in the whites will stop them whipping into foam – this is the rule for every sponge recipe. I add a pinch of salt to the whites, as it stabilises the foam.
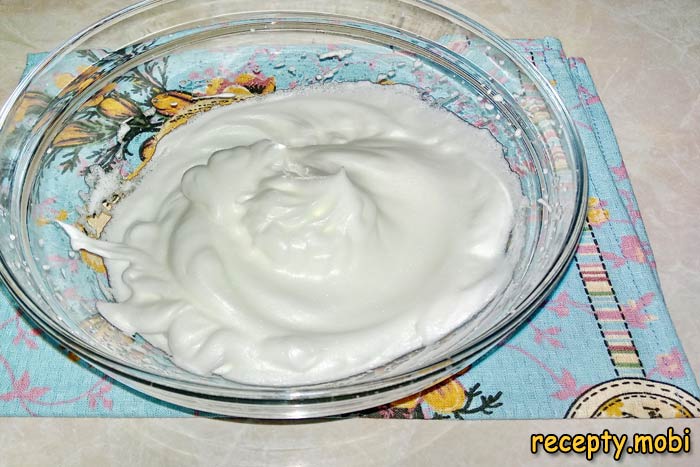
I whip the whites with a mixer at maximum speed for 2–3 minutes until a firm, stable foam forms – it should hold on the beaters in a peak. I add half the sugar (25 g) and keep whipping for another 1–2 minutes until the mass is glossy and stable. This is the base of the airy batter.
In a separate bowl I whip the yolks with the remaining sugar (25 g) and the sachet of vanillin for 3–5 minutes until fluffy and pale. The yolks should triple in volume and turn pale – that means there is enough air in them. Without airy yolks the batter will be dense.
I add the whipped whites to the yolks in 2–3 stages, gently folding them in with a silicone spatula using bottom-to-top movements to keep the air in. Do not use a mixer at this stage – it will knock all the air out of the batter. Care is the key to airy sponge cookies.
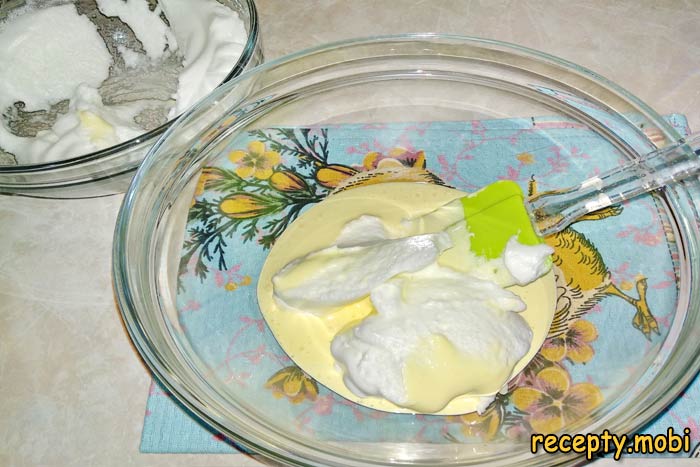
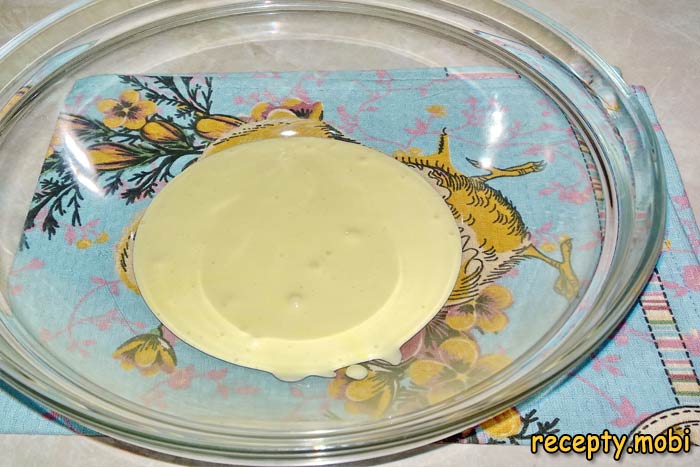
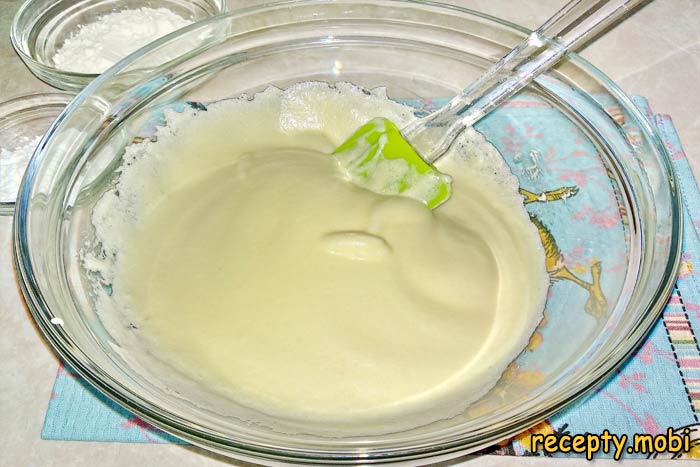
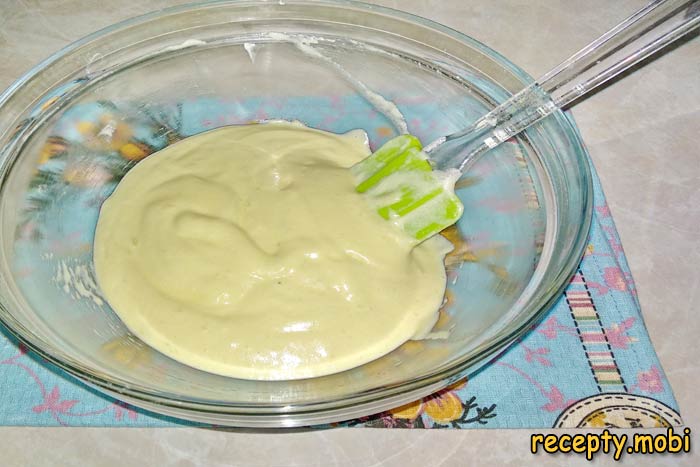
The finished mass should be smooth, pale yellow and airy – a cloud-like consistency. If the mass is dense and flat, the air has been knocked out during mixing and the cookies will turn out dense too. Do not overwork it at this stage.
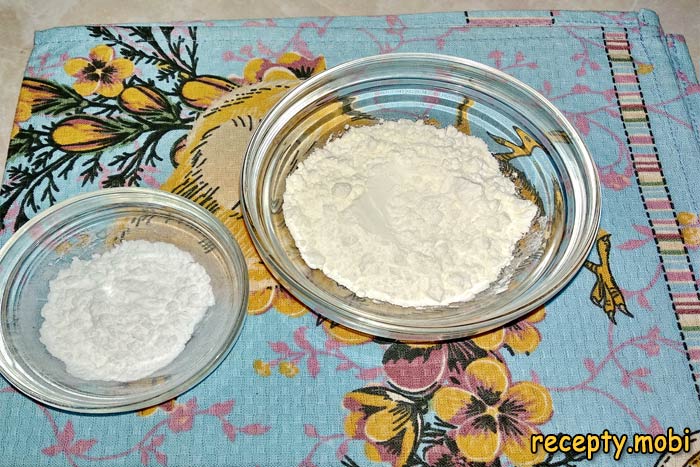
I mix the flour (50 g) with the starch (10 g) and sift the mixture through a fine sieve twice – sifting saturates the flour with oxygen and removes any lumps. Double sifting is a professional baker's trick for airy sponges. The starch in the mix gives the cookies a more tender structure.
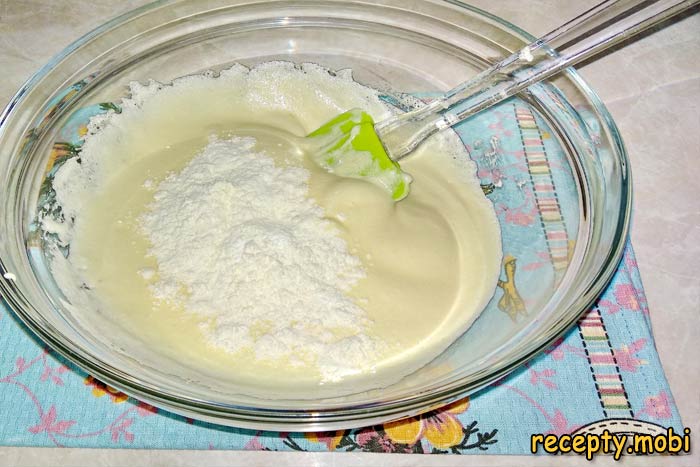
I add the dry ingredients to the airy egg mass in 2–3 stages, gently folding them in with the spatula using bottom-to-top movements. Do not stir for long – the flour should be evenly distributed, but the air must not be knocked out of the batter. Ideally, 30–40 seconds for each addition of flour.
The finished batter should be light, airy, stretchy and flow slightly off the spatula – this is the perfect consistency for sponge cookies. Too thick and they will be heavy when baked; too runny and they will spread on the tray. Use it straight away, as the batter does not like waiting.
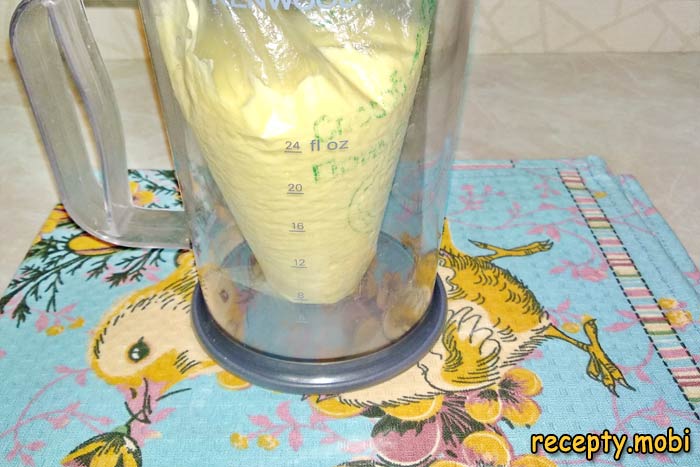
I transfer the batter into a piping bag with a 1 cm round nozzle, or simply into a plastic bag with a 1 cm corner cut off. This lets you pipe neat, evenly sized oblong sticks. Without a bag you can spoon it out – but the shape will be less tidy.
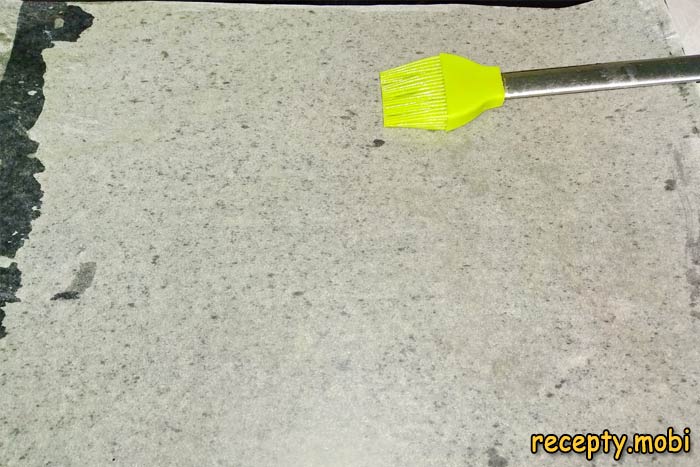
I line the baking tray with parchment paper (good quality, so the batter does not stick) and lightly grease it with butter or vegetable oil to be safe. On cheap parchment the cookies can stick and tear when you lift them off – use good-quality paper.
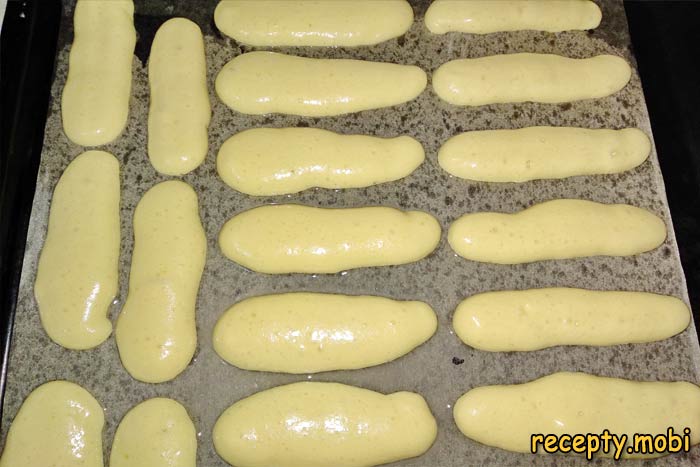
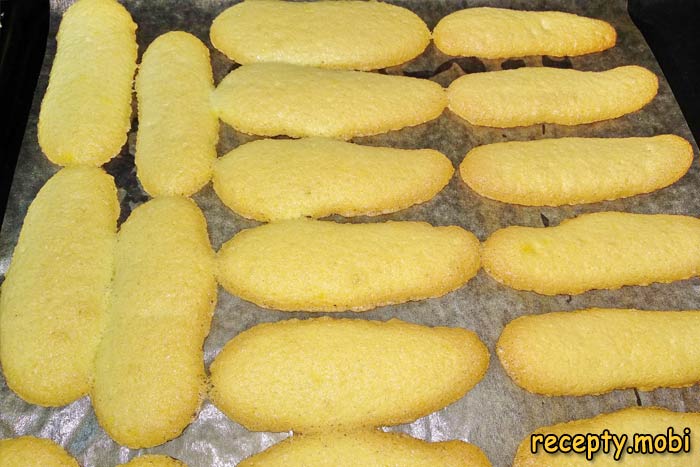
I pipe the batter from the bag into oblong sticks 6–8 cm long and 1.5–2 cm wide, 3–4 cm apart – the cookies will spread in the oven. I bake them for 12–15 minutes at 180°C until golden and springy to the touch. Do not open the door for the first 10 minutes – the batter will sink.
The finished cookies should be golden brown on top and springy when pressed with a finger – they bounce back. If your finger leaves a dent, they need another 2–3 minutes in the oven. I also check with a skewer, which should come out dry.
I let the cookies cool completely on the tray for 10–15 minutes (hot cookies break when lifted off), then dust them with powdered sugar through a sieve for a classic snowy finish. You can also decorate them with chocolate glaze, berry jam or cream, or simply serve them as they are with tea and coffee.
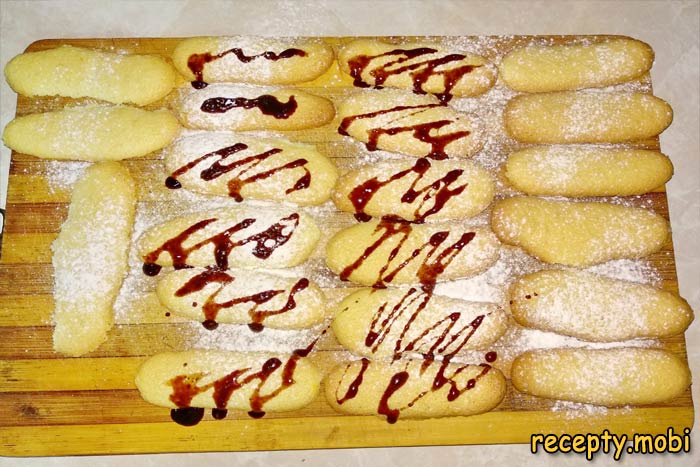
The sponge cookies in the oven are ready! I serve them in a pretty glass dish or on a serving plate with tea, coffee, cocoa or milk. They are ideal for tiramisu (savoiardi) – soak them in coffee and layer them with mascarpone for the classic Italian dessert.


Tips
- 1
Sift the flour and starch twice – this saturates them with oxygen and makes the batter much airier, so the cookies turn out souffle-like.
- 2
Do not stir the batter too vigorously – the air from the whipped whites will escape and the cookies will come out flat and dense.
- 3
Choose the shape of the cookies to your taste: the classic oblong ladyfingers, round drops, swirls and rosettes. I make savoiardi for tiramisu on a similar principle.
- 4
Add 1 tbsp of cocoa powder for a chocolate version, or the zest of half a lemon for a lemon one – simple variations on the classic cookies.
FAQ
Why don't my sponge cookies rise? +
There are three main reasons: the whites are not whipped firmly enough (you need stable peaks), the batter is over-mixed (the air has been knocked out), or the oven is not hot enough (it must be exactly 180°C, preheated for at least 15 minutes). Another cause is old eggs: fresh ones whip better. Warm, room-temperature eggs whip twice as well as cold ones – be sure to take them out an hour before cooking. Do not open the oven during the first 10 minutes of baking, as the sudden change in temperature will make the cookies sink.
Can I make them without starch? +
Yes, the starch can be replaced with the same amount of flour (10 g) – the texture will be a little denser, but the cookies will still work. Cornstarch instead of potato starch is also fine and gives a more springy structure. For a gluten-free version, use rice flour and starch in a 50/50 ratio and your gluten-free sponge cookies are ready. The cookies will not work without starch or flour – you need a thickener for the structure. The main thing is to keep the proportion of 60 g of dry ingredients to 2 eggs.
How long do the finished cookies keep? +
Sponge cookies keep for up to 5–7 days at room temperature in a tightly closed tin or container. Do not store them in plastic bags – the cookies go soggy and lose their crisp crust. The ideal option is a metal box with a lid and a sheet of parchment between the layers of cookies. You can freeze the finished cookies for 1 month in an airtight bag – thaw them completely at room temperature before eating. For long storage you can crisp them up again in the oven at 100°C for 5 minutes to restore the crunch.
Can I use the cookies for tiramisu? +
Yes, this is the classic use for sponge ladyfingers (savoiardi) – the Italian dessert tiramisu is made from exactly these. For tiramisu the cookies should be slightly dried out and porous (like shop-bought savoiardi) so they soak up the coffee well. If your cookies are too soft, dry them in the oven at 100°C for 5 minutes. Dip each cookie for 1–2 seconds in cold strong espresso with Amaretto or Marsala, lay a layer in the dish, and cover with a cream of mascarpone, eggs and sugar. Repeat the layers and the tiramisu is ready.
- Comment
or post as a guest
Be the first to comment.


