
avg —
French meringue at home
Instructions
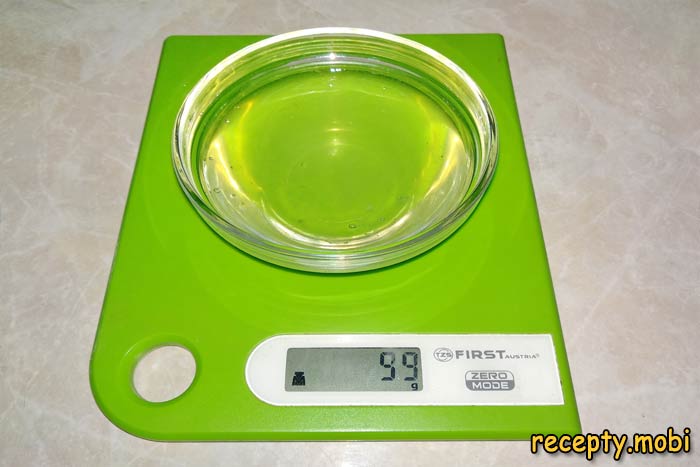
I prepare fresh eggs (3 pcs., no more than 7 days old). Freshness is crucial for a fluffy meringue – old eggs give a weak foam. CRITICAL STEP: I separate the whites from the yolks very carefully – even the tiniest drop of yolk will bring down the whipped mass. Use 3 bowls: 1 to separate each egg individually, 1 for the whites and 1 for the yolks. If yolk gets in, that egg does not go into the whites.
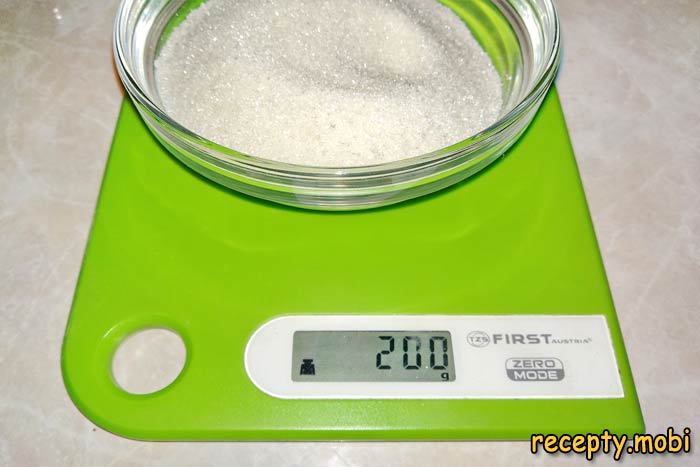
I weigh the whites – there should be 100 g (about 3 large whites). This is the "golden" rule of French meringue – the white-to-sugar ratio is 1:2 (200 g of sugar per 100 g of whites). Use kitchen scales for accuracy. Use fine granulated sugar (NOT icing sugar) – large crystals will not dissolve in the whites and will spoil the texture.
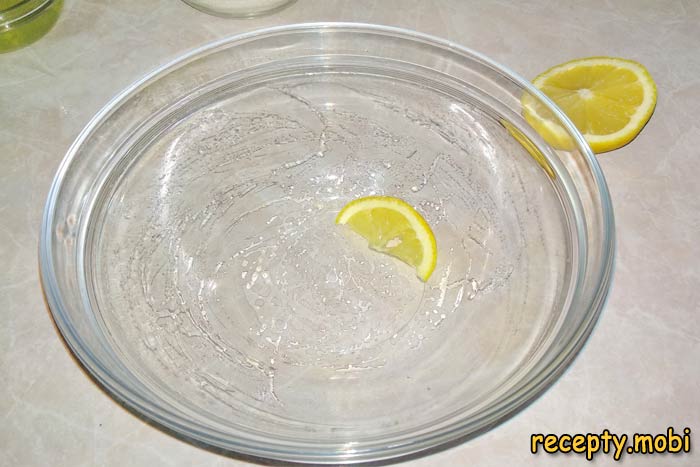
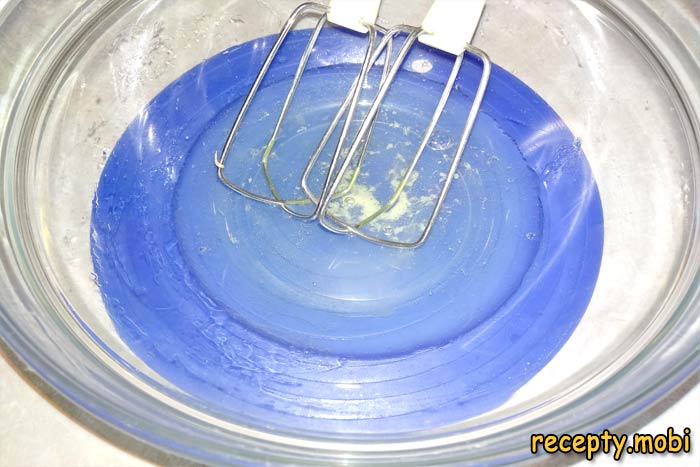
I prepare the mixing bowl – it is critically important for success. The bowl must be glass, ceramic or metal (stainless steel). Plastic is not suitable – it absorbs grease, which will bring down the meringue. I wash it thoroughly and wipe it dry. To be sure, I degrease it: I cut a slice of lemon and wipe the inside surface of the bowl and the mixer whisk with it.
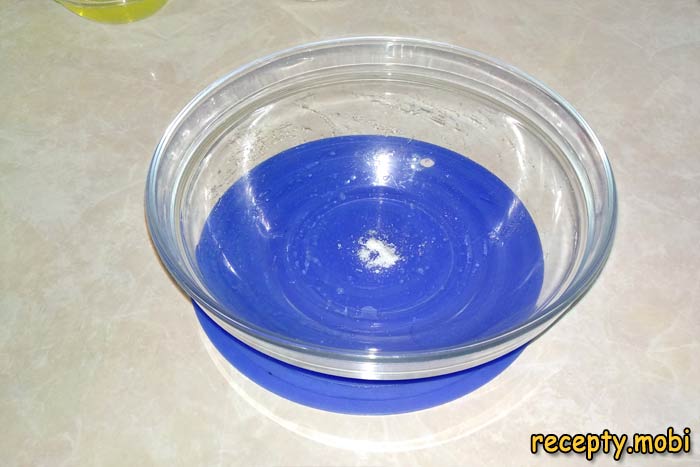
I put 1 pinch of salt on the bottom of the bowl. The salt will stabilise the whites and help them whip into a firm foam faster – a tried-and-tested confectioners' trick. Without salt the whites take longer to whip and are less stable.
I transfer the room-temperature whites into the prepared bowl. CRITICAL STEP: warm whites whip BETTER than cold ones – the opposite of the popular misconception. Warm whites give a denser, fluffier foam. If the whites are straight from the fridge, warm the bowl with the whites over a water bath up to room temperature (18–22°C).
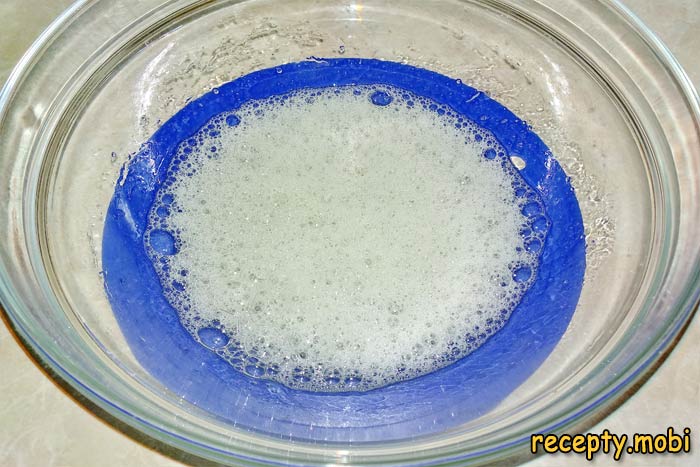
I start whipping the whites with a mixer on LOW speed for 1–2 minutes, to the texture of "sea foam" – tiny air bubbles. This is the "prelude" – do not raise the speed straight away, or the whites will not take in air. A gradual start gives a stable, fluffy foam.
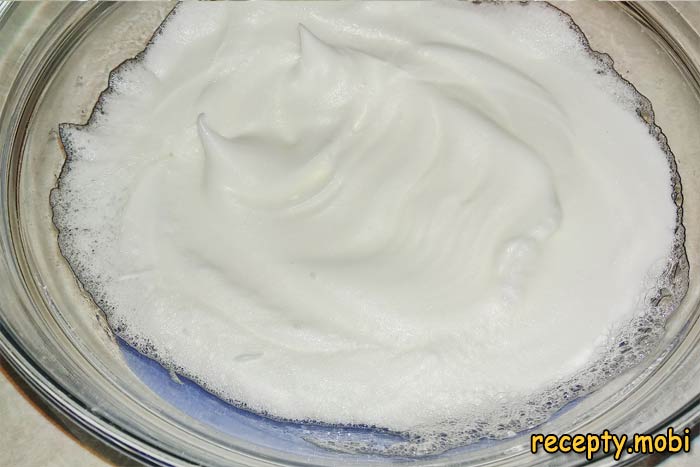
I switch the mixer to MAXIMUM speed and whip for another 2–3 minutes. You can see the mass has increased 4–5 times in volume and become dense. "Soft peaks" appear – the foam holds its shape, but the tips fold over when the whisk is lifted. This is the ideal moment to add the sugar.
CRITICAL STEP: WITHOUT STOPPING whipping at maximum speed, I start adding the sugar in a "rain" – a thin stream down the side of the bowl. Do not pour in all the sugar at once – it will deflate the whites and you will not be able to lift them again. Add the sugar gradually over 5–7 minutes so it dissolves in the whites.
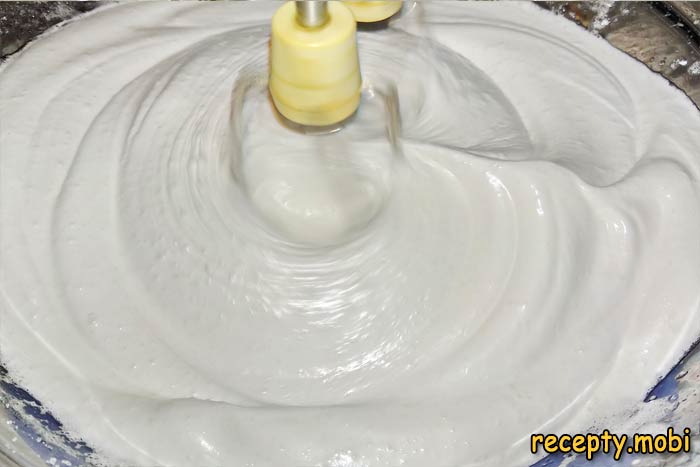
If desired, for a glossy texture I add a few drops of fresh lemon juice – it gives a lovely shine and stabilises the whites. I continue whipping for another 2 minutes after all the sugar has been added. IMPORTANT: after adding the sugar, whip for NO LONGER than 5 minutes – overdo it and the whites will collapse.

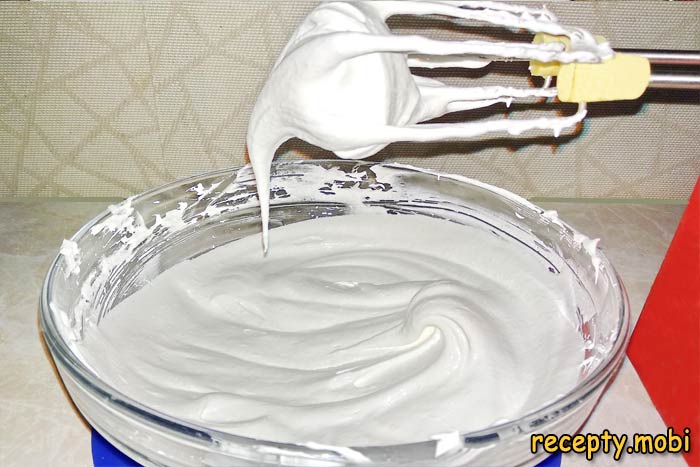
I check the meringue is ready in two ways. Method 1: I rub a pinch of the mass between my fingers – the sugar should be fully dissolved, with no grittiness. If you feel grains, whip for another 1–2 minutes. Method 2: "stable peaks" – turn the bowl upside down, and the finished meringue should stay in place and not flow. If it flows, keep whipping.
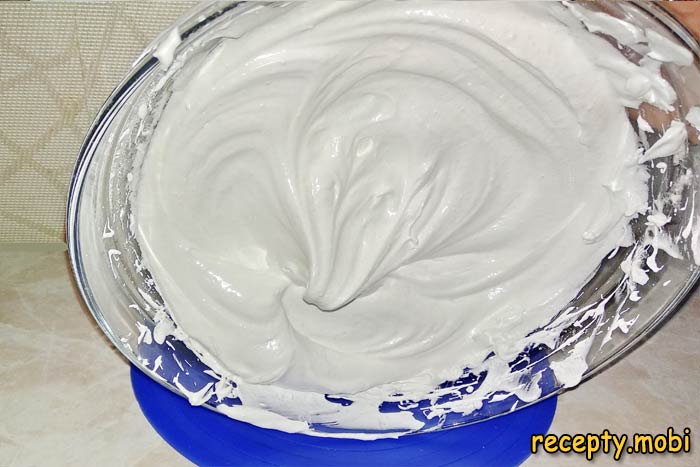
The finished meringue is a glossy, dense, snow-white mass with stable peaks. You can work with it further: shape decorations for cakes, bake small meringues, layer cakes, or cover Easter cakes. If desired, divide it into several parts and colour it with gel-based food colouring for multicoloured meringues.
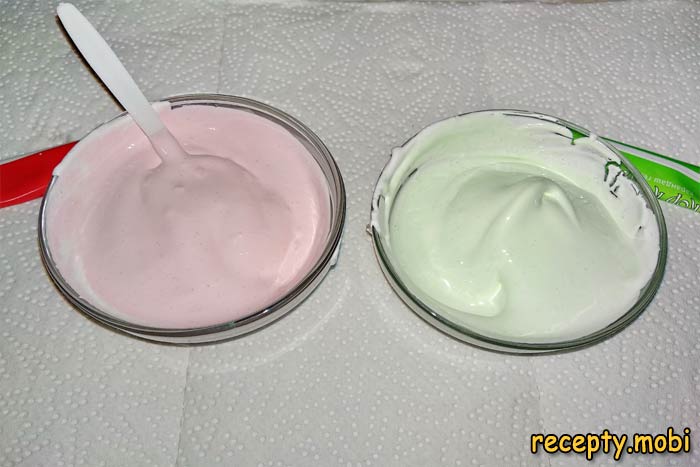
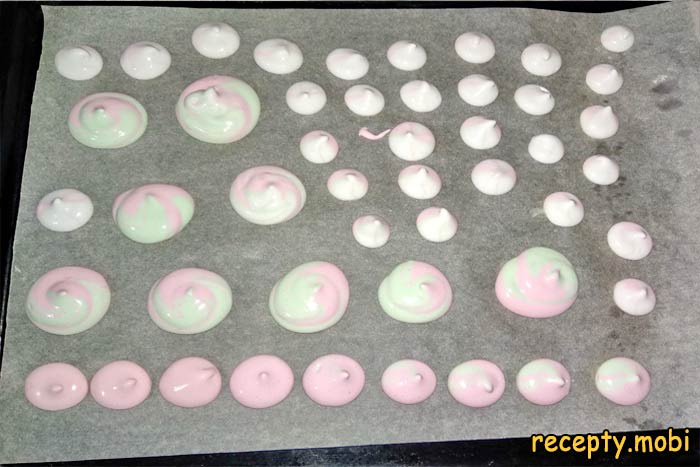
You can divide the meringue into several parts and colour it using gel-based food colouring.
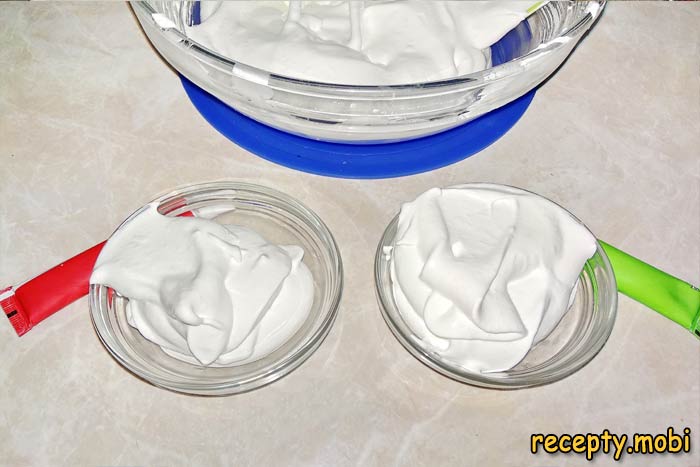
Add a few drops of food colouring to the white mass. Adjust the colour saturation to your personal liking.
For small meringues: I transfer the meringue into a pastry bag fitted with a round or star nozzle of 8–10 mm.
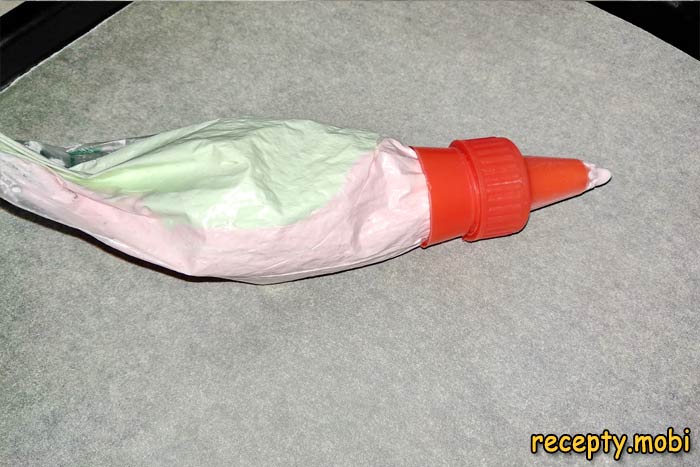
I pipe pretty "rosettes" or "drops" onto parchment paper 2–3 cm apart from each other – the meringues will "grow" during baking.
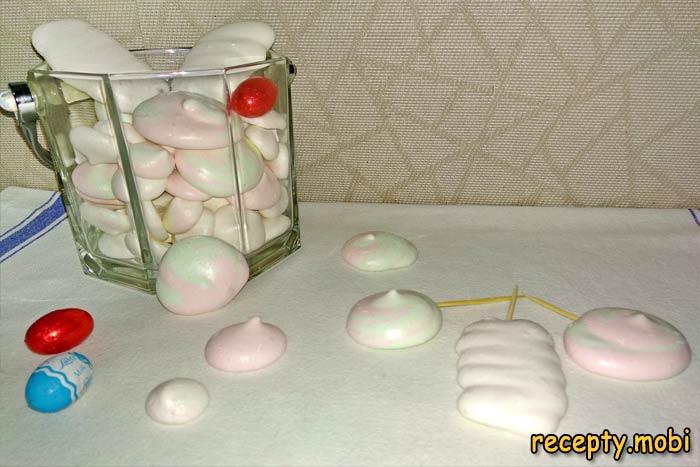
I preheat the oven to 80°C – this is the critical temperature for "drying" the meringue without baking it. A high temperature (above 100°C) will give a ruddy colour and cracks. I put the baking sheet with the meringue into the oven for 2.5–3 hours depending on the size. I DO NOT OPEN THE DOOR – moisture will spoil the texture. The finished meringue is dry on the outside, light in weight and comes off the parchment easily. If the meringue sticks to the parchment when touched, leave it for another 30 minutes. After baking I leave the meringue in the switched-off oven with the door ajar until it cools completely. I store the finished meringue in an airtight container at room temperature for up to 2 weeks.The French meringue at home is now ready. It turned out smooth, without cracks, with a glossy surface. A large number of various desserts can be made on such a base. The main thing is to follow all the cooking rules carefully.


Tips
- 1
Not even the tiniest drop of yolk in the whites – even a micro-drop of fat will instantly bring down the fluffy meringue foam.
- 2
Keep the white-to-sugar ratio at 1:2 (100 g of whites + 200 g of sugar) – the "golden" rule of French meringue.
- 3
Add the sugar GRADUALLY in a "rain", not all at once – otherwise it will deflate the whites. I make the Anna Pavlova cake on the same principle.
- 4
Dry the meringues at 80°C for 2.5–3 hours – a high temperature will give ruddy cracks instead of snow-white meringue.
FAQ
What is the difference between French, Italian and Swiss meringue? +
French – the simplest, the whites are whipped with sugar added in a "rain" (my recipe above). Suitable for small meringues and quick desserts. Italian – made with a hot sugar syrup (118–120°C) that is poured into the whipped whites in a thin stream. The most stable, ideal for creams, mousses and custard meringues. Swiss – the whites with sugar are heated over a water bath to 60°C while whipping. An intermediate option between French and Italian, ideal for buttercream. French is the "learner's" meringue, Italian the "professional's", and Swiss the "all-purpose" one.
What to do if the meringue won't whip? +
The main reasons for a meringue "failure": 1) Yolk got into the whites (even a drop of fat kills the foam) – use only clean whites. 2) Greasy dishes (a bowl or whisk with grease residue) – degrease with lemon. 3) Old whites (more than 7 days) – use fresh ones. 4) Cold whites straight from the fridge – warm them to room temperature. 5) Too much sugar at once – add it gradually. 6) Too powerful a mixer from the very start – begin on low speed. 7) Damp sugar (stored in a humid place) – dry it in the oven. 8) Overwhipped after the sugar – no more than 5 minutes.
How long does the finished meringue keep? +
Dried meringue keeps in an airtight container at room temperature for up to 2 weeks. The main thing is to protect it from air moisture, otherwise it will go soft within 1 day. Do NOT store it in the fridge – condensation will spoil the crispy texture. Use freshly whipped meringue (not dried) straight away – it deflates within 30–60 minutes. The finished meringue can be frozen for 1 month in airtight bags – before serving, thaw it at room temperature for 30 minutes. Dry it for 5 minutes in the oven at 80°C to restore the crispness. It is perfect as a gift – store it in a pretty glass jar with a ribbon.
What to make from meringue? +
A universal base for many desserts: small meringues of different shapes and colours (the classic), the "Anna Pavlova" dessert with fruit and whipped cream (for celebrations), decorations for cakes and cupcakes (pipe with a pastry bag), icing for Easter cakes (spread it on top and dry for 10 minutes at 100°C), a layer between cake sponges ("Grafskie Razvaliny", "Polyot"), a base for chocolate sweets (add melted chocolate to the meringue), custard meringue cream (add hot sugar syrup), macarons (a French pastry with cream). Each option gives an impressive, restaurant-quality dessert at home.
- Comment
or post as a guest
Be the first to comment.
")


