
avg —
Sour Cream Cake Classic Recipe in the Oven
Instructions
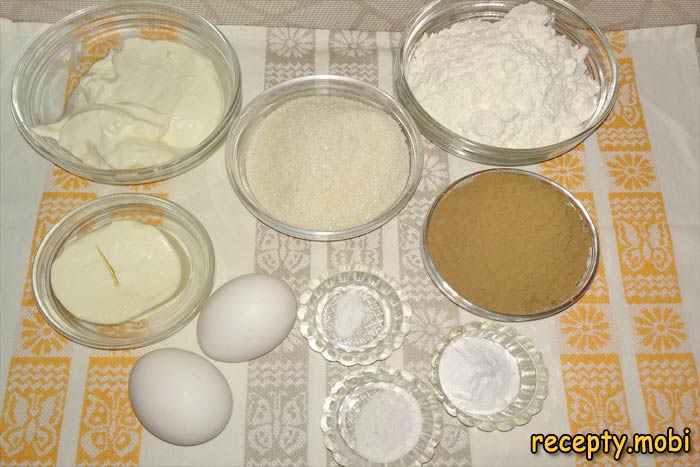
Preparing the classic sour cream cake in the oven involves several stages. First we bake two layers – one light and one chocolate with the addition of cocoa – plus a simple but very tasty sour cream filling. Let's start with the light layer. Prepare all the ingredients on the list. Take the butter out of the refrigerator about an hour in advance so it becomes soft but not melted, and sift the flour (220 g) through a sieve to enrich it with air for a lighter layer.

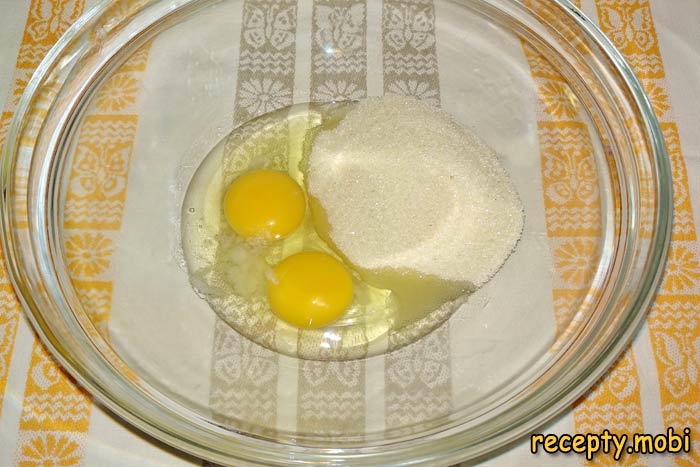
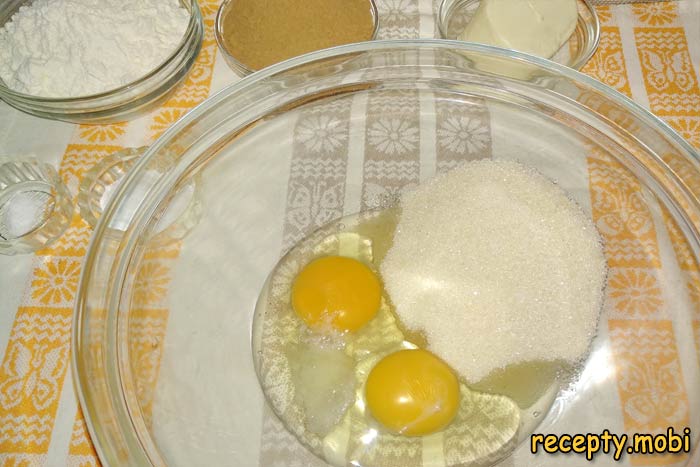
In a deep bowl, break two eggs, add ¼ tsp salt and 150 g sugar.
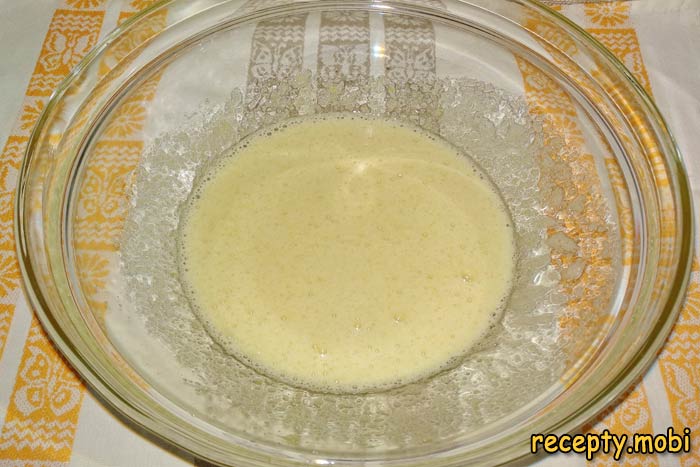
Using a mixer, beat the eggs on medium speed for 5-7 minutes into a fluffy, pale foam – the mass should increase three to four times in volume and turn white. This is the secret to airy layers without extra baking powder.
Next, add ¼ tsp vanillin and 100 g of softened room-temperature butter. Continue beating for another 2-3 minutes until fluffy and smooth.
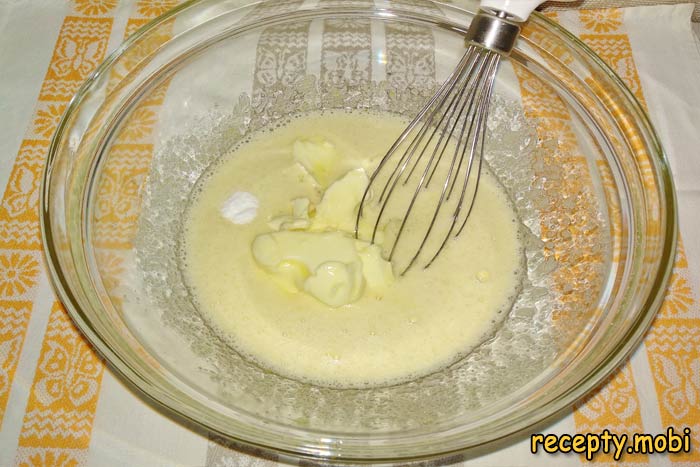
Continue to beat the mixture until properly fluffy and uniform.
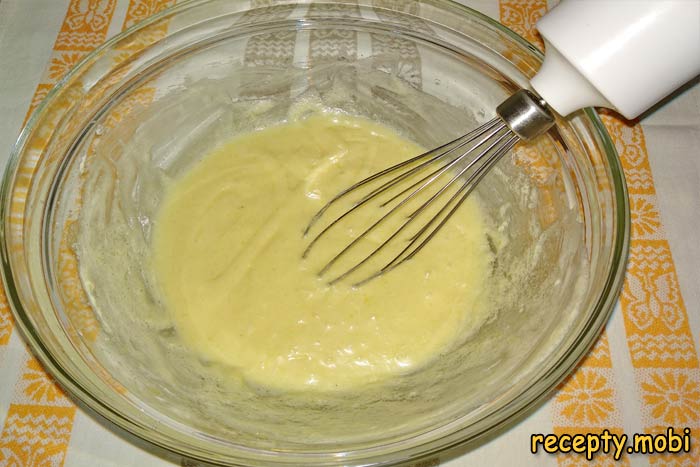
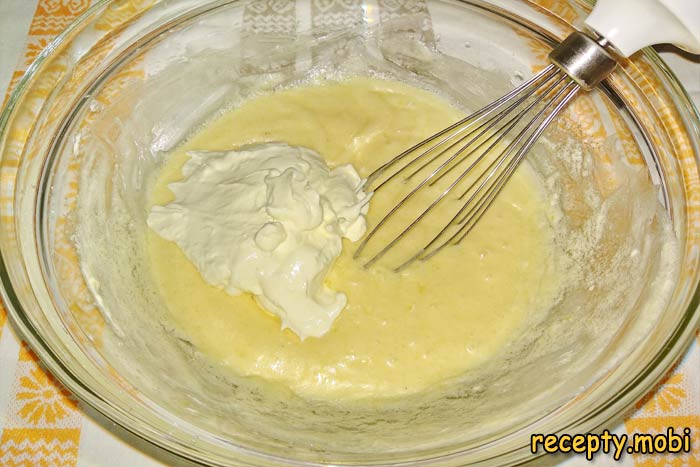
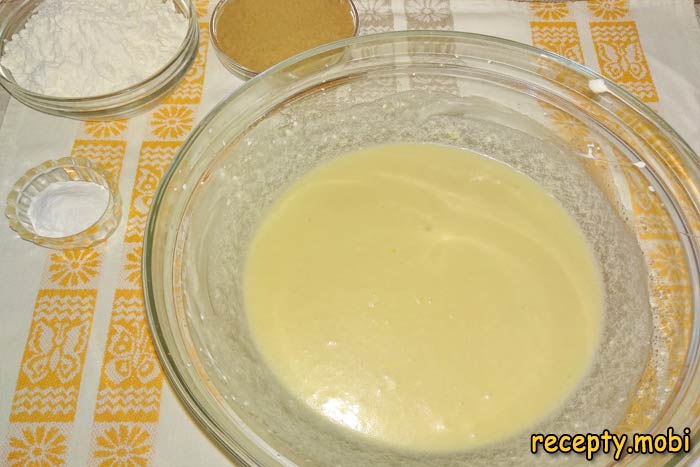
Now add 150 g of sour cream and beat for about another minute until uniform; the sour cream should fully disappear into the egg mass. It is best to use high-fat sour cream for this baking, as it makes both the layers and the cream much tastier.
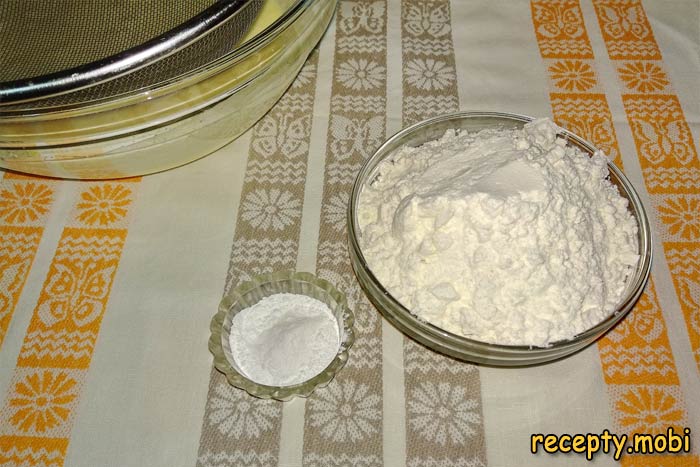
Add the baking powder (10 g) to the flour (220 g).
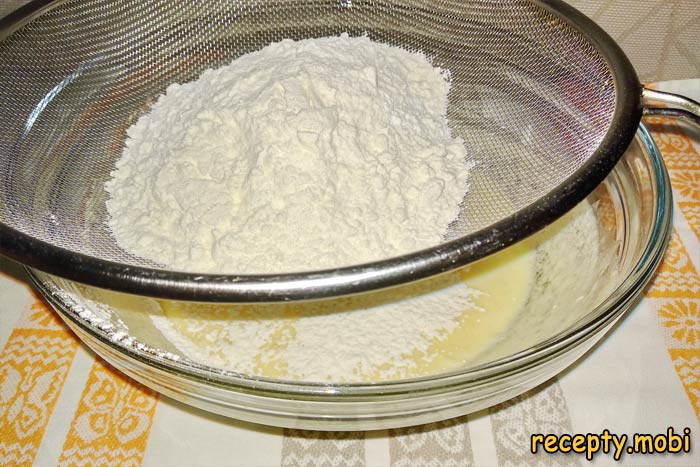
Sift the flour into the egg mixture; this way it fills with air even better, so the layer rises well during baking, becoming airy and light.
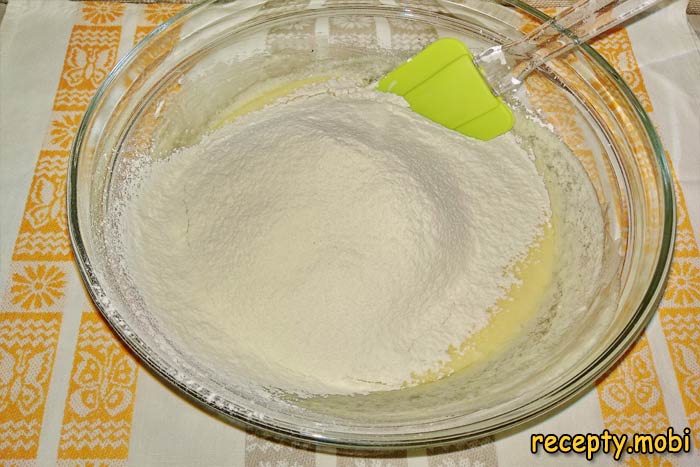
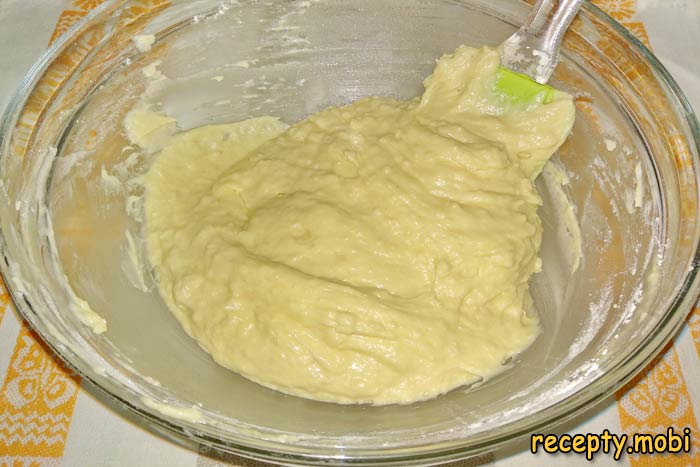
Gently fold the flour into the egg mixture with a silicone spatula, using bottom-to-top movements for 1-2 minutes until no lumps of flour remain. Do not overmix, or the dough will become dense. The finished dough is tender, elastic and holds its shape.
The dough is properly soft and elastic.
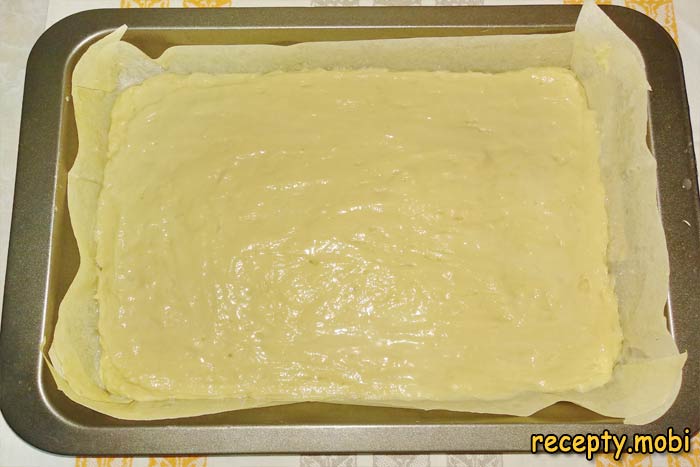
Line a 22 cm springform mould with parchment paper and lightly grease it with vegetable oil. Pour the dough in and level it with a spatula or simply with a wet hand into an even layer about 1.5 cm thick. Preheat the oven to 180°C (top-bottom heat).
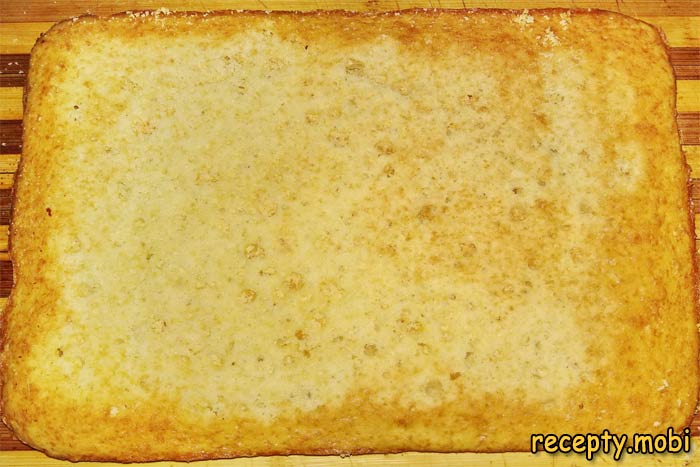
Bake the light layer at 180 degrees Celsius for about twenty-five minutes. Check readiness with a wooden toothpick – it should come out dry from the centre. Do not open the oven door for the first 20 minutes or the dough will sink.
Remove the layer and transfer it to a wire rack to cool (30-40 minutes).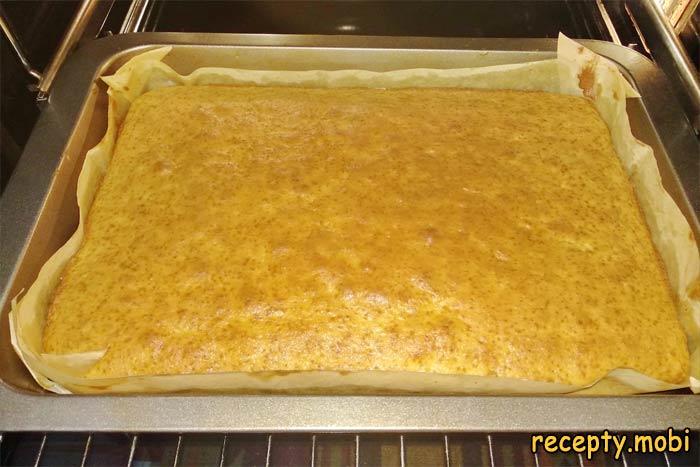
Now let's prepare the chocolate layer with the same ingredients, with one difference: take 160 g of flour plus 60 g of cocoa powder (220 g of dry ingredients in total). Use good-quality unsweetened cocoa from a trusted manufacturer – cheap cocoa gives a pale layer with a bitter aftertaste. Prepare all the ingredients on the list.
Repeat the same sequence. In a bowl, break two eggs, add ¼ tsp salt and 150 g sugar, and beat into a fluffy mixture.
Then add 100 g of butter and ¼ tsp vanillin, and beat well. Finally, add 150 g of sour cream to the mixture and beat well again.
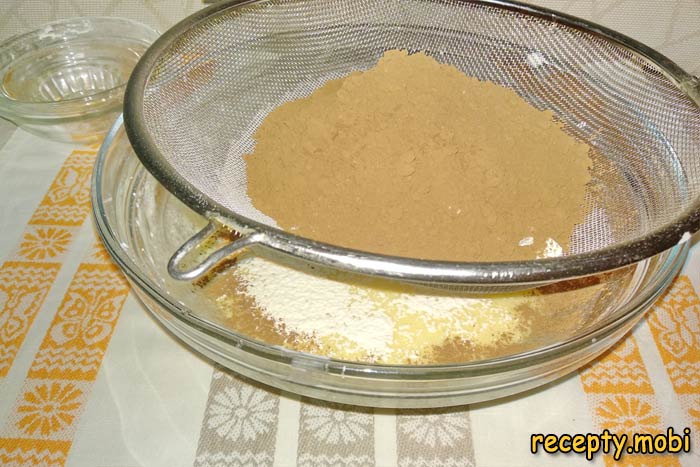
Place a sieve over the bowl. To ensure the flour and cocoa mix well, pour them into the sieve, add the baking powder (10 g), and sift through into the liquid mixture.
Quickly but carefully fold the dry ingredients into the egg mixture until uniform, trying not to overmix the dough.
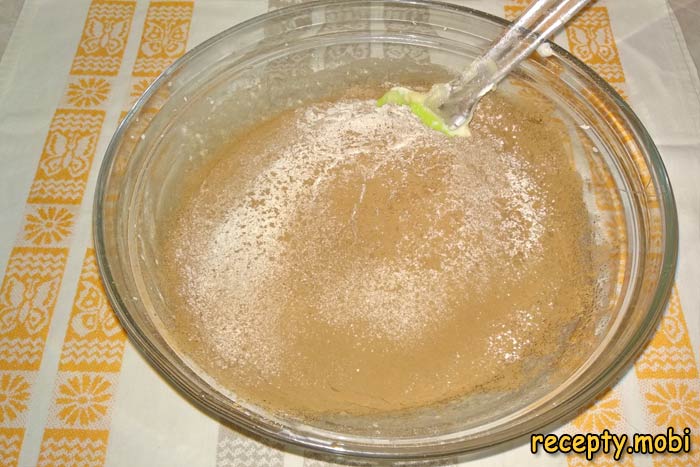
This is the chocolate, elastic dough we have achieved. Use high-quality cocoa powder from a trusted manufacturer, and the baking will turn out beautiful and tasty.

Cut another sheet of parchment, cover it with vegetable oil, and pour in the chocolate dough. Spread it evenly in the mould.
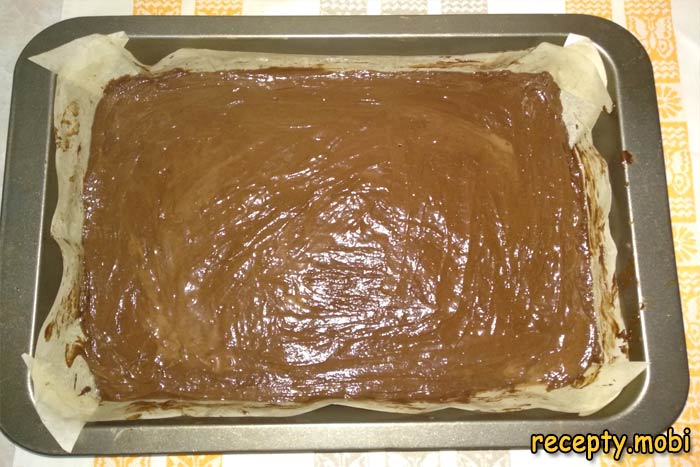
Bake in the oven for about twenty-five minutes at 180 degrees Celsius. Check for readiness with a wooden skewer, then cool the layer completely on a wire rack. Tip: it is more convenient to bake the layers in the morning and assemble the cake in the evening, leaving it to soak overnight.
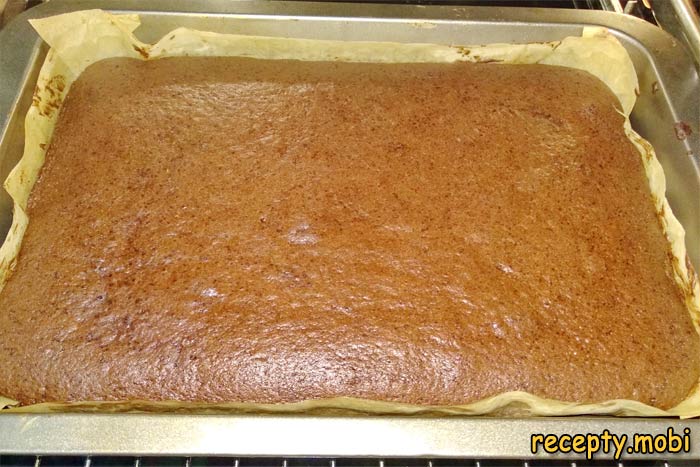
We have baked two layers, lay them on a wire rack, and give them time to cool. (It is more convenient to bake the layers in the morning and assemble the whole cake in the evening, allowing it to soak overnight.)
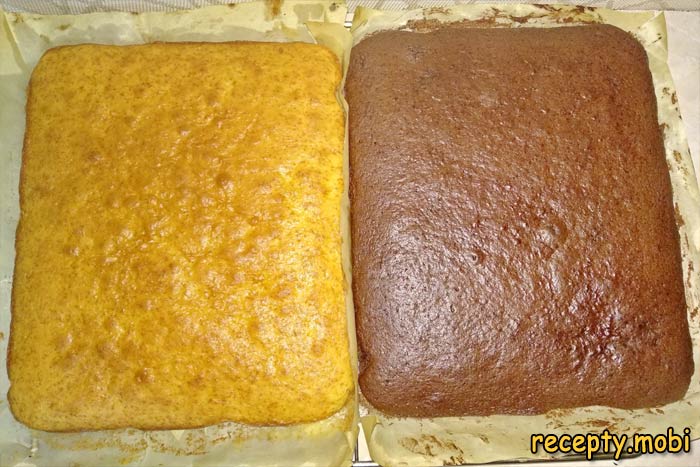
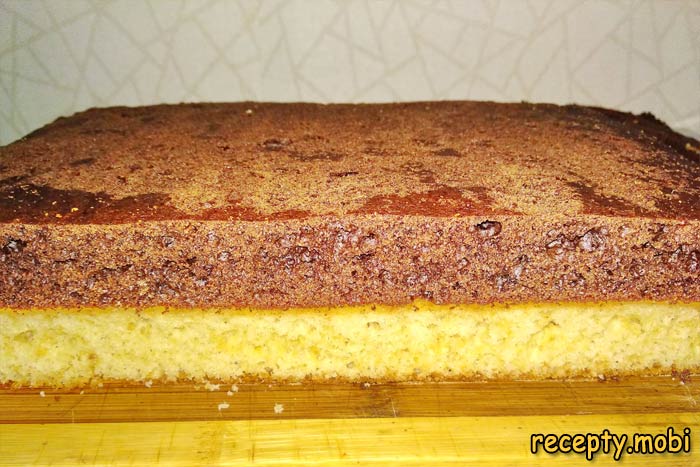
When the layers have cooled, trim the thin top "dome" off them with a sharp knife. This creates an even surface for assembly and helps the layers soak up the cream better. Do not throw the trimmings away – they will be used for the crumb coating. We trim the top layer off the dark cake.
We trim the top layer off the light cake as well. Now it is very clear to see how porous the crumb of the pastry turned out.
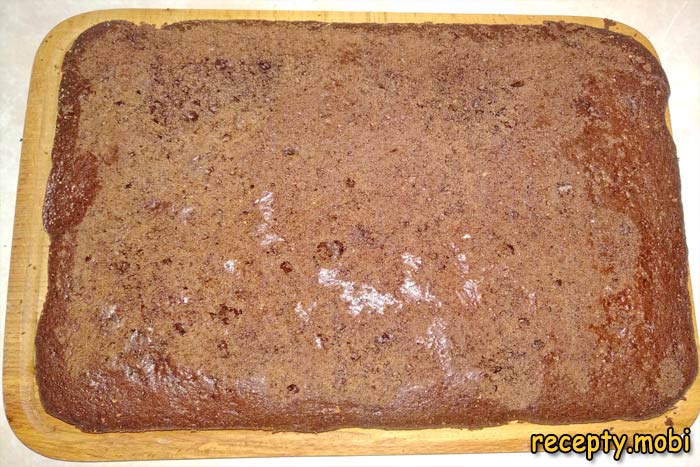
The next step is to even both layers to the same size. Place the dark layer on top of the light one and, with a sharp knife, carefully cut off the excess around the edges. Do not throw away the trimmings from the top and sides – they will still be useful.
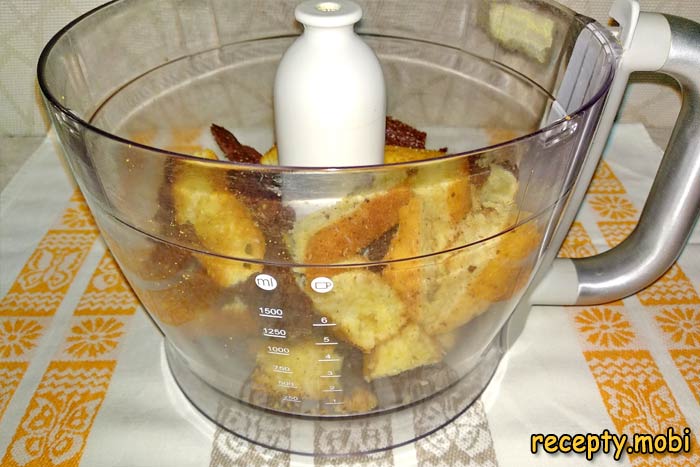
Transfer all the trimmings to a blender or grinder. The crumbs can also be made by simply crushing them with your hands – the "grandmother's" way.
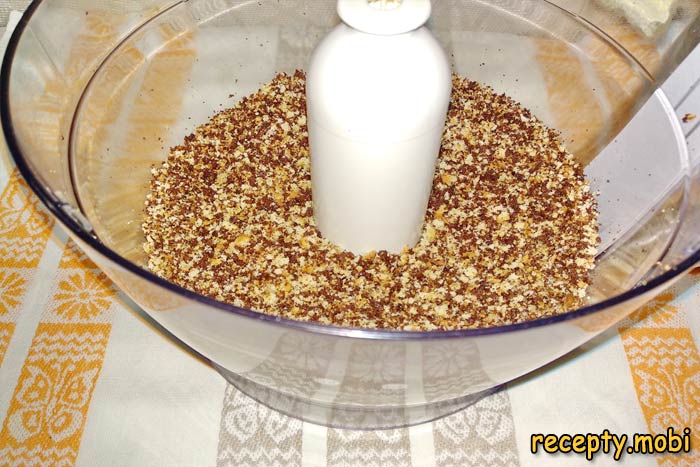
We prepare fine crumbs for sprinkling.
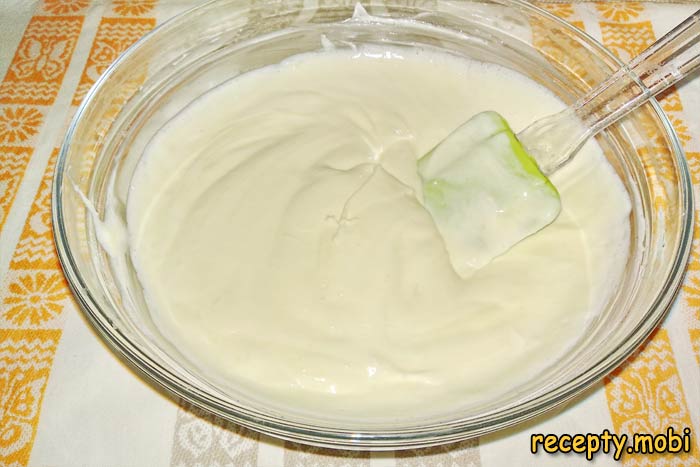
For the cream we need 550 g of sour cream (chilled in advance, as warm sour cream will not whip into a thick cream), 130 g of powdered sugar and a pinch of vanillin. If you do not have powdered sugar, it can be made easily and quickly: whip granulated sugar in a coffee grinder until fine. This takes one minute.
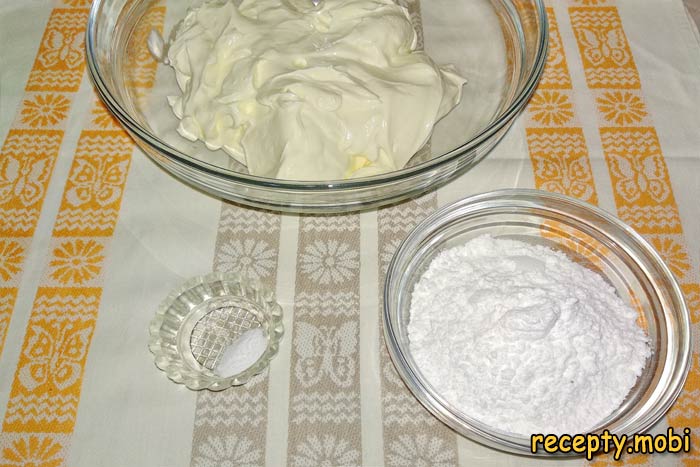
Put the ingredients in one bowl and beat with a mixer on medium speed for 3-5 minutes until fluffy and thick. The cream is now properly ready.
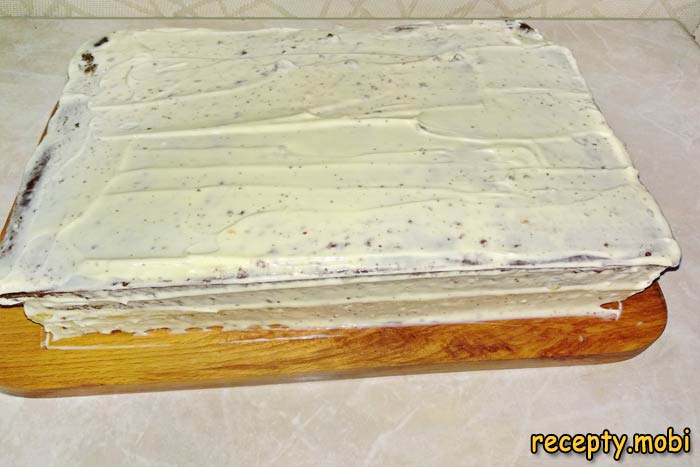
We assemble the cake. In a sour cream cake the bottom layer is always light. Place the light layer on a plate or board and spread half of the cream over it in an even layer. Cover it with the chocolate layer without pressing down too hard. Cover the top and the sides of the cake with the remaining cream, levelling it with a spatula.
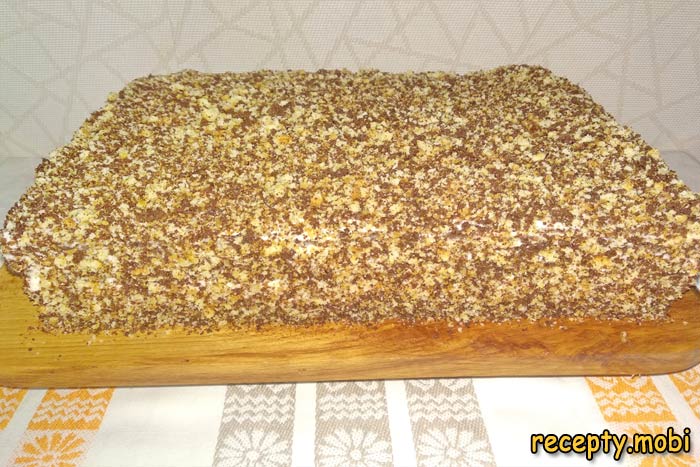
Generously sprinkle the sour cream cake with the crushed crumbs on all sides – this gives the characteristic "shaggy" texture and hides small imperfections in the cream. Put the cake in the refrigerator for at least four hours, or better overnight, so the layers soak well. Take it out at least half an hour before serving – a cake at room temperature tastes better than a cold one.
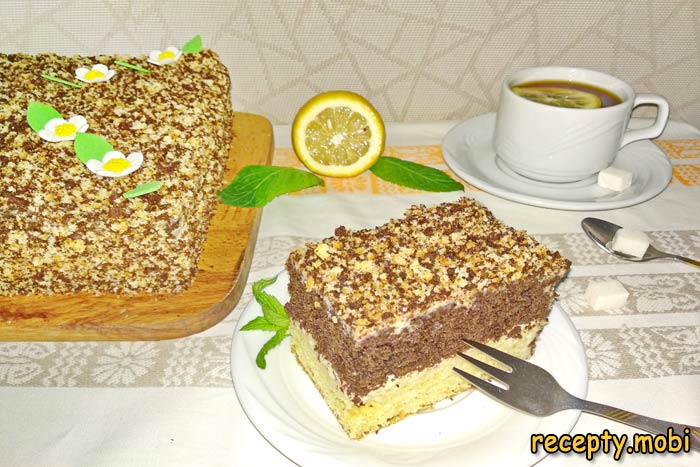
The classic sour cream cake in the oven is ready! You can decorate it to your liking – with grated chocolate, cocoa through a sieve or seasonal berries – and serve it whole, or cut it into 10 portioned pieces.The airy layers pair perfectly with the delicate sour cream filling. This favourite dessert of many generations is ideal with tea, coffee or cocoa.


Tips
- 1
Use sour cream of 25-30% fat ONLY – lower-fat sour cream will not give airy layers and the cream will not whip up.
- 2
Beat the eggs with sugar for 5-7 minutes into a fluffy, pale foam – this is critical for the layers to rise without too much baking powder.
- 3
Do NOT throw away the trimmed tops of the layers – use them for the crumb coating. I bake the Medovik cake on a similar principle.
- 4
Soak the cake in the refrigerator for AT LEAST 4 hours, or better overnight – the layers will then develop their fullest flavour with the cream.
FAQ
What can replace cocoa in the chocolate layer? +
Several substitutes work: melted dark chocolate (60 g of chocolate, reducing the flour by 30 g for balance), carob (a cocoa substitute, 60 g), coffee powder (15 g for a light coffee note, plus 45 g of flour), instant chicory (for an old-fashioned "grandmother's" aroma), or a mix of cocoa with cinnamon (50 g cocoa plus 1 tsp cinnamon for a fragrant version). For a "three-colour" cake, make one layer with cocoa and another with blackcurrant jam (50 ml) for a reddish tint. Cocoa is the classic choice for the Soviet sour cream cake thanks to its rich chocolate flavour and availability.
Can I replace the sour cream with yoghurt or curd cheese in the cream? +
Yes, there are several options: plain 5% yoghurt without additives (a lighter, more diet-friendly version), 9% curd cheese rubbed through a sieve (a more "curd" flavour), mascarpone (a more "Italian" version with a delicate texture), a 50/50 mix of sour cream and 33% cream (a fluffier cream), or Philadelphia cream cheese (for a "cheesecake" flavour). For a lean (Lenten) version, use coconut cream whipped with powdered sugar. Each substitute gives its own character. Sour cream is the classic choice for the Soviet sour cream cake, giving the characteristic light sweet-and-sour flavour.
How long does the finished sour cream cake keep? +
The finished cake keeps in the refrigerator for up to 3 days in a tightly closed container or under a cover. On the second day the flavour is even richer, as the layers soak up the cream fully. Do not leave it at room temperature for longer than 2 hours – sour cream cream spoils quickly. Freezing is not recommended, as the sour cream will separate when thawed. It is best served on the day after assembly. For longer storage, freeze the layers separately (without cream) for up to 1 month; before serving, thaw them in the refrigerator for 8 hours and assemble the cake with fresh cream.
What to serve the sour cream cake with? +
It is ideal as a festive dessert with tea or coffee after the main meal. It goes well with hot black tea with lemon, green tea with jasmine, espresso or cappuccino, cocoa with milk (for children) or cocoa with cinnamon. For an adult gathering, serve it with dessert liqueurs (Baileys, Amaretto, Kahlua), sweet sparkling wine (Moscato, Prosecco) or semi-sweet red (Cahors for a Russian classic). For a children's birthday, serve it with a milkshake, fruit drink or cocoa. For a family celebration it is the star of the dessert menu, with hot cocoa and marshmallows.
- Comment
or post as a guest
Be the first to comment.
")


