
avg —
Cottage Cheese Cake with Gelatin 'Hat'
Instructions
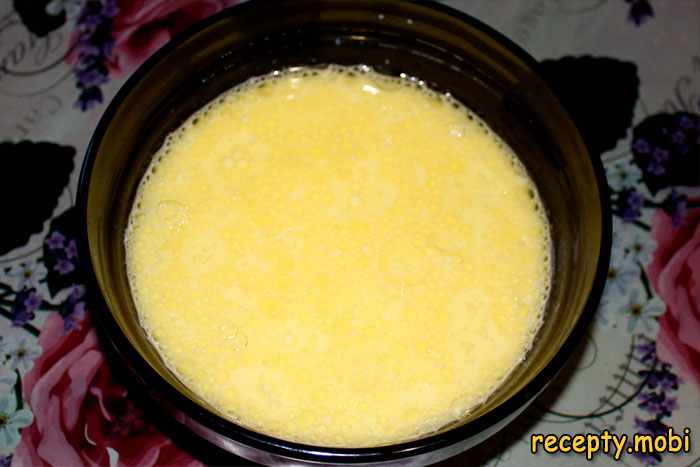
I start with the base. Pour 2 cups of room-temperature milk (500 ml) into a deep bowl and add 5 tablespoons of olive oil. The milk should be at room temperature – cold milk will leave lumps in the batter. Whisk until you have a smooth emulsion.
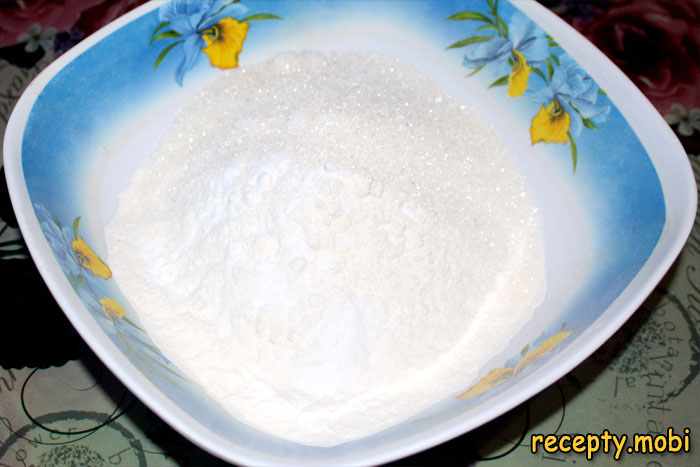
In a separate bowl, combine the dry ingredients: 2 cups of sifted flour (about 300 g), 1 cup of sugar (200 g) and 20 g of baking powder. Sifting the flour aerates it so the base turns out fluffier. Add 0.5 teaspoon of vanilla extract for aroma. Whisk the dry ingredients together so the baking powder is evenly distributed.
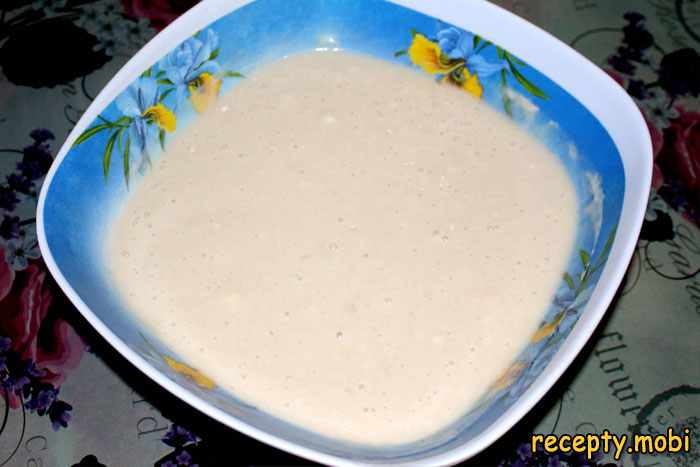
Pour the milk mixture into the dry ingredients and stir with a spoon or spatula in circular motions until all the lumps have disappeared. The batter should be smooth, uniform, with the consistency of pourable sour cream. Do not over-mix – 1–2 minutes is enough to bring the ingredients together.
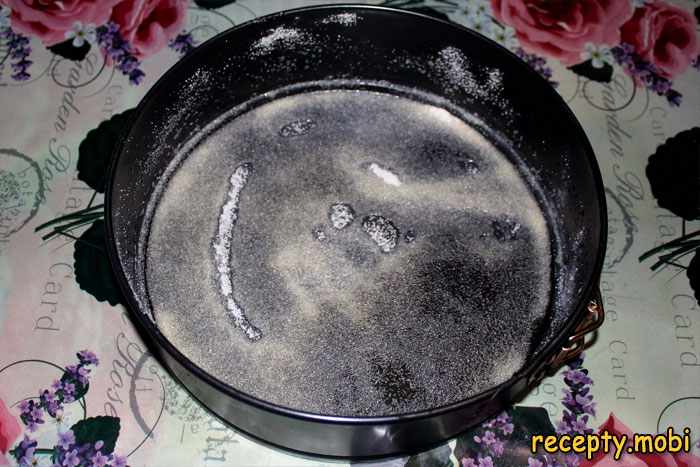
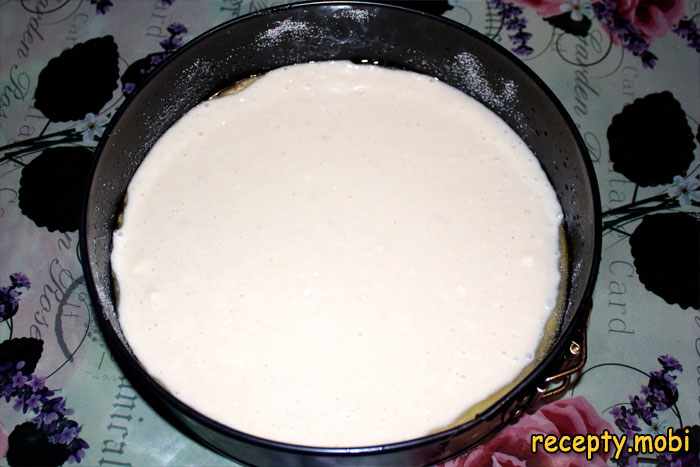
Grease a 24 cm baking mold with the remaining olive oil (2 tablespoons) and dust it with semolina (3 tablespoons) – this creates a crisp crust and keeps the base from sticking. Turn the mold so the semolina coats the bottom and sides evenly, then tip out the excess.
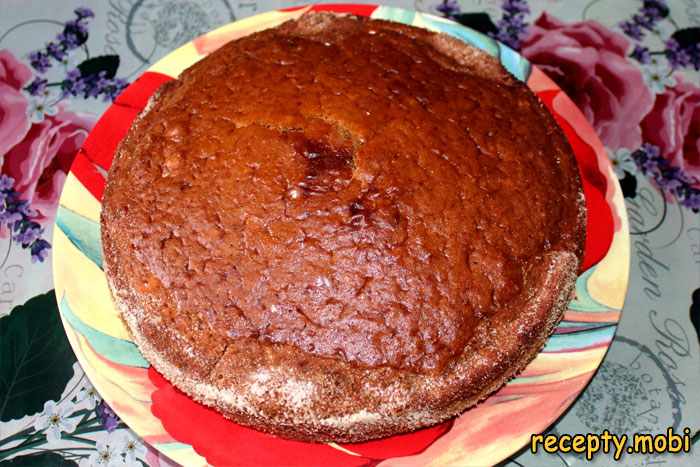
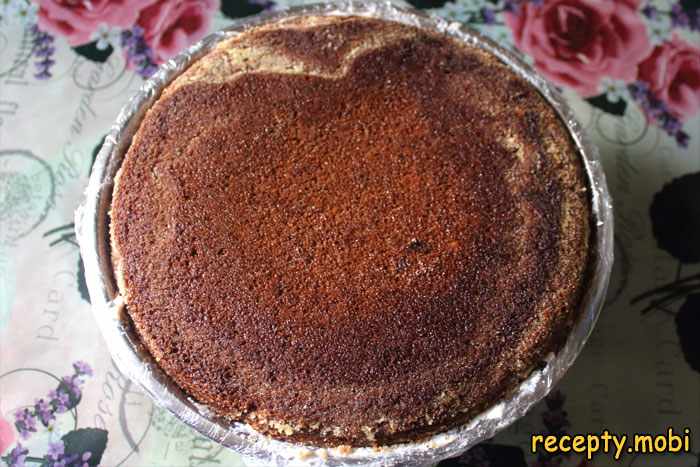
Pour the batter into the prepared mold and place it in an oven preheated to 180 °C. Bake for about 40 minutes, until golden and a toothpick comes out dry. Important: do not open the oven door for the first 20–25 minutes – the base may collapse from the change in temperature. Let the baked base cool in the mold for 10 minutes, then turn it out onto a wire rack.
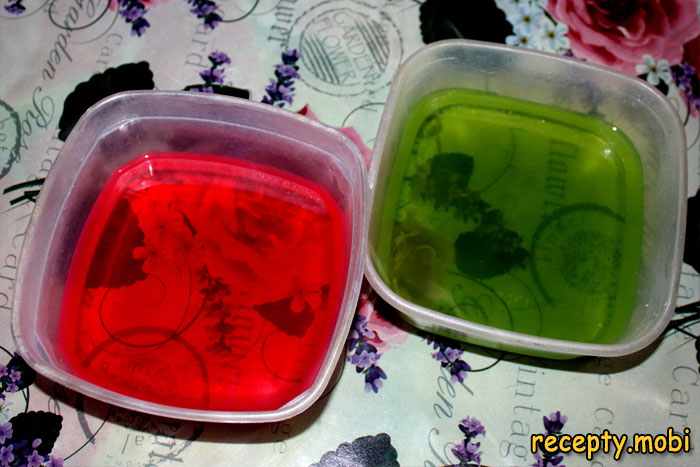
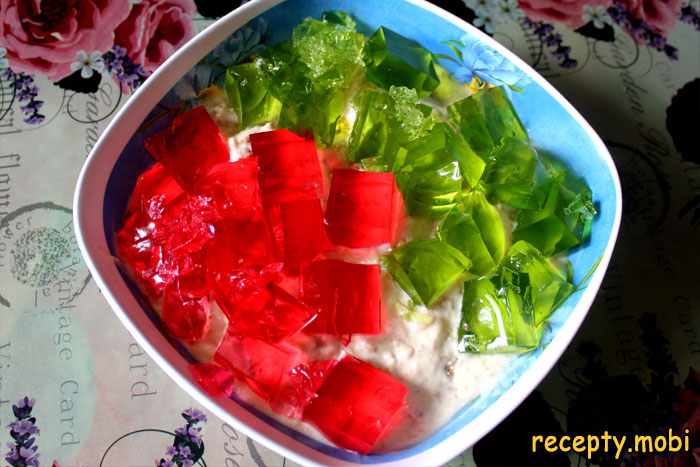
While the base is baking, prepare the fruit jelly according to the instructions on the pack. Usually this is 1 sachet per 400 ml of hot water. Pour the cherry jelly into one flat dish and the green into another. Refrigerate for at least 2 hours until fully set. The jelly should become firm, like a fruit gum.
Transfer the fully cooled base to the work surface. Check that it is cold – a warm base will soften the cottage cheese filling. If the base has domed, carefully trim off the top so the surface is level.
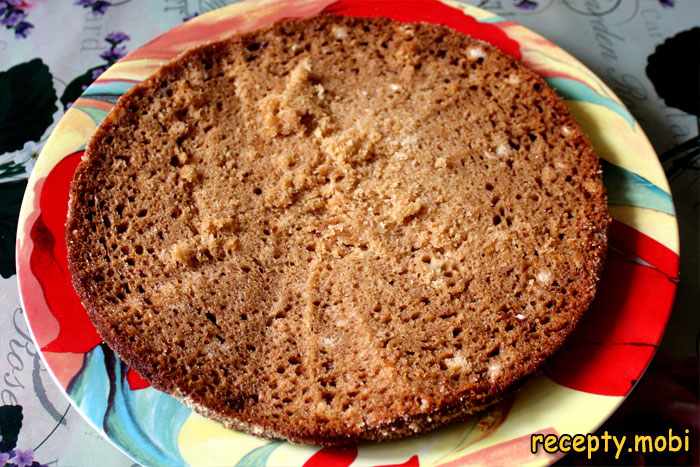
Cut the base into two parts with a sharp long knife: a thin one (about 1/3 of the height) and a thick one (about 2/3). The thin part will become the base of the cake; the thick one I crumble and add to the filling. This creates an interesting texture – pieces of sponge running through the creamy filling.
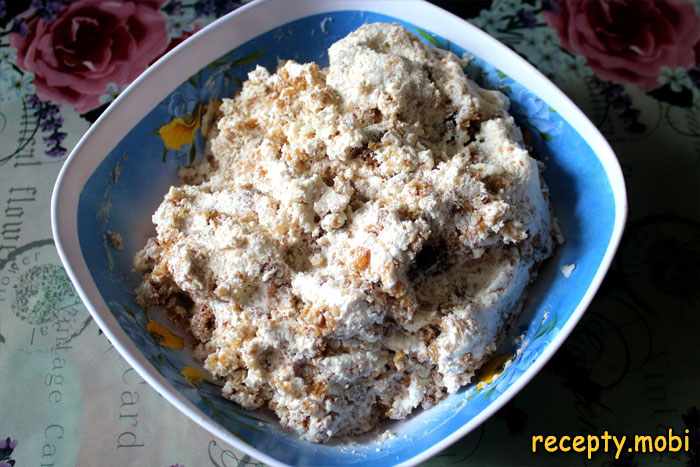
Crumble the thick part of the base by hand into small, pea-sized pieces. Put the crumbs into a deep bowl with the cottage cheese mass (700 g). The cottage cheese mass should be at room temperature – cold mass will not mix well with the crumbs.

Thoroughly mix the sponge crumbs with the cottage cheese mass by hand or with a spoon – every piece should be evenly coated with cheese. The mass will become thick and pliable. This is the base for the walls of our "Hat" cake.
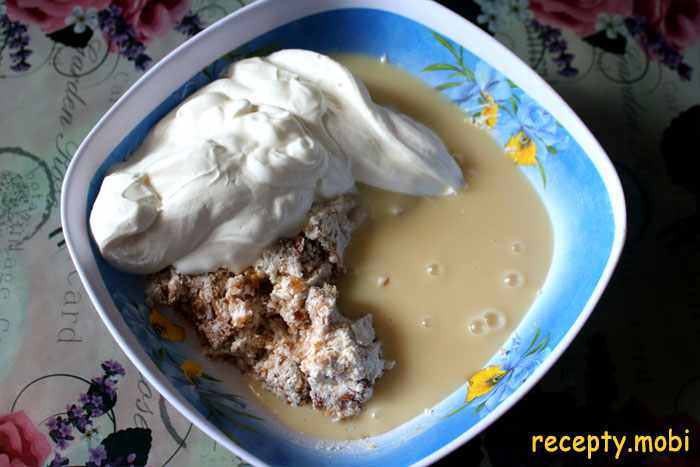
Set aside half of the cottage cheese mass with crumbs in a separate bowl – it will be used for the "bobble" and "fur trim" decoration. To the remaining half add the whole can of condensed milk (500 g). Whip the cream (300 g, 33–35% fat) beforehand with a mixer to soft peaks and add it to the cottage cheese mass.
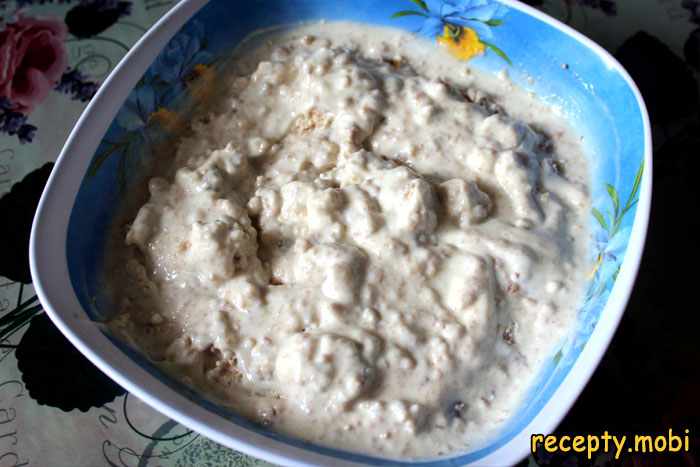
Gently fold the cottage cheese mass together with the condensed milk and whipped cream using a spatula, working from the bottom up to keep it airy. The mass should become uniform, fluffy and a soft cream colour. Taste it – it should be sweet and delicate.
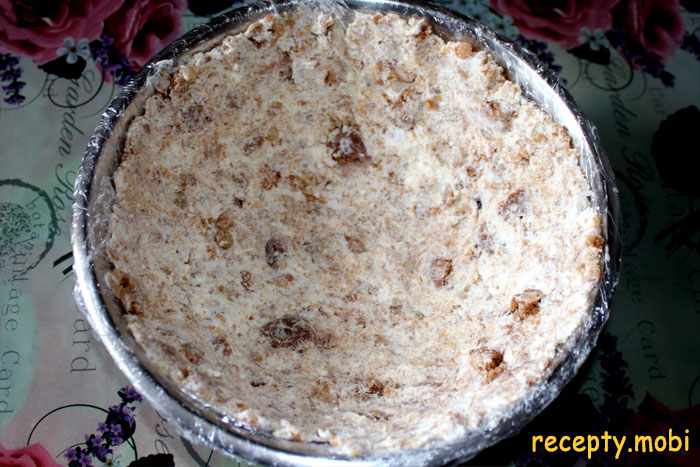
Prepare the mold for the cake: line a semicircular bowl (about 1.5 litres) with cling film so the edges hang over. The film should fit tightly against the sides without folds – otherwise it will leave marks on the cake. Spread the reserved cottage cheese mass with crumbs in a thin layer (about 1 cm) over the sides of the bowl, forming the "walls" of the hat.
Take the set jelly out of the refrigerator and cut it into small cubes about 1 cm in size. It looks prettier when the cubes are multicoloured – cherry and green. Add the jelly to the cottage cheese filling with condensed milk and gently mix it in – the cubes should be evenly distributed but not crushed.
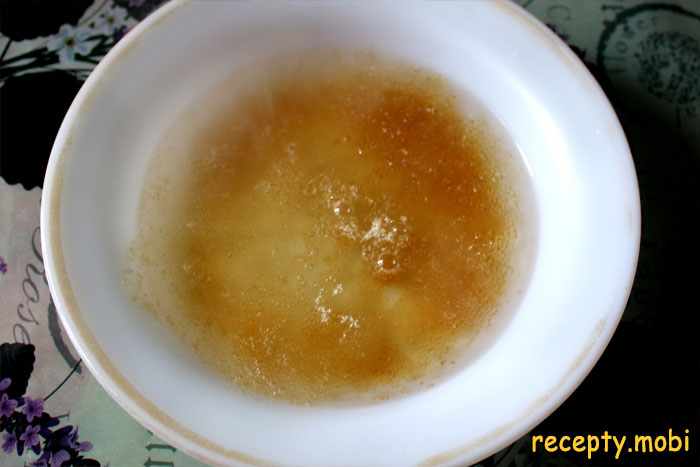
Pour 5 tablespoons of boiling water over the gelatin (25 g) and stir until it is completely dissolved – no granules should remain. If the gelatin does not dissolve fully, warm it over a water bath, but do not let it boil. Cool the gelatin to body temperature (about 35–40 °C).
Pour the dissolved gelatin into the cottage cheese filling with the jelly in a thin stream, stirring constantly. Work quickly – the gelatin starts to set on contact with the cold cottage cheese mass. The mass should become uniform, with no lumps of gelatin.

Transfer the filling into the prepared mold with the cottage cheese walls, filling it to the top. Smooth the surface with a spoon or spatula. The filling should fill the mold completely, with no gaps.
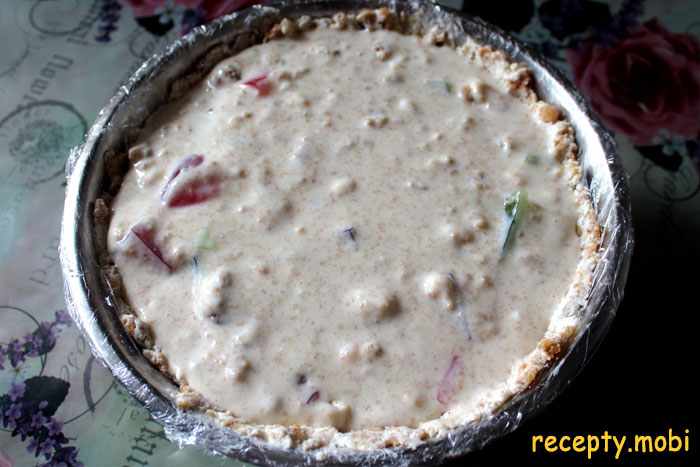
Cover the filling with the thin layer of base (the one we set aside at the start) and press lightly with your palm so the base sits firmly. This will be the bottom of the cake once it is turned out. Fold over the edges of the film and refrigerate for at least 4–6 hours, or better still overnight.
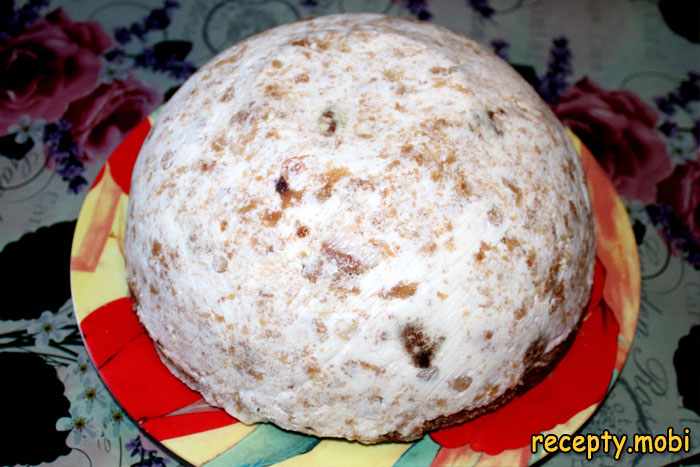
Take the set cake out of the refrigerator and let it stand for 15–20 minutes at room temperature. Turn the bowl out onto a serving plate and carefully remove the bowl and the film. The cake should come out easily thanks to the film.
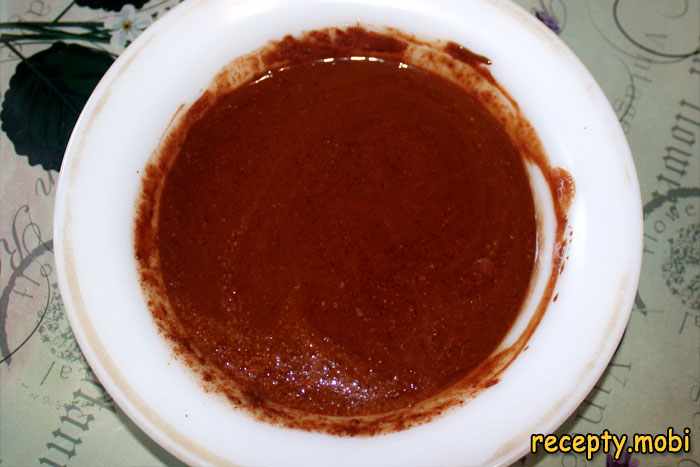
Make the chocolate ganache: break 100 g of dark chocolate into pieces and put it in a heatproof bowl together with 50 g of butter. Melt over a water bath or in the microwave in 15–20 second bursts, stirring each time.
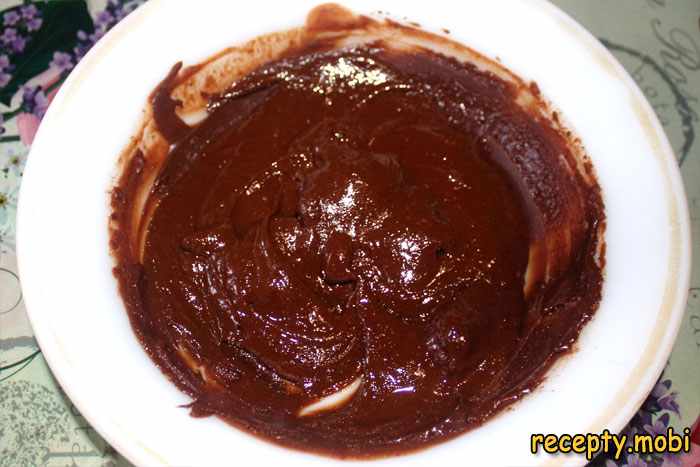
Stir the melted chocolate and butter together until completely smooth and glossy. The ganache should be smooth, with no specks. Let it cool slightly for 5–10 minutes to the consistency of thick sour cream.
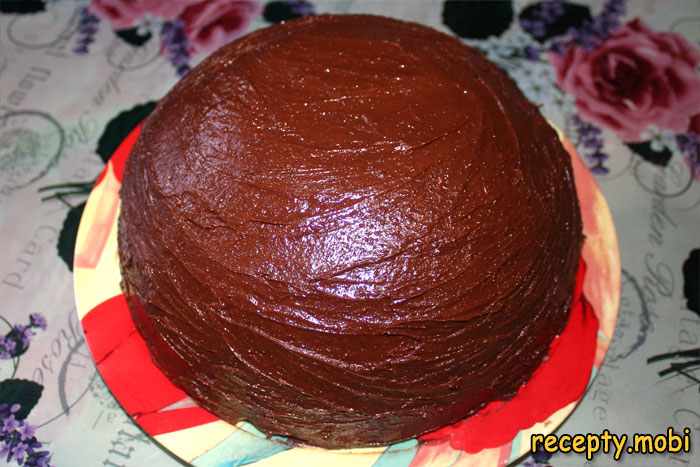
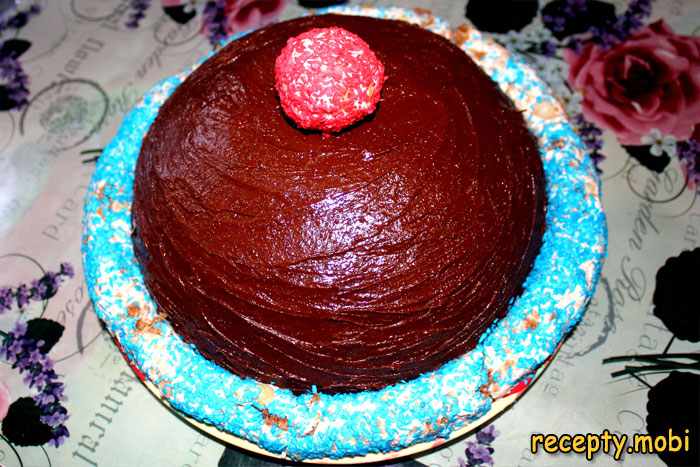
Cover the cake with the slightly cooled ganache in a thin, even layer, smoothing it with a spatula or a wide knife. The chocolate creates a glossy "base" for the hat. Leave it for 10–15 minutes for the ganache to set.
From the remaining cottage cheese mass with crumbs, shape a "bobble" (a ball for the top) and a "fur trim" (a strip around the edge). Roll them in coloured coconut flakes – this gives a bright contrast with the chocolate. Attach them to the cake.
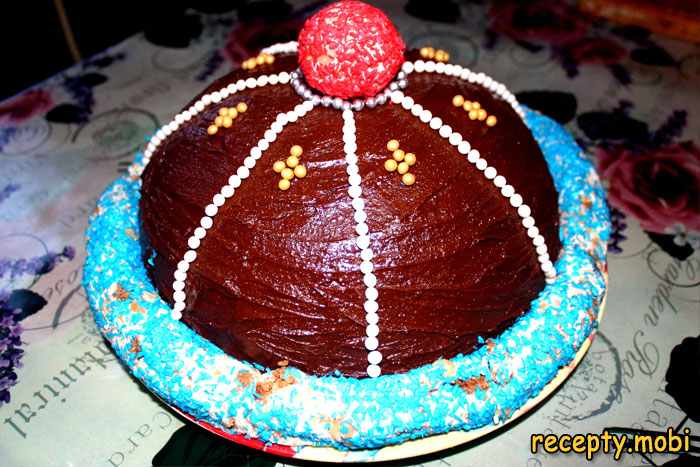
Decorate the cake with multicoloured sugar pearls, berries or any other decoration you like. The cottage cheese "Hat" cake is ready! Before serving, keep it in the refrigerator for another 2–3 hours for the perfect texture.
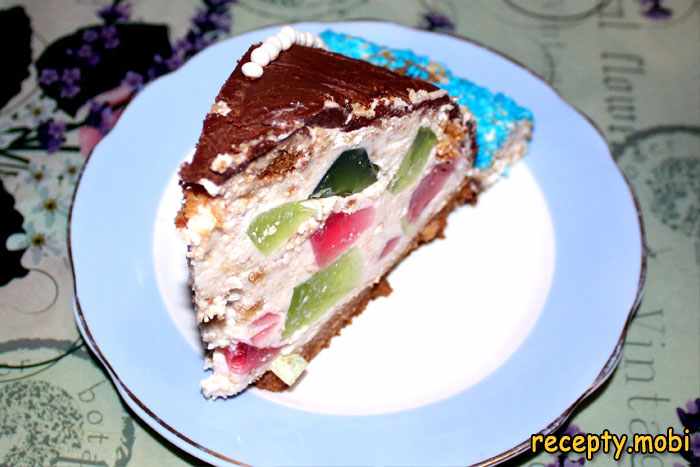
The cottage cheese cake with gelatin "Hat" is ready to serve! Cut it with a sharp knife dipped in hot water – the slice will be perfectly clean and show off the beautiful multicoloured flecks of jelly inside.


Tips
- 1
You can use cottage cheese mass with raisins or other dried fruit – the flavour will be even more interesting and rich.
- 2
Work with the gelatin quickly – it sets instantly on contact with the cold cottage cheese mass. If it begins to set in the bowl before you add it, warm it slightly.
- 3
The cream for whipping must be high-fat (at least 33%) and must be cold – warm or low-fat cream will not whip to a foam.
- 4
The cake is very sweet because of the condensed milk – it pairs perfectly with unsweetened coffee or tea without sugar.
FAQ
Can I replace the cottage cheese mass with ordinary cottage cheese? +
Yes, but add more sugar (2–3 tablespoons) and be sure to rub the cottage cheese through a fine sieve or blend it for a smooth texture. Grainy cottage cheese will give the walls of the cake an uneven texture.
Why did the cake not set after chilling? +
The main reasons are: not enough gelatin (exactly 25 g for this amount of filling); the gelatin did not fully dissolve; the filling was too warm when the gelatin was added; not enough time in the refrigerator (at least 4–6 hours). Follow the proportions and timings exactly.
How long does the "Hat" cake keep? +
In the refrigerator, in a sealed container or under film, up to 5 days. Over time the jelly inside may soften slightly, but this does not affect the taste. Do not freeze it – the texture will become watery.
- Comment
or post as a guest
Be the first to comment.


