
avg —
Cake 'Milk Girl' – Classic Recipe
Instructions
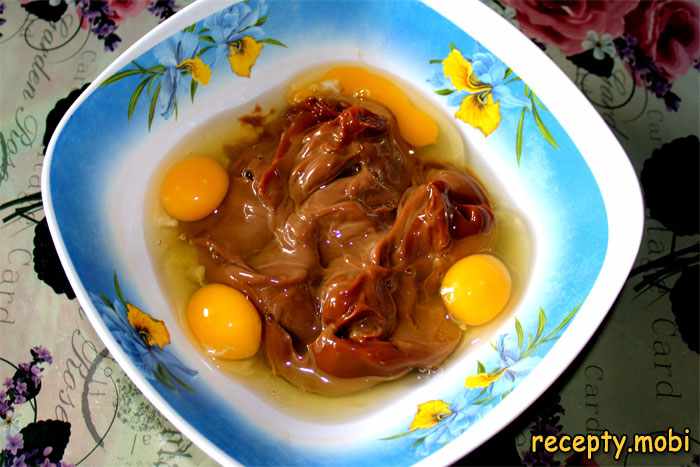
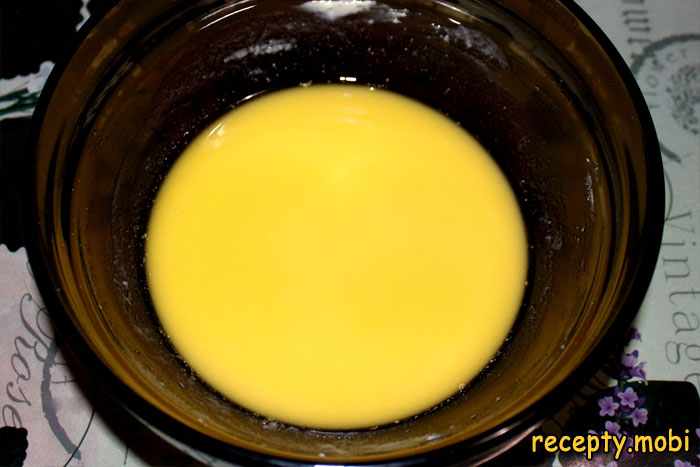
I switch the oven on to 180 °C – it should be fully heated by the time the first layer goes in. Into a deep bowl I put the whole tin of condensed milk (500 g) and crack in 4 eggs. You can use either ordinary white condensed milk or boiled caramel condensed milk – with the caramel kind the layers come out darker and have a rich toffee flavour. I whisk until smooth.
I beat the mixture with a hand blender or mixer on medium speed for 2–3 minutes until smooth and fluffy – the eggs should dissolve completely into the condensed milk. I add 2 teaspoons of baking powder, 8 tablespoons of sifted flour and 1 teaspoon of vanilla extract. The flour really must be sifted – this aerates the batter and the layers turn out lighter.
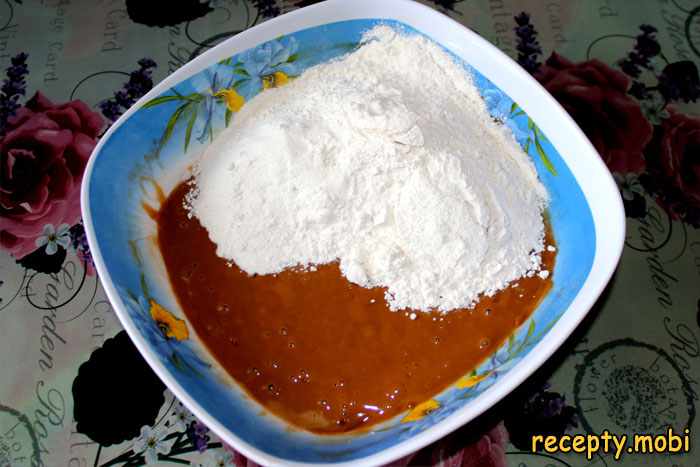
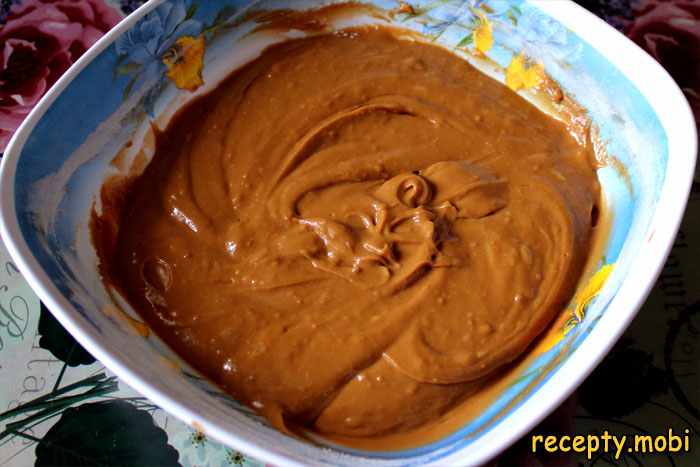
I fold the batter with a spoon or spatula, using circular movements from the bottom up, until every lump is gone – the mixture should be smooth and pourable, like thin sour cream. Do not beat at high speed after adding the flour, as this develops the gluten and makes the layers rubbery. The batter is ready to bake.
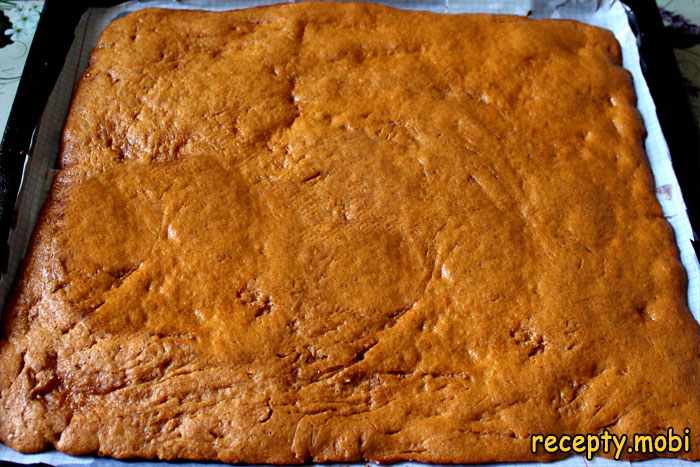
I line a baking sheet with parchment and brush it with a thin layer of olive oil – this stops the layer from sticking. I pour out about a third of the batter and spread it with a silicone spatula into a thin, even layer 3–4 mm thick. The thinner the layer, the more tender the cake and the faster it soaks up the frosting.
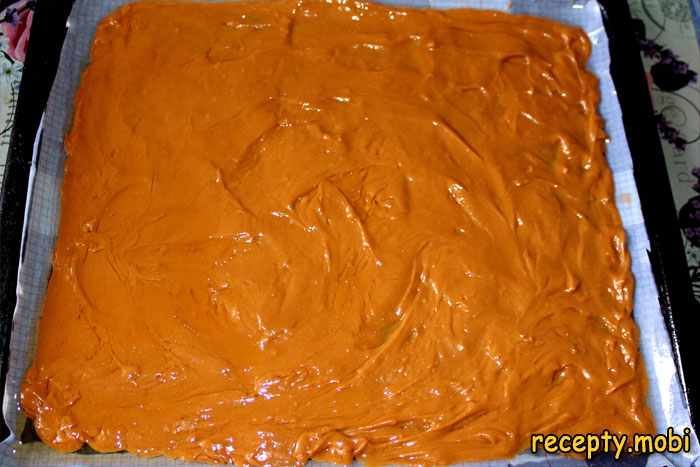
I bake the layer at 180 °C for just 5–7 minutes – as soon as the surface turns golden, I take it out at once. The condensed milk caramelises quickly, and the layer can burn in barely a minute if left too long. I peel the hot layer off the parchment and move it to a rack to cool. I repeat with the remaining batter – the quantities given make 3 large layers.
I make the sour cream frosting: into a deep pan I put 700 g of full-fat sour cream (at least 30% fat), 2 cups of sugar and the rest of the vanilla extract. The sour cream must be cold – warm sour cream will not whip to the right thickness. You can reduce the sugar to 1.5 cups if you do not like things very sweet.

I whip the frosting with a mixer or hand blender on high speed for 5–7 minutes until the sugar dissolves completely and the volume increases 1.5–2 times. The finished frosting should be fluffy and airy and hold its shape – if you draw a spoon through it, the trail should not flow back. I taste it: there should be no grains of sugar on the tongue.

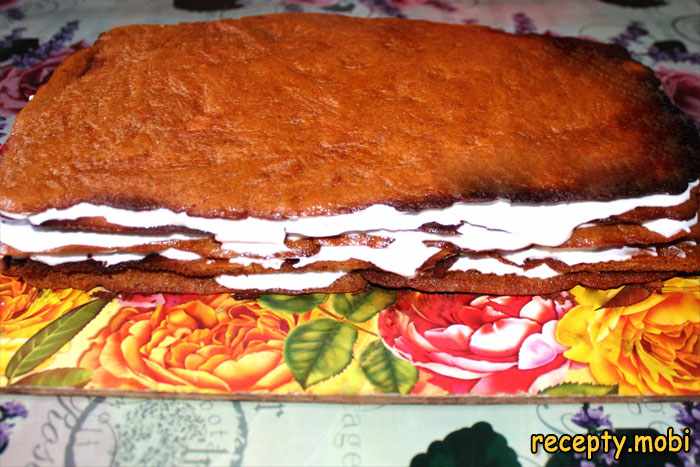
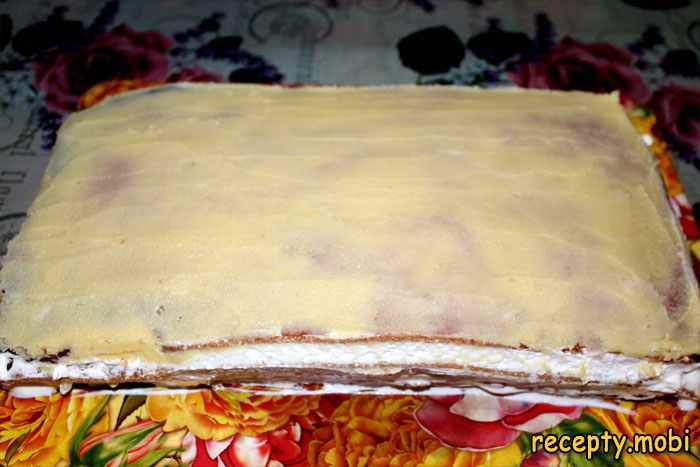
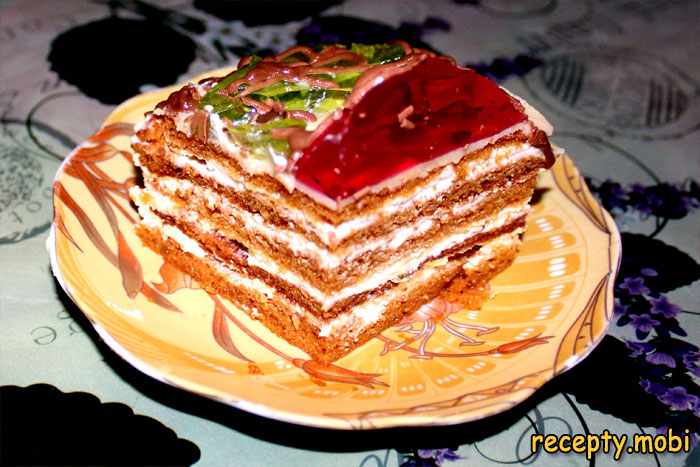
Once the layers are completely cool, I cut them in half with a long, sharp knife – that gives 6 thinner layers. The thinner the layers, the faster they soak and the more tender the cake. I place the first layer on a serving plate and spread it generously with sour cream frosting, about 1 cm thick – do not skimp on the frosting, that is the secret to a moist cake.
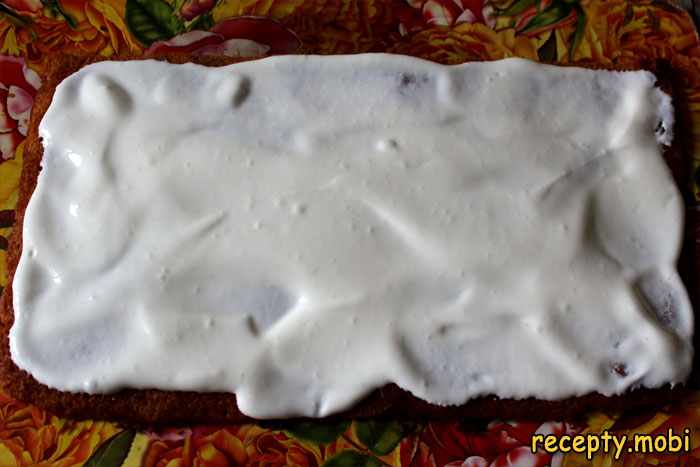
I lay on the next layer and spread it with frosting again. I repeat with all the layers, pressing each one down lightly with my palm. I keep a little frosting back (about 150 g) for coating the sides – they should be covered too, for a neat look. I tidy up the assembled cake, straightening the edges of the layers.
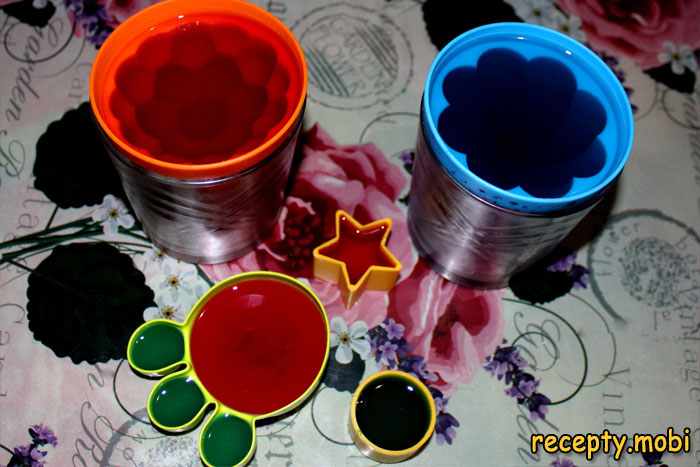
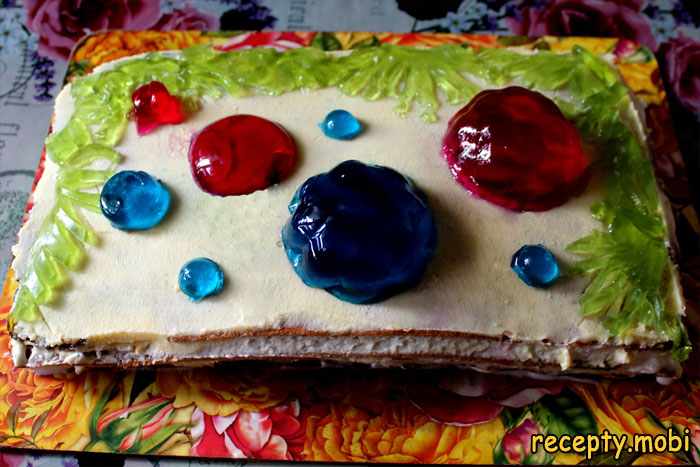
I make up the fruit jelly according to the instructions on the pack – usually 1 sachet per 400 ml of water. I pour the green jelly into a flat tray in a layer about 5 mm thick – I will cut out leaves and other shapes from it. The red and yellow jelly I pour into silicone sweet moulds – little flowers, hearts, stars. The moulds give perfectly neat shapes.
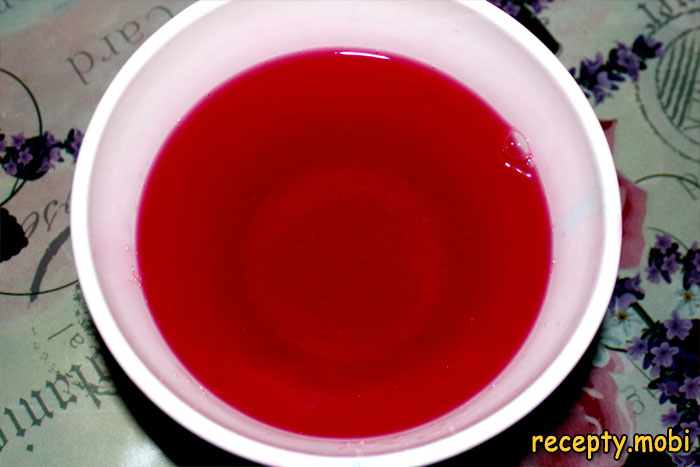
I put all the moulds of jelly in the fridge for at least 2–3 hours until completely set – the jelly should become firm and come away from the mould easily. If you are in a hurry, you can put it in the freezer for 30–40 minutes, but watch that the jelly does not freeze solid all the way through.
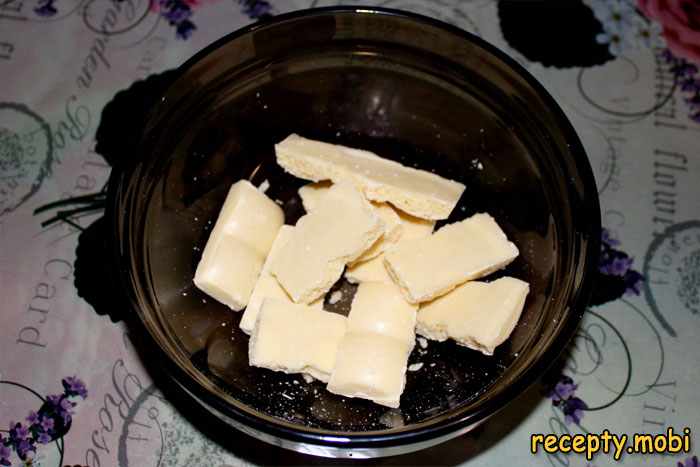
I make the white chocolate ganache: I break 100 g of white chocolate into small pieces and put them in a heatproof bowl. The smaller the pieces, the more evenly the chocolate melts. White chocolate is temperamental: it seizes when overheated, so work carefully.
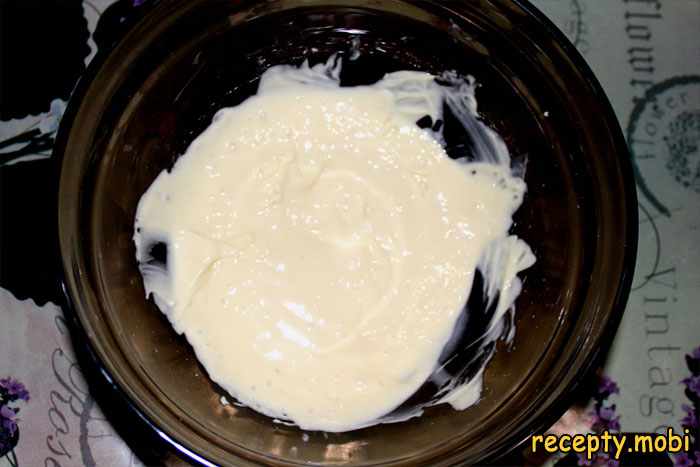
I melt the white chocolate in the microwave in bursts of 15–20 seconds at medium power, stirring each time. Or over a water bath, taking care that no water gets into the chocolate – even a drop of water will make the chocolate seize. The chocolate is ready when it has melted completely and turned smooth.
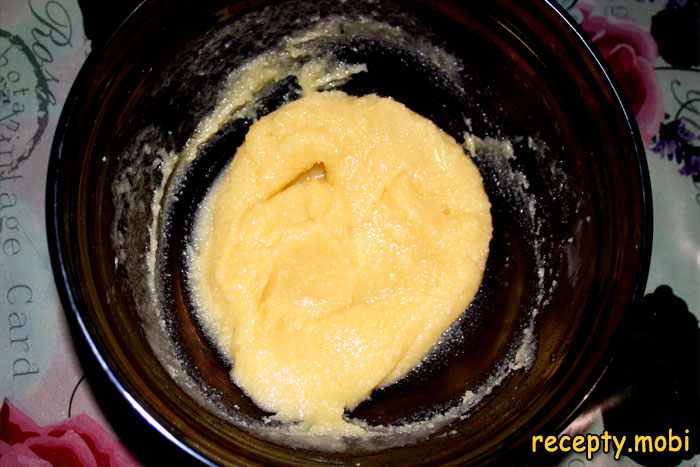
Into the hot melted chocolate I add 50 g of softened butter at room temperature. The butter makes the ganache more pliable and glossy and also slows the setting – so you have more time to work.
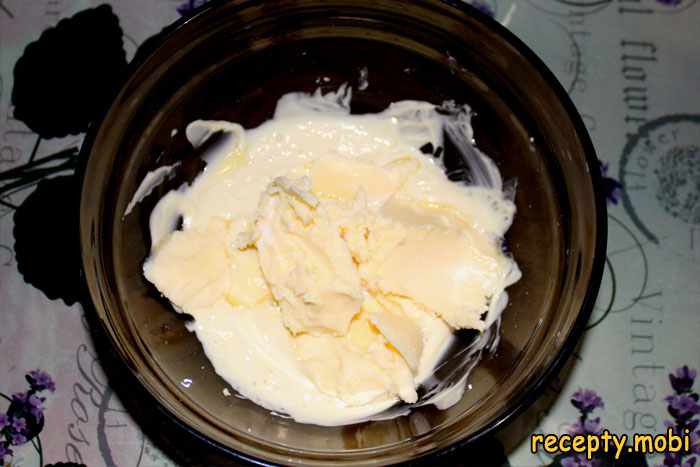
I stir with a silicone spatula until the butter is fully dissolved and the mixture is uniform – the ganache should turn smooth and glossy, with no streaks of butter. Do not use a whisk – it works in air and turns the ganache matt.
I cool the white ganache to 28–30 °C – it thickens to the consistency of a soft cream and spreads easily over the cake. Ganache that is too hot will run off; too cold and it will go on in lumps. I check it is ready: the ganache should fall slowly from the spatula in a thick ribbon.
I cover the top of the cake with white ganache, smoothing it into an even layer with a palette knife or a wide knife. I coat the sides of the cake with the remaining sour cream frosting – it makes a delicate contrast with the chocolate top. I leave the cake for 15–20 minutes so the ganache sets.
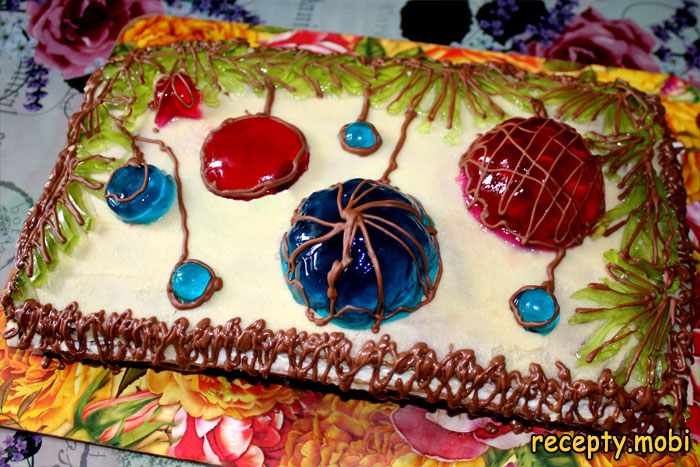
I take the set jelly out of the moulds – the silicone moulds only need turning inside out a little. From the flat jelly I cut out leaves, flowers or any other shapes using small biscuit cutters. I decorate the top of the cake, arranging the shapes into a composition – larger ones in the centre, smaller ones around the edges.
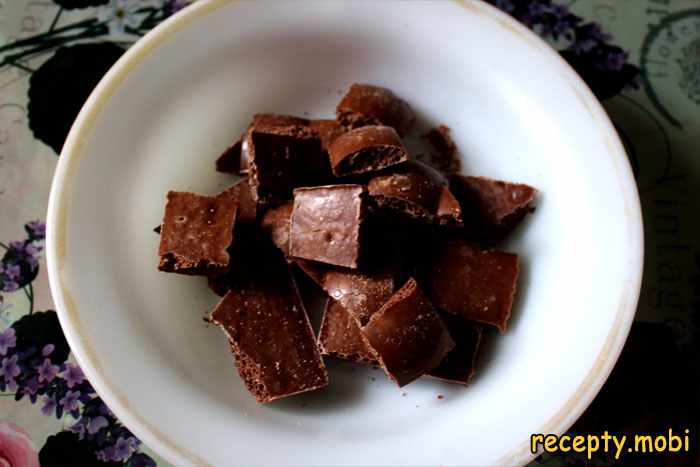
For the dark ganache I break 100 g of milk chocolate into pieces and put them in a bowl. Milk chocolate is less temperamental than white, but you should still work carefully.
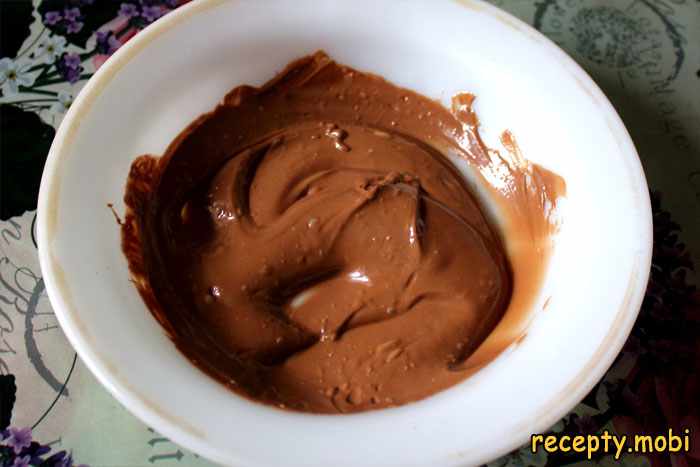
I melt the milk chocolate over a water bath or in the microwave, the same way as the white – in bursts of 15–20 seconds with stirring. I add 50 g of butter, stir until smooth and let it cool slightly for 5–10 minutes.
I transfer the dark ganache into a piping bag with a fine nozzle, or into a bag with a corner snipped off. I draw patterns on the cake: swirls, lines, lettering – your imagination is the only limit. The dark chocolate contrasts beautifully with the white ganache and the coloured jelly.
The 'Milk Girl' cake is ready! You can serve it straight away, but it is even nicer after 2–3 hours in the fridge – the layers soak through completely and become incredibly tender. Cut it with a sharp knife dipped in hot water and the slices will be perfectly clean.


Tips
- 1
The thinner you spread the batter on the baking sheet, the more tender the cake and the faster it soaks – the ideal thickness for a raw layer is 3–4 mm.
- 2
The sour cream for the frosting must be full-fat (at least 30%) and definitely cold – warm or low-fat sour cream will not whip into a fluffy frosting.
- 3
The cake soaks very quickly thanks to the thin layers, but after a few hours in the fridge it becomes even tastier – the flavours blend into one.
- 4
If you do not have time for elaborate decoration, simply scatter the cake with chopped nuts, grated chocolate or berries – it will be just as pretty and delicious.
FAQ
Can I use boiled condensed milk for the layers? +
Yes, and the result will be wonderful! The layers come out a darker, caramel colour with a rich toffee flavour. The texture stays just as tender. It is a great way to vary the classic recipe.
Why did my layers turn out hard and dry? +
Most likely you left them in the oven too long – condensed-milk layers bake very fast, just 5–7 minutes. Watch the colour: as soon as the surface turns golden, take them out at once. Hardness can also come from too much flour – measure out exactly 8 tablespoons.
How long does the 'Milk Girl' cake keep? +
In the fridge, in a closed container or under film, up to 5 days. The jelly may soften a little over time and lose its shape, so for the best presentation it is better to eat the cake within 2–3 days. I do not recommend freezing it – the frosting and jelly lose their texture.
- Comment
or post as a guest
Be the first to comment.


