
avg —
Basque Cheesecake
Instructions
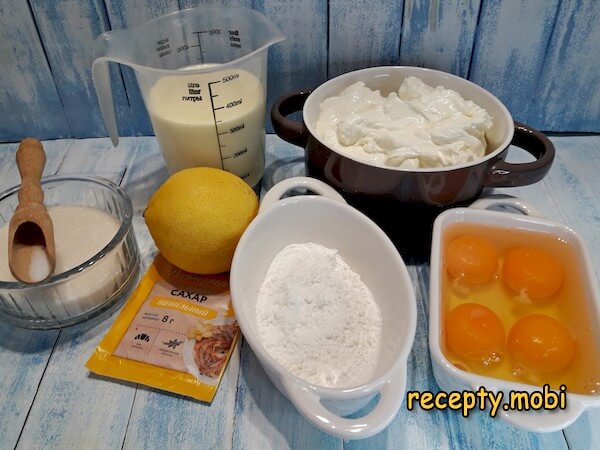
I prepare the ingredients for the Basque cheesecake. The cream must be at least 33% fat – it is the high-fat cream that gives the creamy texture. You cannot replace cream cheese with cottage cheese – the structure will be completely different (grainy, not creamy).
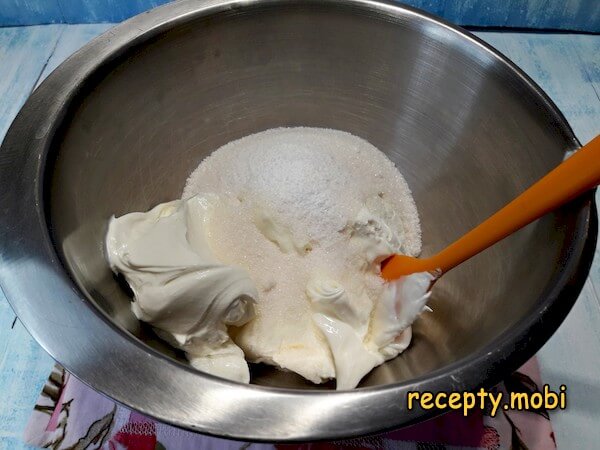
I transfer the Philadelphia cheese, the regular sugar and the vanilla sugar into a bowl. I combine everything with a spatula or a spoon – with a spatula, not a mixer.
I add the eggs – all 4 at once, there is no need to beat them first.
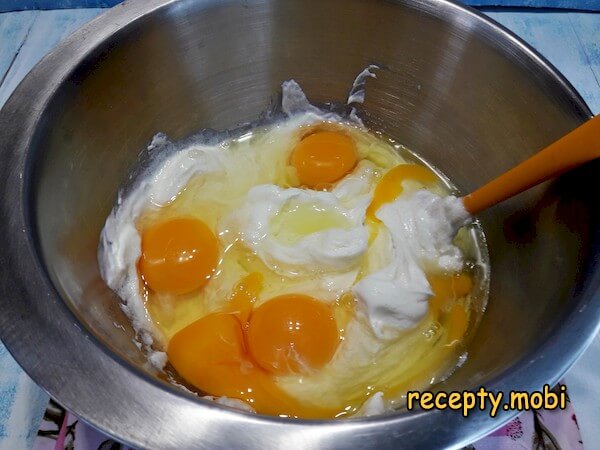
It is easier to mix the batter by hand – with a whisk. A mixer is not suitable here – it traps air bubbles, and they are unwanted in this case. This is the "secret" of a smooth, bubble-free texture.
I add the corn starch and a pinch of salt – the starch is the "stabiliser" of the texture, with no flour.
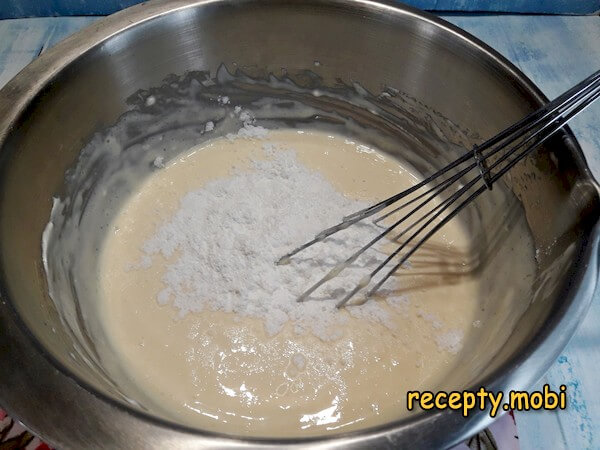
I pour in a spoonful of lemon juice – it is the lemon that gives the cheese cream its characteristic tang and balances the sweetness of the sugar.
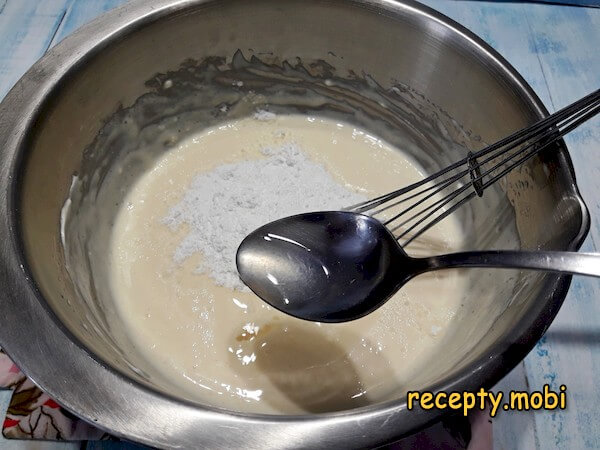
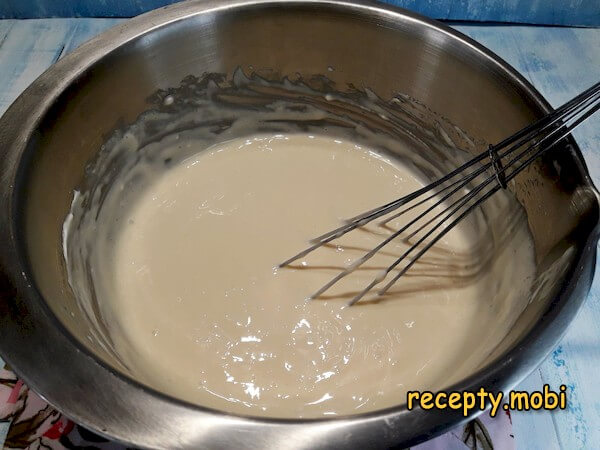
After mixing the batter, I start adding the cream in parts – not all at once, so that no lumps of cheese form.

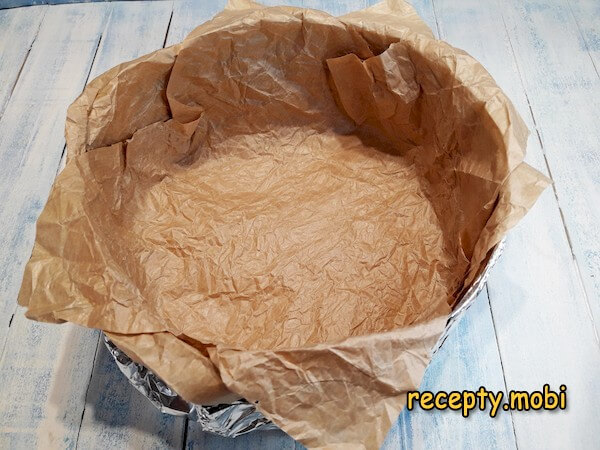
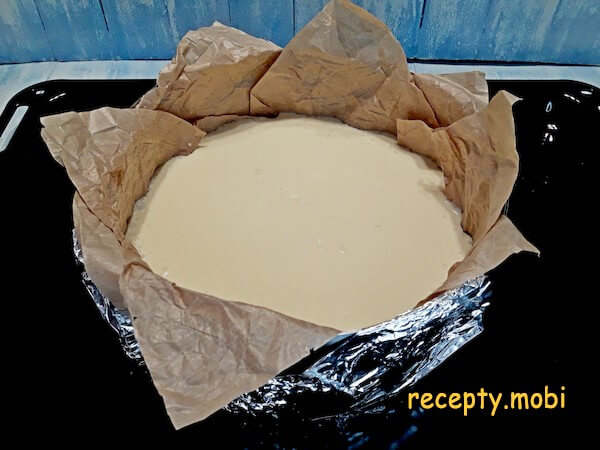
I preheat the oven to 250 degrees. I line the baking tin with parchment paper, bringing it right up to the top of the tin, as the mixture will rise significantly. I crumple the paper thoroughly first so that it takes the required shape more easily – "crumpled" parchment sticks to the sides better.
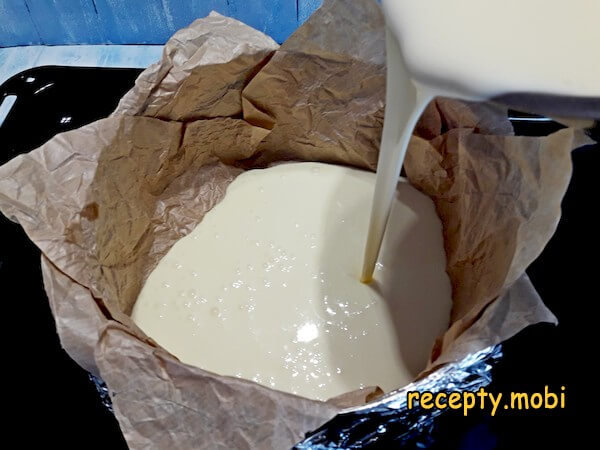
I pour the liquid creamy batter into the tin – it should fill the tin about 2/3 of the way, leaving room for the rise.
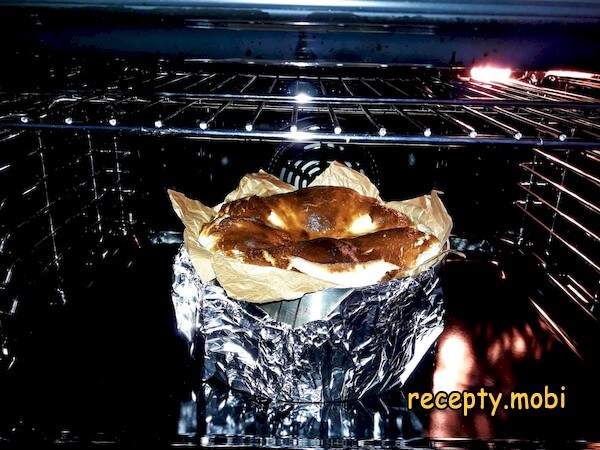
I put the tin into the preheated oven for 30 minutes – it is the high temperature that gives the "burnt" crust and a creamy inside.
During baking, the cheesecake first rises and, under the high temperature, develops a baked crust. After half an hour I move it onto the counter without taking it out of the tin – it needs to cool. As it does, the height of the cake drops noticeably. Then I put it in the fridge for 8 hours so that the creamy structure fully stabilises. This is the "mandatory" time – without resting, the cheesecake will be runny and "pudding-like".The best way to slice Basque cheesecake into portions is with a sharp knife whose blade is dipped in hot water. The heavily baked crust (you could even call it burnt) is surprisingly soft and tasty, while the tender cheesecake inside is a real delight – it is a wonderful flavour! When serving, you can drizzle a portion with a topping or chocolate – a berry sauce (raspberry, strawberry, blackcurrant) perfectly sets off the "burnt" character.


Tips
- 1
250 °C is the "secret" of the burnt crust. This is the critical temperature of Basque cheesecake. At 180 °C (classic New York cheesecakes) the crust stays pale and the inside turns out dry. At 250 °C the top caramelises instantly (it even chars), but thanks to the high heat the inner layer does not have time to "set" – it stays creamy. This "paradoxical" technique is the main difference from the classic New York cheesecake, which is baked for 1.5–2 hours at 160–170 °C in a water bath.
- 2
"CRUMPLED" PARCHMENT is the "secret" of lining the tin. Smooth parchment is hard to "fit" into a round tin – it forms stiff folds that imprint on the sides of the cheesecake. If you crumple the parchment into a ball before using it (10–15 seconds of active crumpling) and then smooth it out, it becomes "obedient" – it follows the shape of the tin without stiff folds and presses against the sides, while the torn "artistic" folds are part of the look of the finished Basque cheesecake. Take parchment with some extra so that it sticks up 5–7 cm above the tin (the mixture will rise during baking).
- 3
WHISK vs MIXER is the "secret" of a smooth, bubble-free texture. A mixer traps air – micro-bubbles form in the batter. During baking the bubbles expand, leaving "holes" inside the cheesecake and an uneven surface on top. Combining the ingredients by hand with a whisk happens without aeration, so the batter turns out dense and creamy. Mixing time is 5–7 minutes – no longer, so as not to "tire" the cheese mixture. The cheese and cream should be at room temperature, otherwise they cannot be mixed by hand – take them out 1 hour before cooking.
- 4
8 HOURS IN THE FRIDGE is the "secret" of creamy stability. A freshly baked cheesecake is "liquid" inside and impossible to slice neatly. Over 8 hours in the fridge the cream "binds" thanks to the collagen from the eggs and the starch, turning into a stable mousse-like structure. The minimum is 6 hours, ideally overnight (8–10 hours). 24 hours is also great – the texture improves. Do not take it out of the tin until it has cooled completely – a "hot" cheesecake is fragile and will fall apart. A similar "cold stabilisation" principle works in San Sebastian cheesecake – a close "cousin" of Basque cheesecake from the Basque Country.
FAQ
What can replace Philadelphia cheese? +
Philadelphia cream cheese is the classic for Basque cheesecake, but there are alternatives. Mascarpone (softer, gives a richer result), mascarpone + ricotta 50/50 (lighter in fat content but still creamy), original Almette (a good-working cream cheese), or curd cream cheese (a budget alternative). You absolutely must not replace it with: plain cottage cheese (grainy texture), flavoured cream cheese (cucumber, onion – they break the dessert profile), or processed cheese (it gives "plasticity" but not creaminess). The ideal is pure cream cheese with no additives.
Why doesn't the cheesecake turn out creamy inside? +
There are three typical reasons. The first is an oven temperature below 250 °C: at 200 °C the cheesecake simply bakes through like an ordinary one (without the "burnt outside – creamy inside" effect). The fix: check the temperature with a separate thermometer, do not rely on the dial alone. The second is overbaking: 30 minutes is the maximum, then take it out. The third is too little sugar or cream, having broken the proportions. The fix: follow the recipe exactly – sugar plus 33% heavy cream are essential for creaminess.
Why does the parchment tear during baking? +
The parchment should be "siliconised" (this is stated on the packaging) – it withstands 250 °C. Ordinary cooking parchment is rated for 180–200 °C and can "scorch" and tear at 250 °C. An alternative is foil with a light brushing of oil (it gives the cheesecake a "foil" surface). If the parchment tears, lower the temperature to 230–240 °C; the cheesecake bakes 5–7 minutes longer, but without disaster. Good "siliconised" parchment costs 10–15% more than the ordinary kind, but it solves all the problems.
What to serve Basque cheesecake with? +
The classic Basque way is with a pinch of salt (it sounds odd, but smoked sea salt on the burnt crust gives a "Mediterranean" accent). Alternative servings: a berry sauce (raspberry, strawberry, blackberry – puréed with a pinch of sugar), caramel syrup (homemade or ready-made), lemon curd (for a double tang), or chocolate ganache (for "double intensity"). With drinks: unsweetened espresso (the classic), Pedro Ximénez sherry (a Spanish dessert accompaniment), Ruby port (for a "wine" serving), or strong black tea. For a buffet – cut into 3×4 cm "bars" with a skewer and a drop of sauce on top.
- Comment
or post as a guest
Be the first to comment.


