
avg —
Garlic Pampushki
Instructions
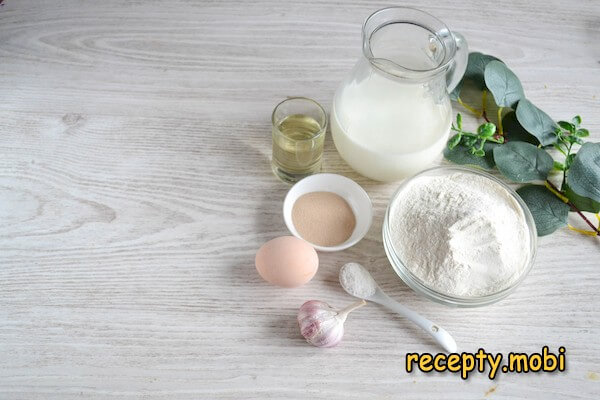
I prepare all the ingredients needed to make the garlic pampushki. I warm the milk and water to about 35 degrees. I sift the flour several times to saturate it well with air.
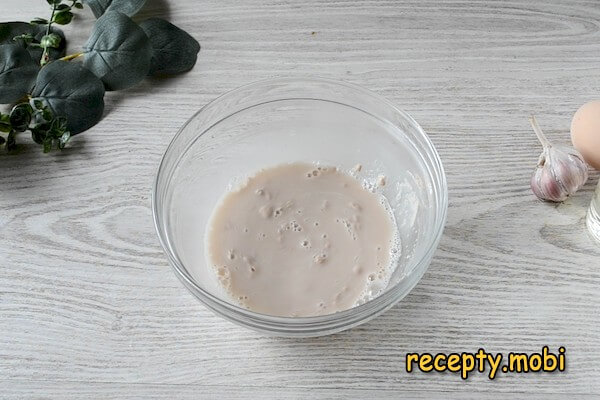
I dissolve the yeast in a little water, add the sugar and salt, and leave it for 10 minutes so the yeast starts to work.
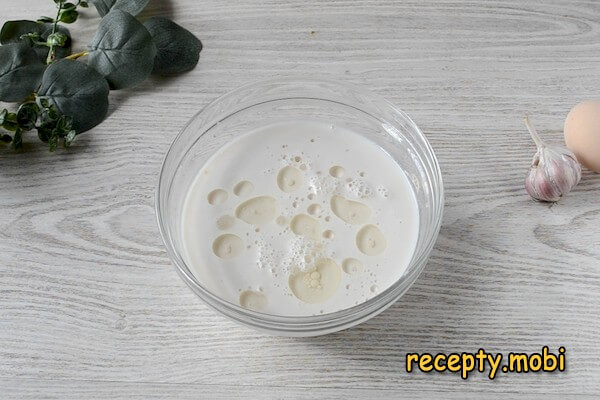
Then I pour in the milk and vegetable oil. I mix it.
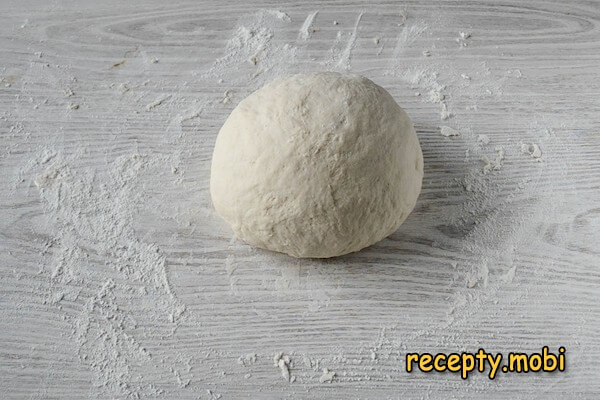
I add the flour a little at a time and knead the dough first in the bowl, then turn it out onto the work surface and knead by hand. You need to knead for at least 5 minutes. I try not to add too much flour – the dough should turn out soft. If it sticks to your hands a little while kneading, grease your hands with vegetable oil.
I put the finished dough into a bowl and leave it in a warm place for 1 hour. Then I punch the dough down and leave it for another 30 minutes. During this time the dough will grow noticeably in size and become even softer and more tender.

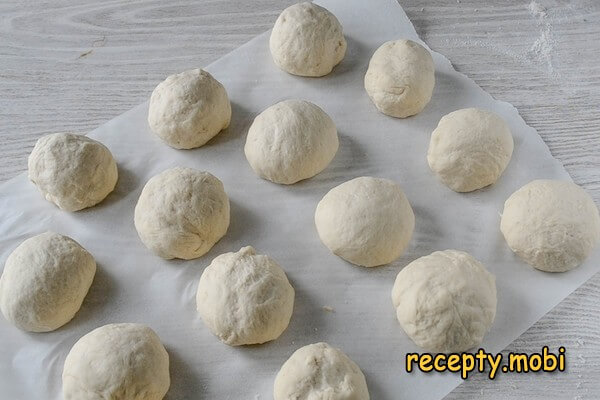
I shape the dough into small rolls (they will grow more during proofing and baking) and place them on parchment. I leave them for 10 minutes so they rise a little.
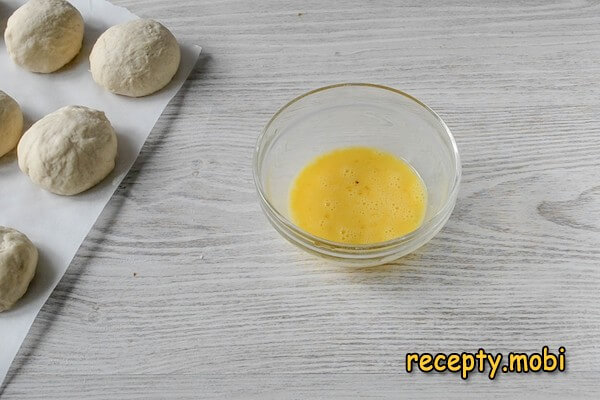
I crack 1 egg, add about 1 tablespoon of water and beat it with a fork.
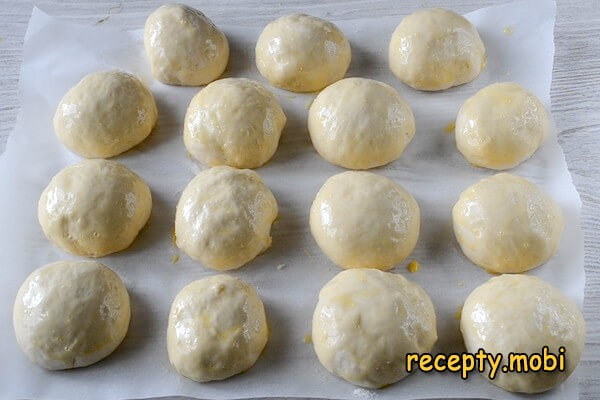
I brush the rolls with the beaten egg. I bake the rolls in the oven at 180 degrees for 20–30 minutes. The baking time depends on the power of your oven and the size of the rolls.
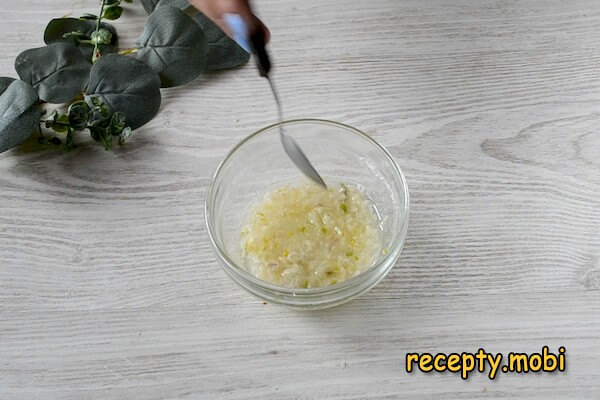
While the rolls are baking, I make the garlic sauce. I press 5–6 cloves of garlic, add a little salt, vegetable oil and water. I mix it well.
I dip the finished rolls in the garlic sauce. On top I sprinkle finely chopped dill.

The garlic rolls baked in the oven are ready. Their aroma is simply magical.Bon appétit!


Tips
- 1
TWO RISES – essential. The first is 1 hour, the second is 30 minutes after punching down. With a single rise the pampushki will be dense.
- 2
MILK + WATER AT 35 °C – ideal for the yeast. Cold liquid won't activate it; hot liquid (45 °C and above) will "kill" the yeast.
- 3
EGG + WATER FOR BRUSHING – a golden crust. Plain egg gives a "lacquered" shine. With water it comes out softer and prettier.
- 4
DIP THEM WHILE HOT – the garlic "soaks in". When they are cold, the sauce just stays on top. The same principle works with other kinds of yeast rolls.
Video
FAQ
Which yeast should I choose? +
Ideally, instant dry yeast (SAF-Moment, Dr. Oetker, Pakmaya). Alternatives: active dry yeast (it needs to be "activated" in water), fresh compressed yeast (30 g instead of 10 g of dry), or "gran man" yeast for premium baking. Expired yeast won't do – the dough won't rise. Check the freshness: dry yeast should be loose and crumbly, without lumps; compressed yeast should be greyish-white, without any slime. Storage: dry yeast in an airtight jar for up to 6 months, compressed yeast in the fridge for up to 2 weeks. Don't use "brewing" yeast – it isn't suitable. Salt and yeast must not be mixed together straight away – salt "kills" the yeast. Dissolve the yeast in warm water with sugar first, then add the rest of the ingredients.
How should pampushki be served? +
The classic way is with Ukrainian borscht. They are served right after baking, dipped in the sauce. For an attractive presentation, use a woven basket with a linen napkin. Don't cut them – they are served whole (one pampushka is one portion). Sprinkle fresh dill or spring onion over the top. For Christmas, decorate them with a little dough star on top. Cold pampushki – warm them for 30 seconds in the microwave under a damp towel. For a "banquet", they are served on a shared platter and guests take them by hand. Serve the garlic sauce separately – some people like more of it, some less. They also go wonderfully with creamy soups, fish soup or shchi.
How long do pampushki keep? +
In a container at room temperature – 24 hours. Any longer and they dry out and lose their fluffiness. In the fridge I don't recommend it (the dough goes stale). In the freezer for up to 1 month (without the sauce, in a bag). Defrost at room temperature for 30–40 minutes or warm them in the oven for 5 minutes at 150 °C – their freshness will come back. Before serving, reheat them under a damp towel for 30 seconds in the microwave. Make the garlic sauce fresh – it quickly loses its aroma. Don't leave them at room temperature with the sauce for longer than 4 hours – the sauce will turn sour. For a "packed lunch", keep the pampushki and sauce separate and dip them on the spot.
What goes with pampushki? +
The classic: with Ukrainian borscht (the classic combination). With green borscht made with sorrel – a spring option. With fish soup or other fish-based soup – a "rustic" serving. With solyanka – a meaty note. With shchi made from sauerkraut – a "Russian" serving. With kharcho or miso soup – an unusual combination. With a cup of meat broth – a simple meal. With compote or fruit drink – a "children's" option. The sauce also "works" well as a standalone snack with a shot of vodka – a "Ukrainian" serving. A versatile roll for winter meals and a hearty snack.
- Comment
or post as a guest
Be the first to comment.


")
