
avg —
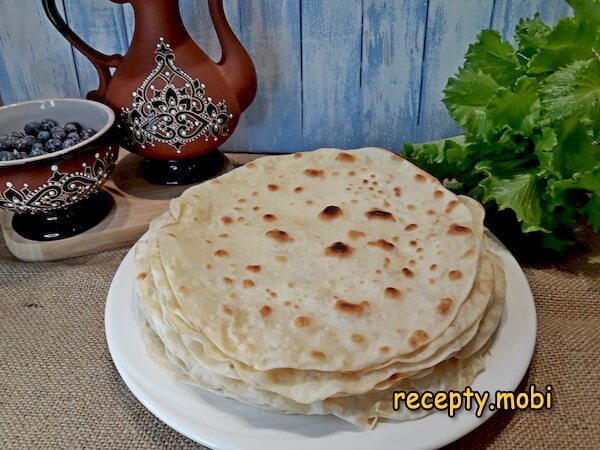
Thin Lavash at Home
Instructions
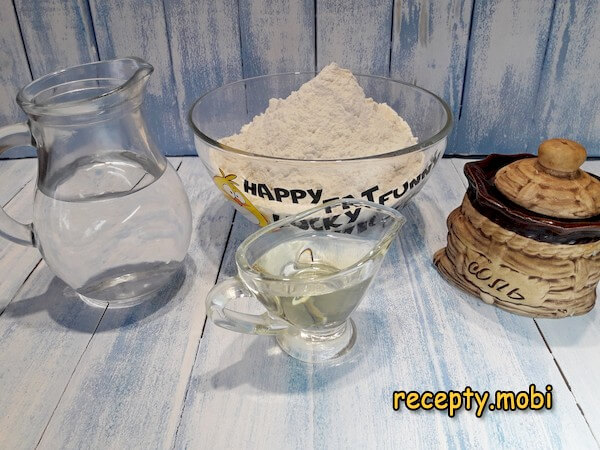
Prepare the ingredients. Before using the water, bring it to the boil and let it stand for 2 minutes so the temperature drops to 80–85 °C.
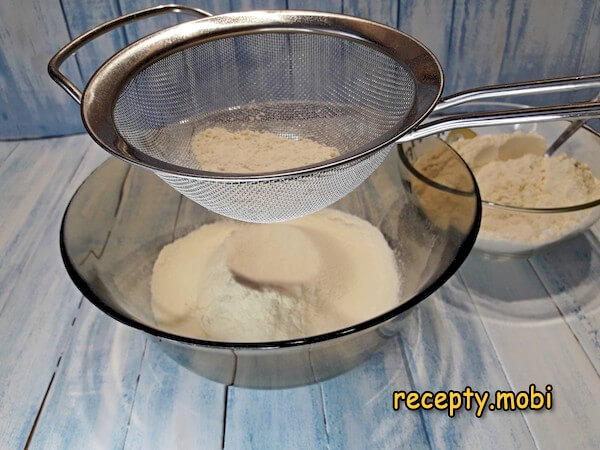
Any flour, even top-grade, should first be sifted.
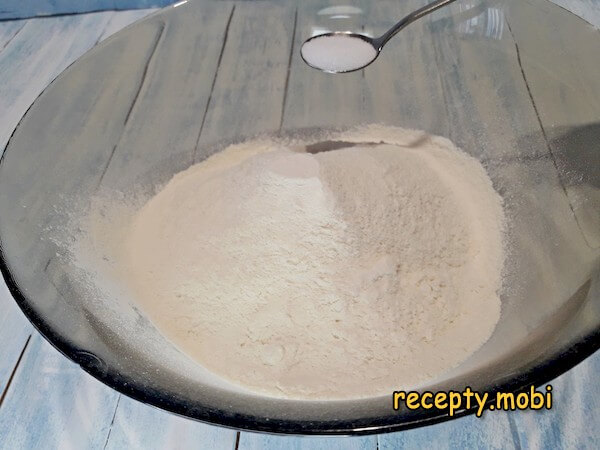
Mix it with the salt.
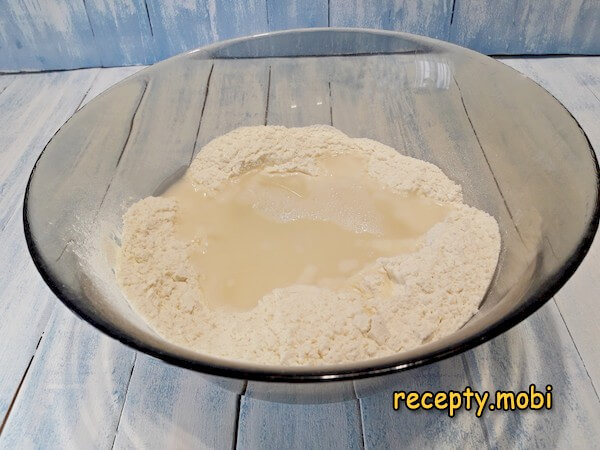
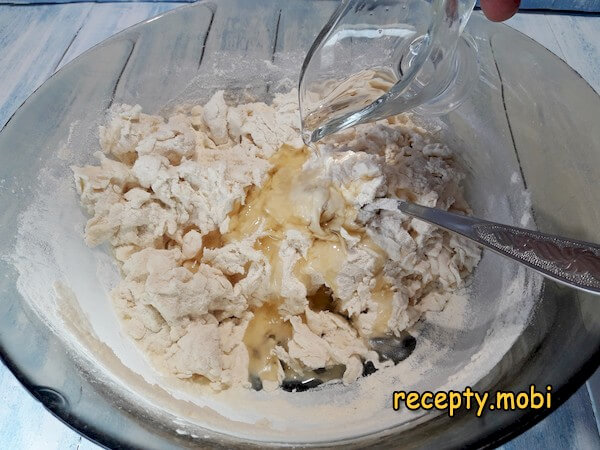
Pour in the hot water. Quickly mix it with the flour using a spoon – thick lumps will form.
Add the vegetable oil.
The dough is no longer so hot, so I now mix it by hand right in the bowl until all the components come together.
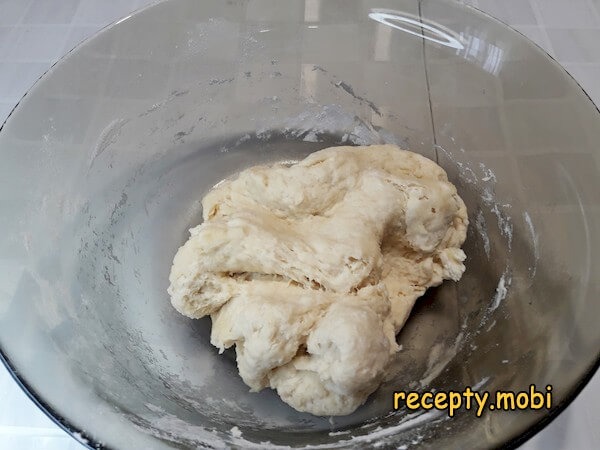
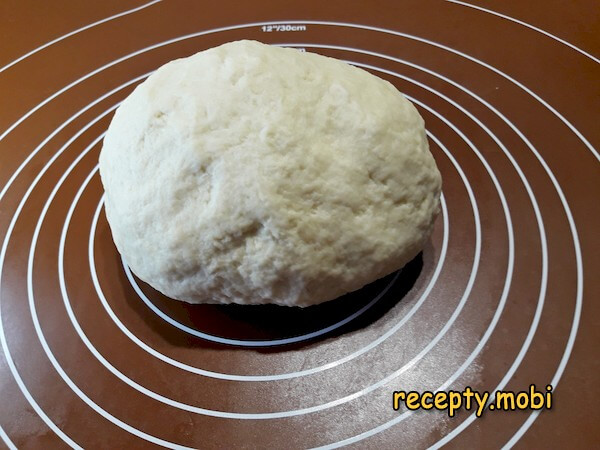
Continue kneading on the table for about 2 minutes. The dough is easy and pleasant to work with – it is very obedient, soft and warm. Once the mixture is more or less uniform but the structure is still loose, shape it into a ball.
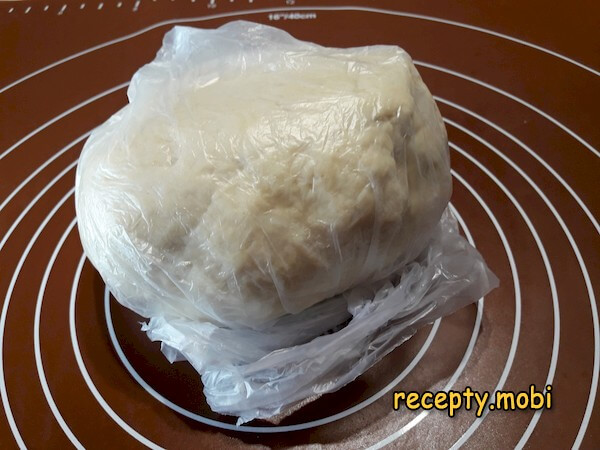
Put it in a bag and leave it to rest on the table for about 15 minutes. After resting, the structure of the dough will change.
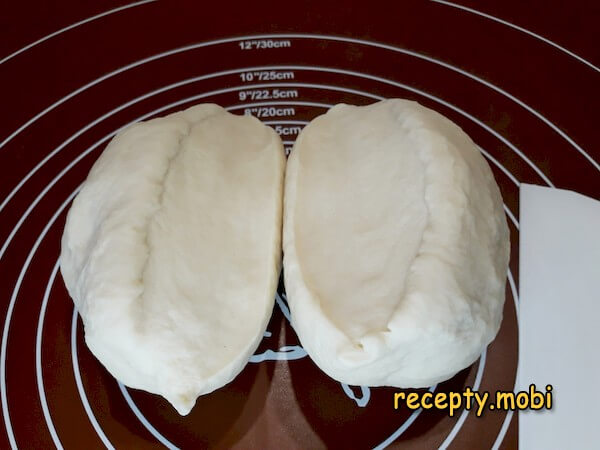
Knead the dough for another 3 minutes or so, until the looseness disappears and it becomes completely smooth. For convenience, divide the ball into 2 parts.
Roll each one into a log and divide it into 7–8 pieces (depending on the diameter of your frying pan).
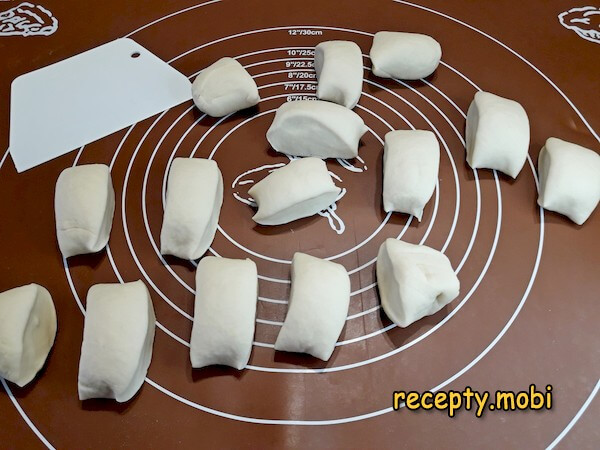
Round off the pieces and place them on a flour-dusted plate or board.

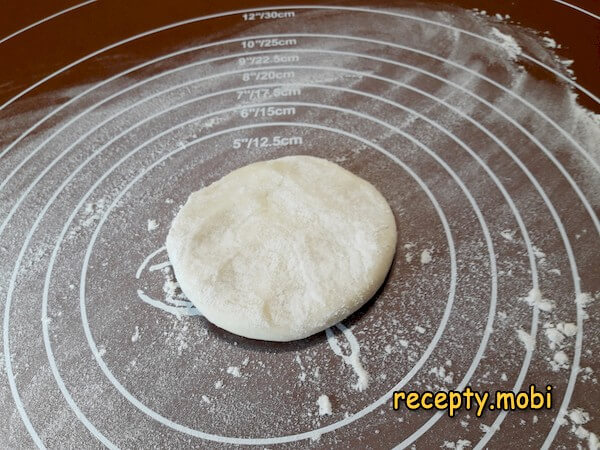
Press each piece of dough into a flat round with your fingers and dust it with flour.
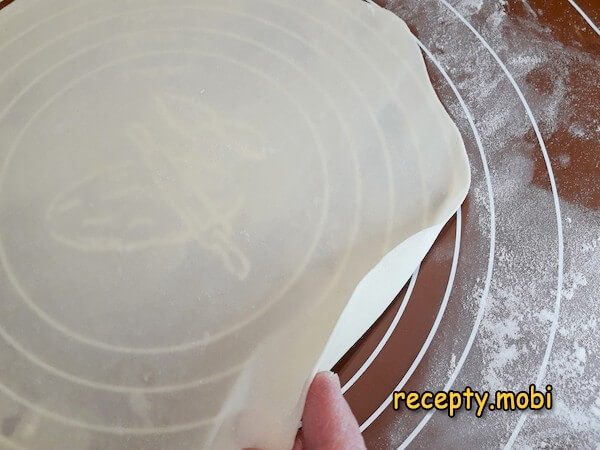
Roll it out very thinly to the size you need, turning it constantly as you do so, so that the edges do not pull in towards the centre.
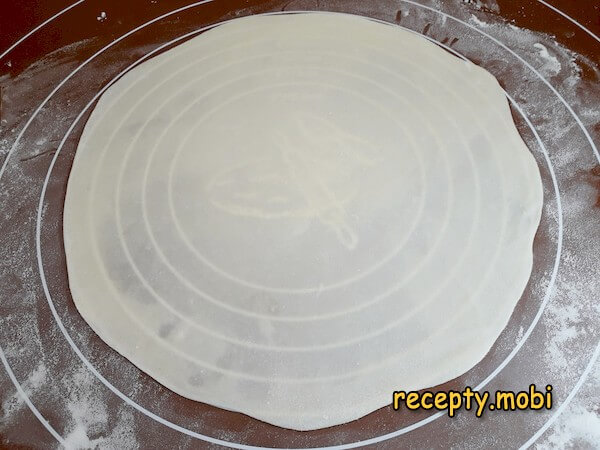
The rolled-out thickness should be no more than 1 millimetre.
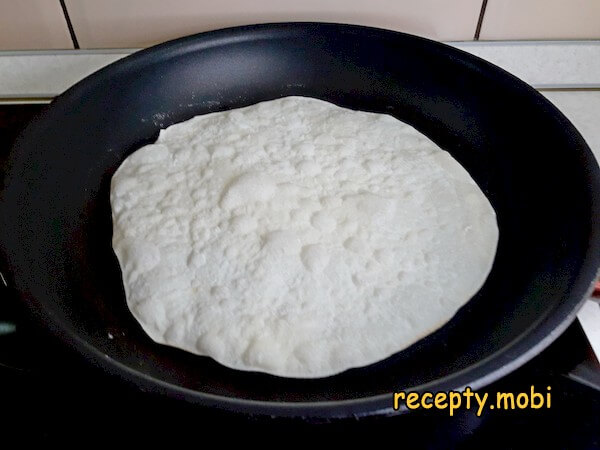
Transfer the lavash to a dry, well-heated frying pan. Cook it over above-medium heat until bubbles appear (about 30 seconds).
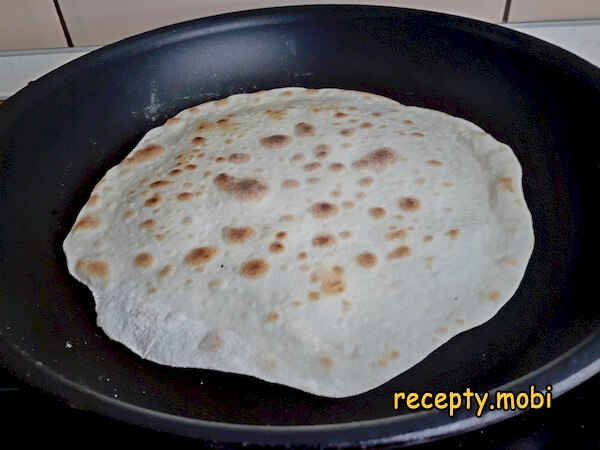
Hold the other side on the pan for about 30 seconds in the same way. While one flatbread cooks, roll out the next.
Transfer the flatbreads to a plate and spray both sides with water from a spray bottle.
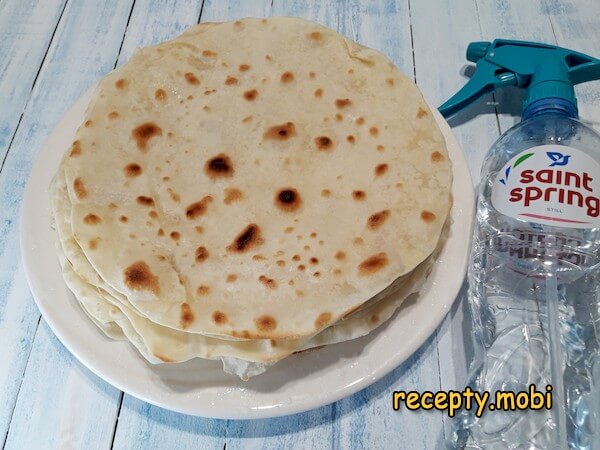
Cover them with cling film on top, and then a towel. Swap the stacked flatbreads around from time to time, moving the lower ones to the top and vice versa.
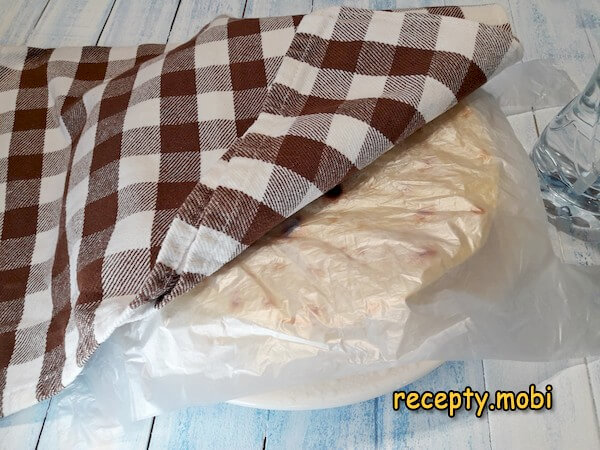
Let the flatbreads sit for a while (about 10 minutes); the thin lavash at home will then become elastic and you will be able to wrap any filling in it. But if you are using the lavash instead of bread, it does not need resting – the springy, flaky crust is also very tasty.


Tips
- 1
Water at 80–85 °C is the "secret" to elasticity. Boiling water is too hot, while ordinary water does not scald the flour. At 80–85 °C the starch is gelatinised and the dough becomes "obedient".
- 2
A 15-minute rest is the "secret" to smoothness. Fresh dough is torn and loose. After resting, the gluten swells – the dough becomes smooth and does not tear when rolled out.
- 3
A thickness of 1 mm is the "secret" of lavash. Anything thicker than 1 mm is already a flatbread, not lavash. Rolling as thinly as possible is the main rule of a true thin lavash.
- 4
The spray bottle and the cling film are the "secret" to elasticity. Without moistening, fresh lavash dries out within 5 minutes. Spray it with water and cover it, and it stays soft for hours. The same principle works for other kinds of thin flatbreads made in a pan.
FAQ
Which flour should I choose? +
Ideally, top-grade wheat flour (350 g gives the most elastic lavash). Alternatives: grade-1 flour (350 g – darker in colour, a little coarser), a blend of top-grade flour and semolina at 80/20 (280 + 70 g – a "premium" option), pizza flour (350 g – more gluten, more elastic), wholemeal flour plus top-grade at 30/70 (105 + 245 g – a "healthier" option), or "Manitoba" flour (350 g – a "premium" Italian one). Freshly milled flour is a "premium" choice. Do not use: pancake flour with a raising agent (it will spoil the structure) or gluten-free blends (you will not get a thin sheet). For a "classic thin lavash", you must use top-grade wheat flour with a high protein content.
Can I bake it in the oven? +
You can, in the oven: heat it to 250 °C (or the maximum), place the rolled-out lavash on a dry baking tray or on parchment, and bake for 1–2 minutes until bubbles appear. In a tandoor or tandoor oven – 30 seconds at 350 °C (the "Caucasian classic"). On an electric grill – 30 seconds each side. On a red-hot cast-iron "wok" – 30 seconds each side. On a non-stick crêpe pan, which is the most convenient option at home – 30 seconds each side. Do not use: a microwave (the lavash will be rubbery) or a deep-fryer (it will spread out in the oil). For the "classic" result, you must use a dry, red-hot surface.
How long does homemade lavash keep? +
In an airtight bag at room temperature – 2 days. In the fridge – 4–5 days (but it will become tougher). Before using it, spray it with water and wrap it in a damp towel for 5 minutes, or warm it on a dry pan for 30 seconds. In the freezer (between sheets of parchment in a tightly sealed bag) – up to 1 month; defrost for 30 minutes at room temperature. Fresh lavash is at its best straight from the pan (hot and soft) or after 10 minutes under cling film (elastic, for rolls). By the second day it is already tougher – but still better than shop-bought.
What should I serve homemade lavash with? +
A classic appetiser: with shashlik (wrapped like a thin pita). With shawarma (a homemade filling of chicken, vegetables and sauce). With lavash chebureks (a quick snack). With suluguni cheese and fresh herbs (Caucasian style). With hummus and tabbouleh (Eastern style). With borscht or kharcho (instead of bread). With adjika and salted cheese. With dolma or falafel (an Eastern spread). With a barbecue or grilled chicken. With a cheese platter. With red caviar (a "premium" appetiser). With lightly salted salmon and cheese. With a cup of green tea and lemon. With light beer. For a "Caucasian feast" it is all-purpose. A universal bread for every occasion.
- Comment
or post as a guest
Be the first to comment.


